

Creating a table to show various data on your WordPress site can be very useful for organizing and presenting information in an easily digestible format. Tables can help turn a large amount of data into a more compact and organized layout that is easier for visitors to understand.
They also help enhance your site’s overall aesthetic appeal by breaking up large blocks of text and making the content more visually appealing.
But how do you add a table to WordPress?
Adding tables to your website is easy, and in this article, we will show you how to easily create a table in WordPress without having to write any code.
So, let’s get started!
See how I start making $2955/mo from the Amazon affiliate site in just 6 months. Plus, the site is still going strong and generates a decent income every month!
Read the complete case study here to learn how I did it.
Why Create Tables in WordPress?
As we mentioned earlier, creating tables in WordPress can be very useful for organizing complex data and presenting it in an easily digestible format.
Tables are especially helpful when you need to compare different sets of data side by side. For example, if you are creating a table to showcase the features of different WordPress hosting providers, then you would want to include a column for each provider with their respective features listed in rows.

This would make it much easier for visitors to compare the different providers and help in choosing the one which is best suited for their needs.
Similarly, you can also use tables to showcase pricing plans, product comparisons, or any type of data that needs to be presented in a tabular format, especially when you’re doing an Amazon affiliate.
💡 Recommended readings…
Here are some more perks of why you should use tables in WordPress;
- They help make your content more visually appealing.
- Tables can help reduce the overall length of your post or page by making the data more compact.
- They improve the overall user experience by helping visitors quickly find the information they are looking for.
- You can use tables to insert affiliate links that blend in and don’t look ‘spammy.’
- They can be used to highlight the most important information in your post.
Creating a Table in WordPress
Creating a table in WordPress is relatively easy and can be accomplished using four different methods, which we will cover in this article.
These four methods are:
- Creating a Table in Gutenberg Editor
- Creating a Table Using WordPress Plugins
- Creating a Table Using HTML Codes
- Copying a Table from Google Docs
Let’s look at all these methods in detail and find out which one is best suited for your needs. However, the process can be time-consuming depending on your data’s complexity.
Creating a Table in Gutenberg Editor
Gutenberg is one of WordPress’s most significant releases in recent years. It is a new content editor that was introduced in WordPress 5.0 and completely changed the way users add content to their posts and pages.
One of the advantages of Gutenberg is that it makes adding tables to your WordPress posts and pages much easier than before. There is no need to install any plugins or write any code. You can simply add a table block and start creating your table.
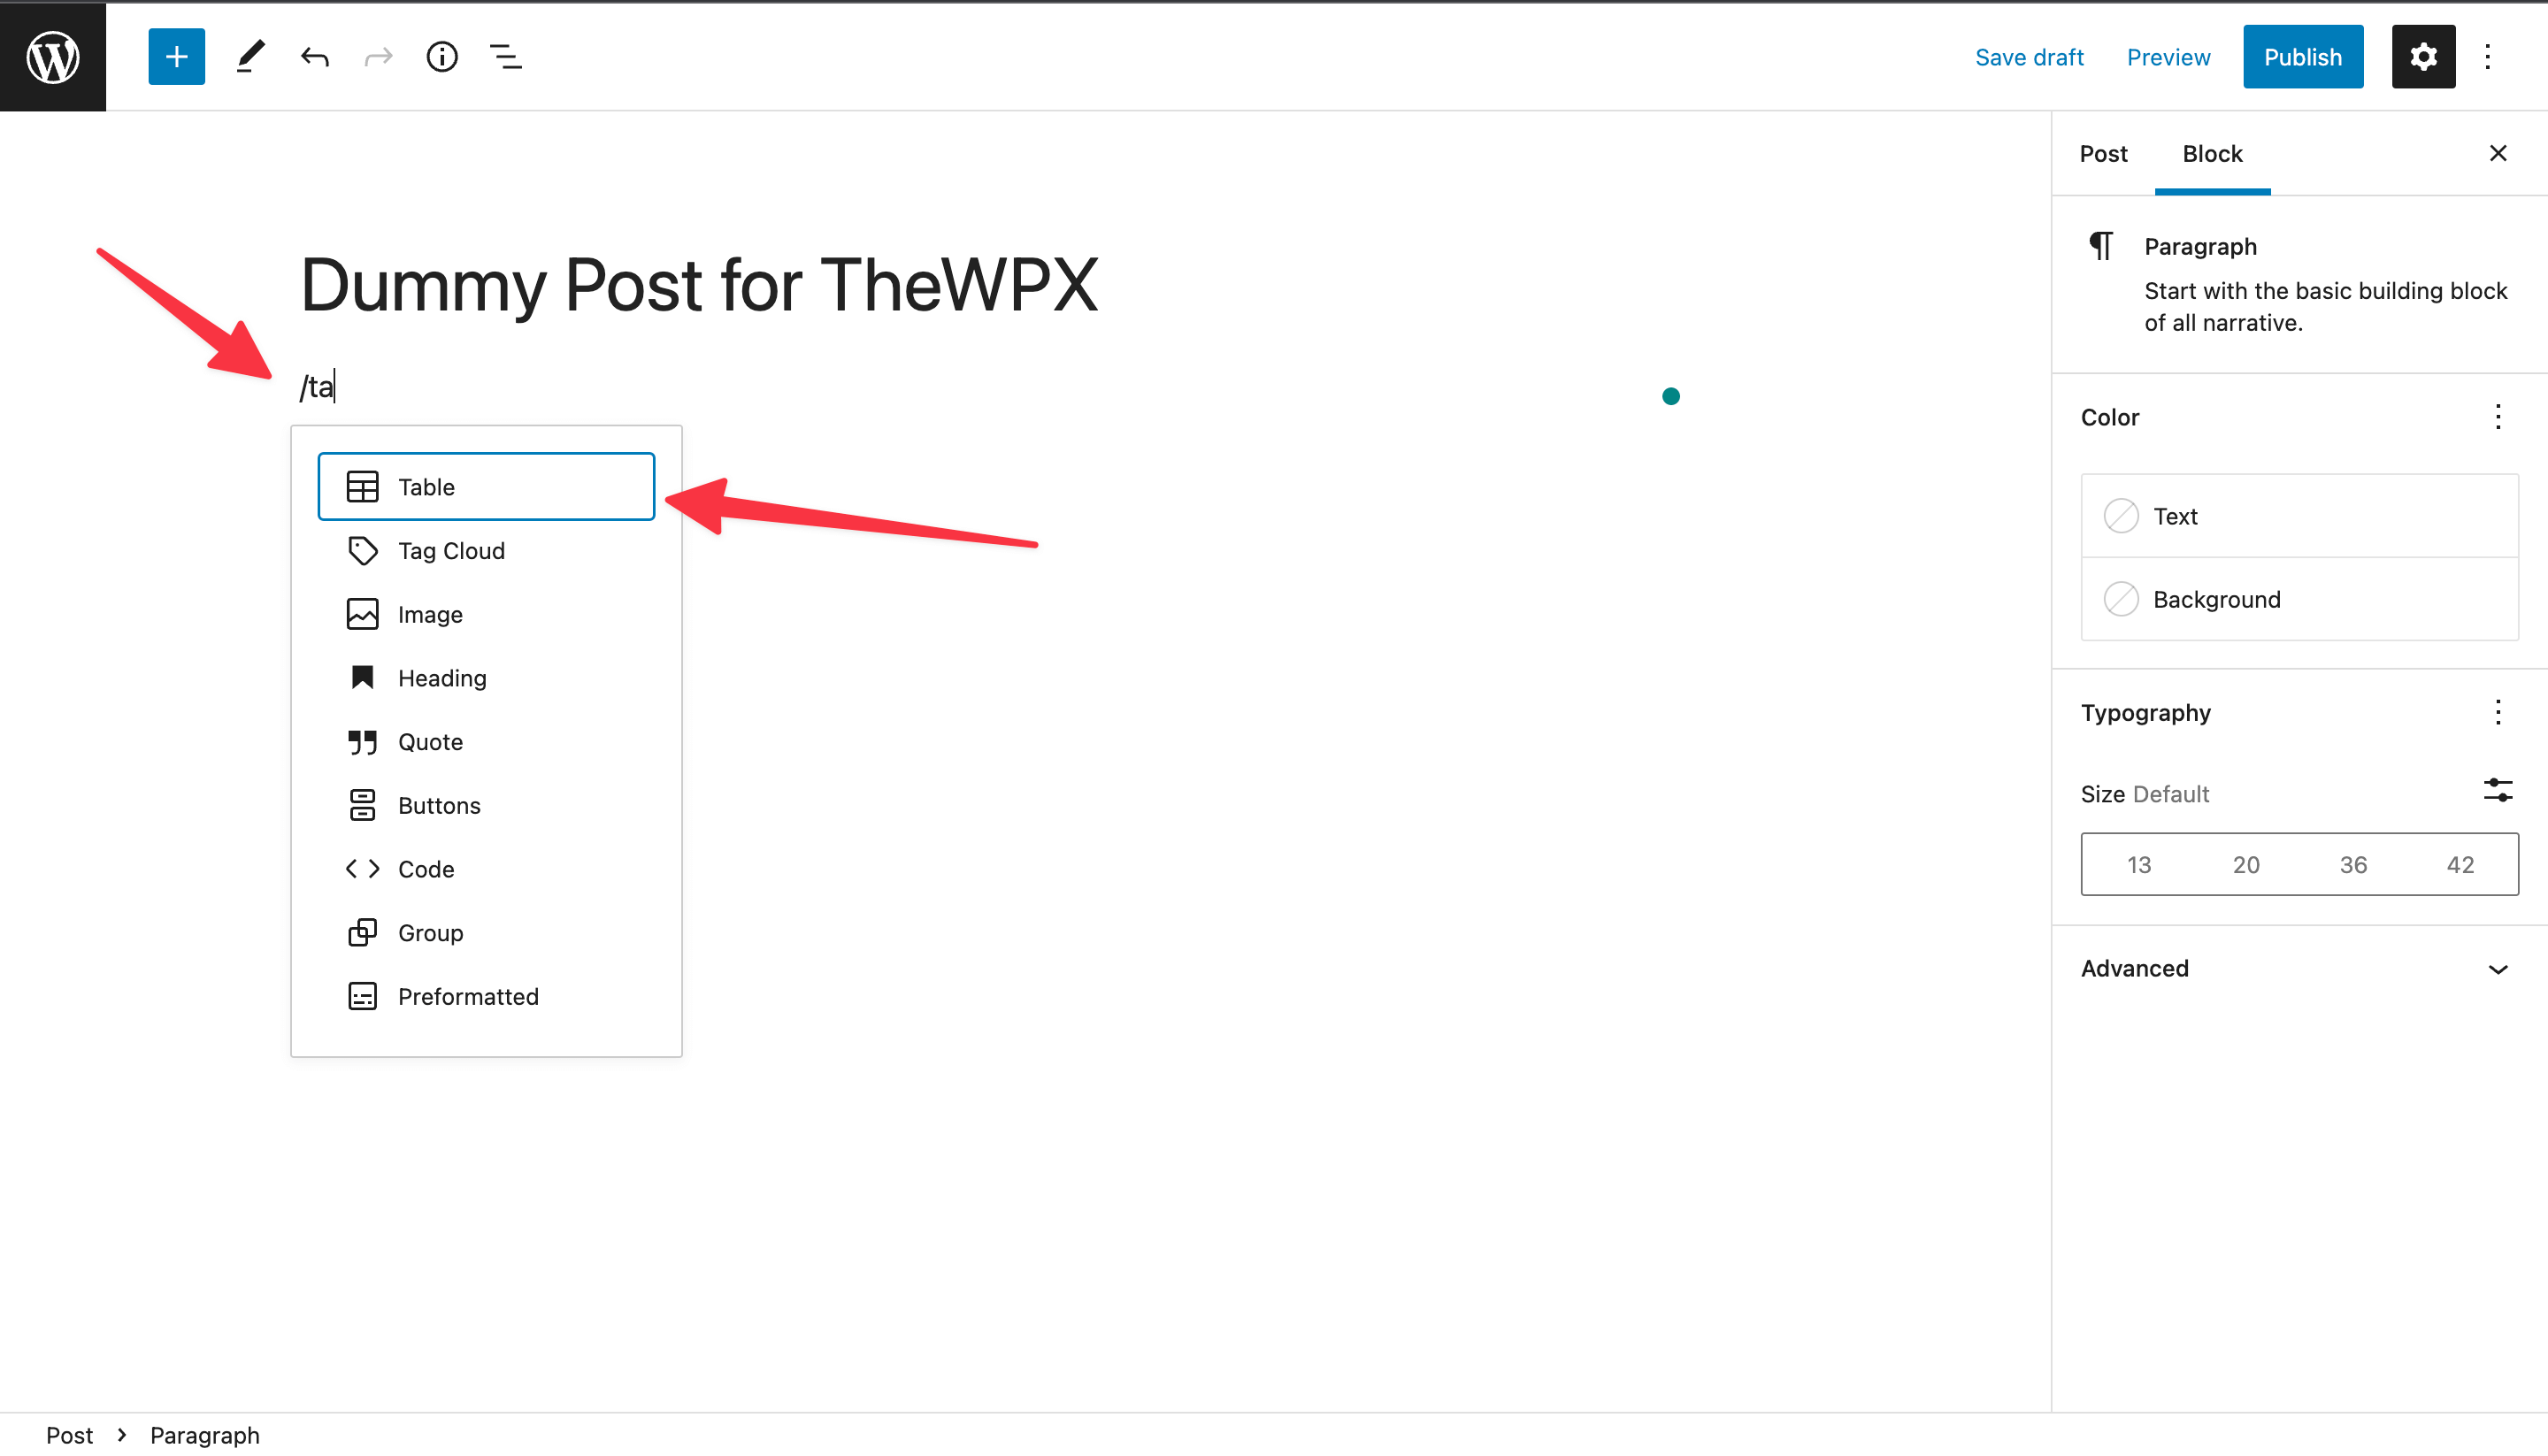
To create a table in Gutenberg, simply create a new post or page, or edit an existing one. Next, click on the “+” icon to add a new block, and then search for “table” in the search field.
Alternatively, you can type “/” and then start typing “table” to quickly find the table block.
Once you’ve found the table block, simply click on it to add it to your post or page.
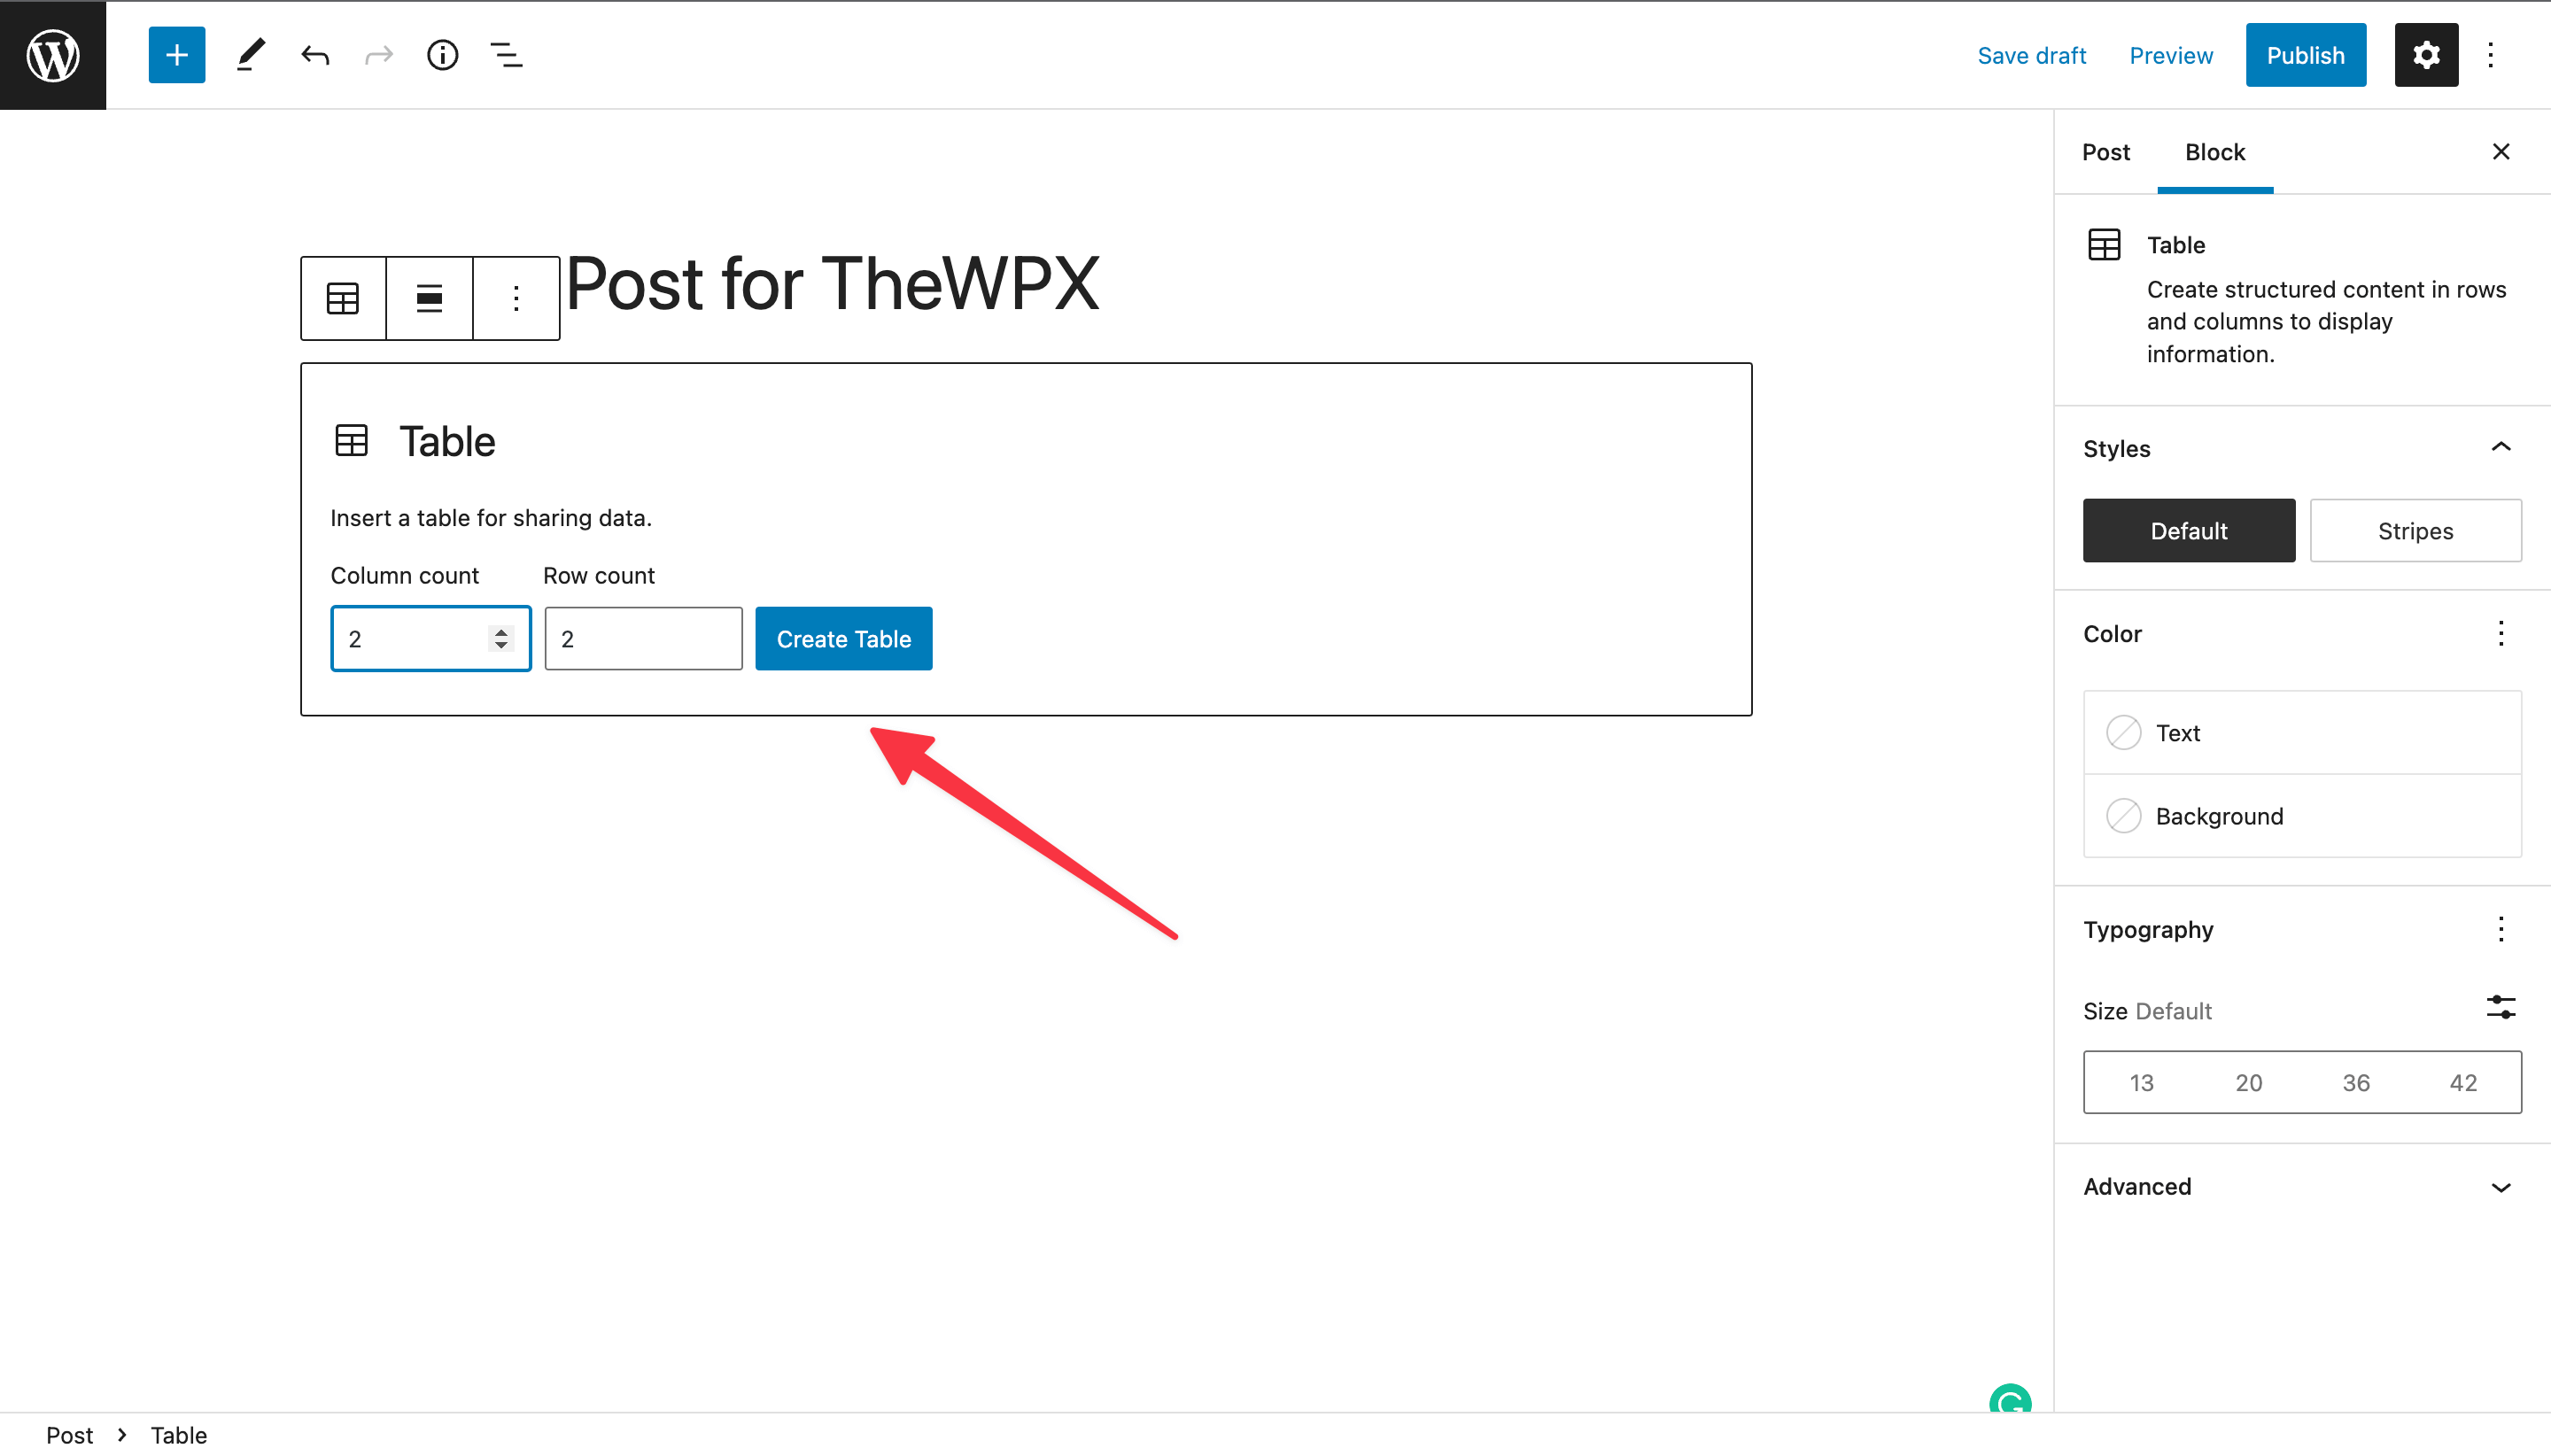
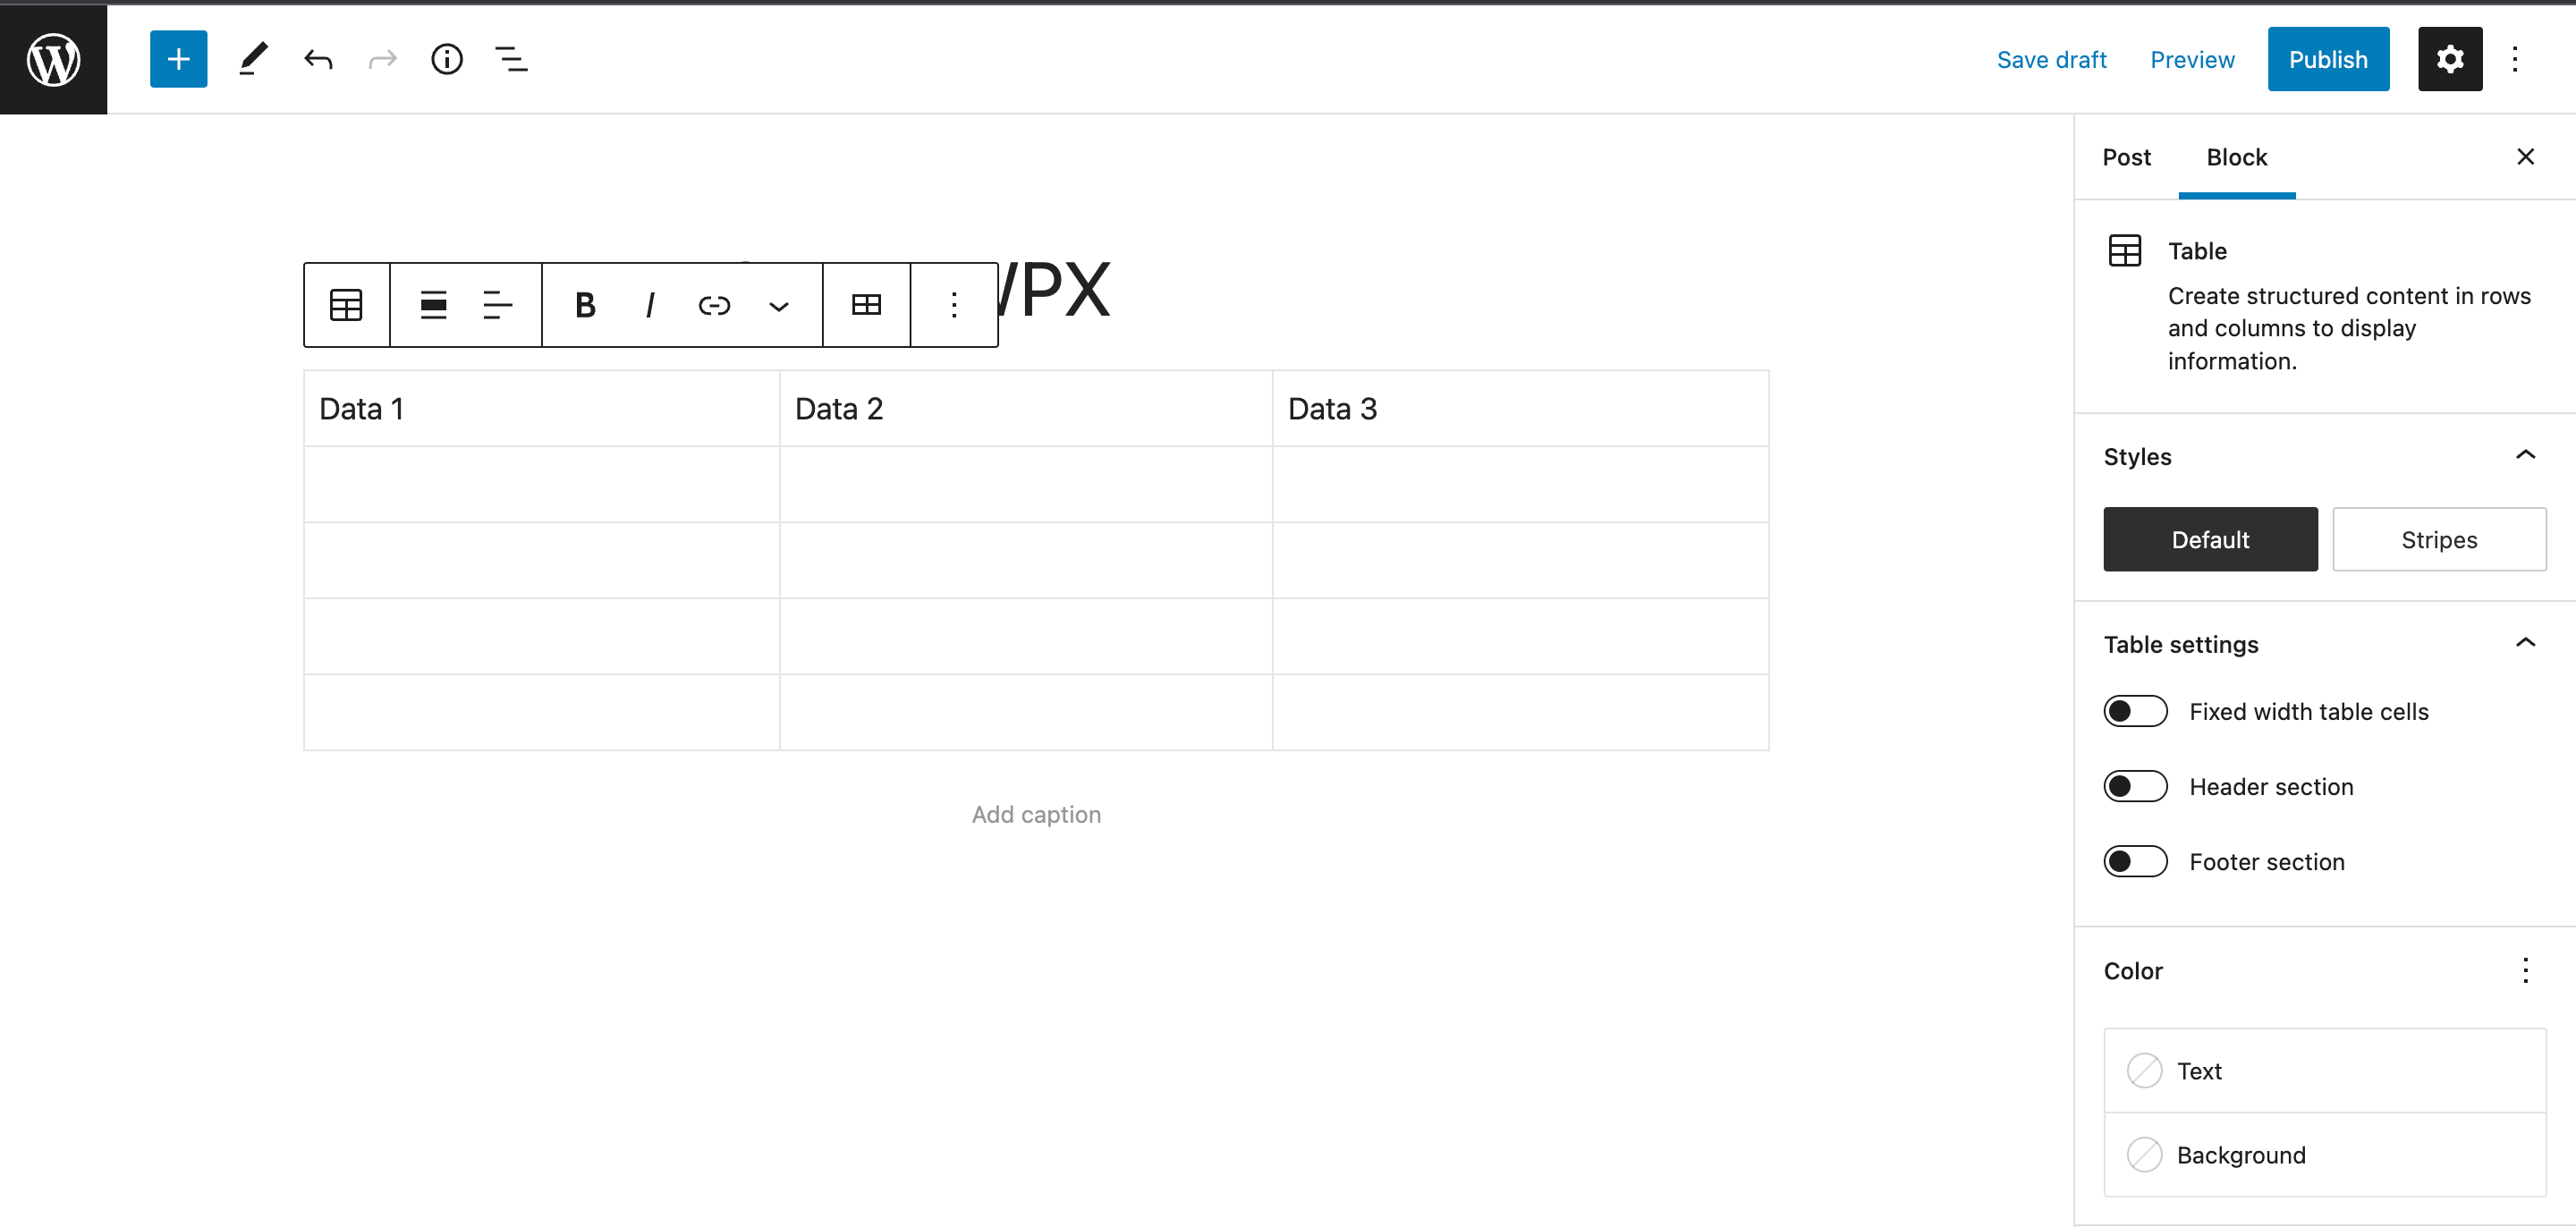
When you click on the table block, you’ll see three options:
- To enter the number of columns.
- To enter the number of rows in your table, and,
- A button to create a table.
Columns are the vertical sections of your table, while rows are the horizontal sections. Now, select the number of columns and rows you want in your table, and then click on the “Create Table” button.
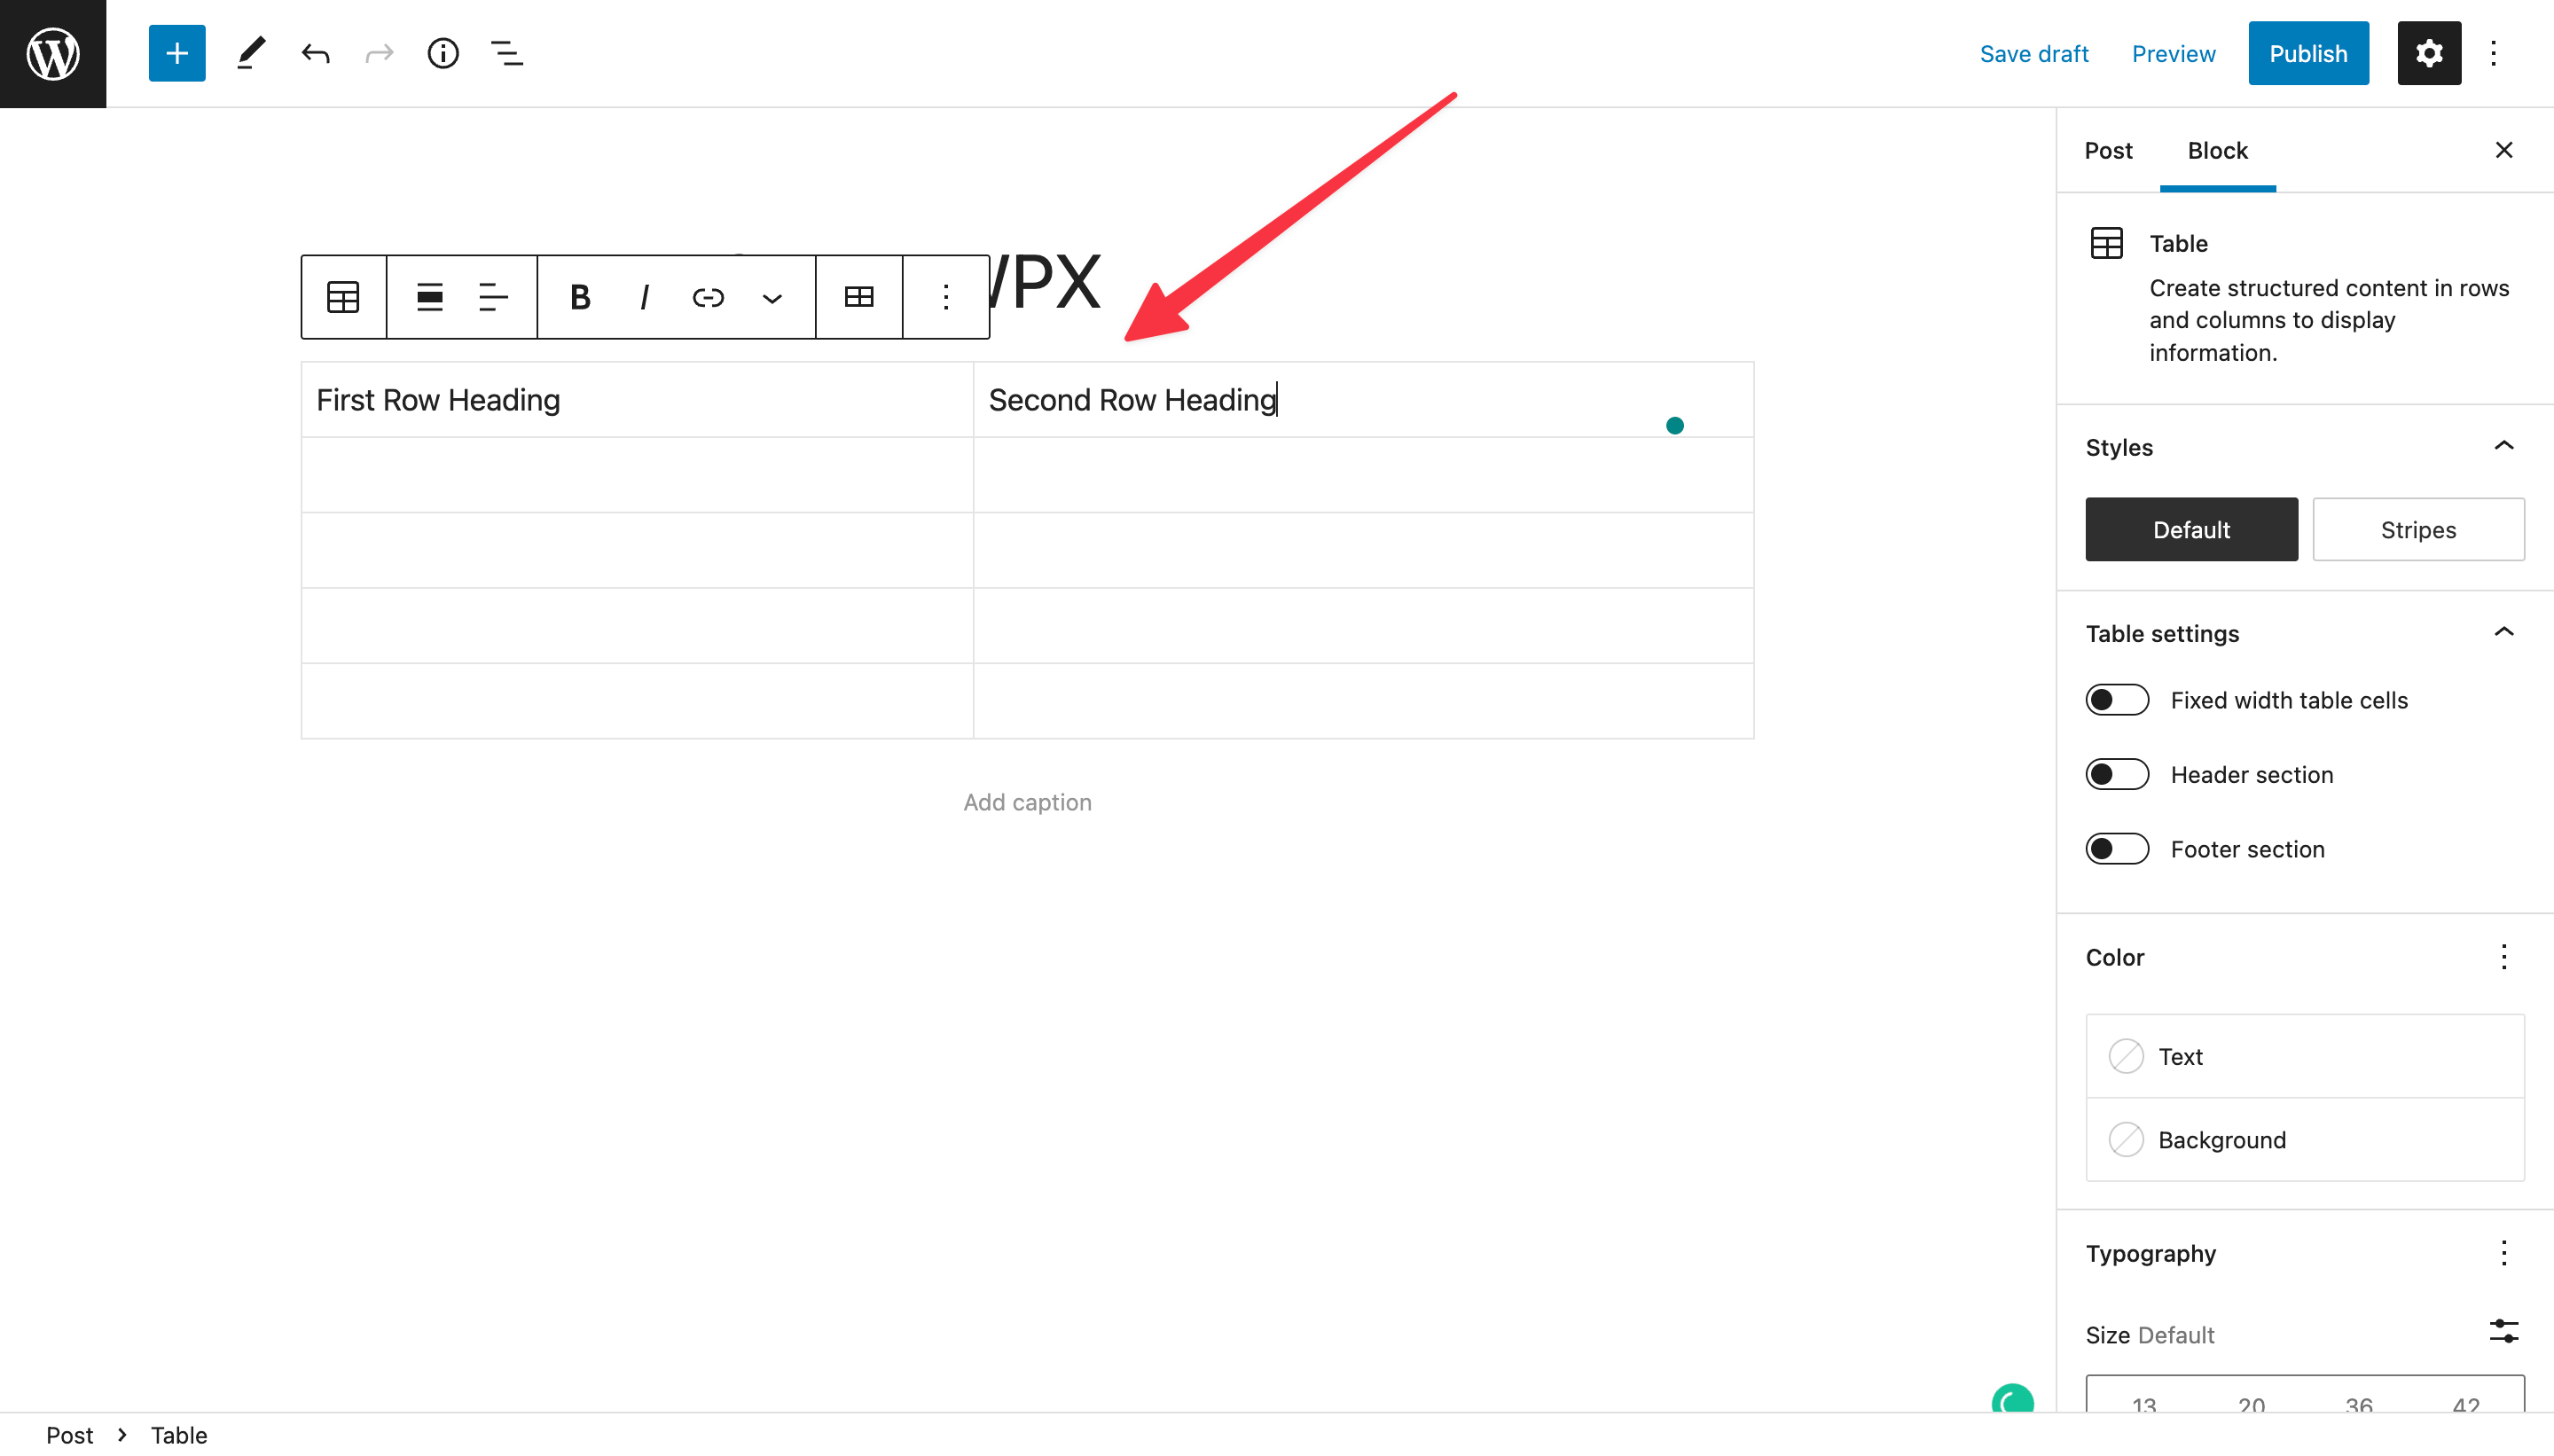
You will now see a basic table with placeholder text. You can start adding your data to the table by clicking on the cells.
That’s all you need to do to create a table in WordPress using Gutenberg.
Creating a Table Using WordPress Plugins
Sometimes we’re uncomfortable using the Gutenberg editor, and we need to enter more complex data in our tables. In situations like this, creating a simple table from the Gutenberg editor will not work for us, and we need something more powerful.
In this case, we’ve to use WordPress plugins to create our tables, and for this, you’ll find tons of plugins in the WordPress repository. And when it comes to adding complex tables, I always trust the TablePress plugin which is available in WordPress for free and allows you to easily create, edit, and manage tables on your website.
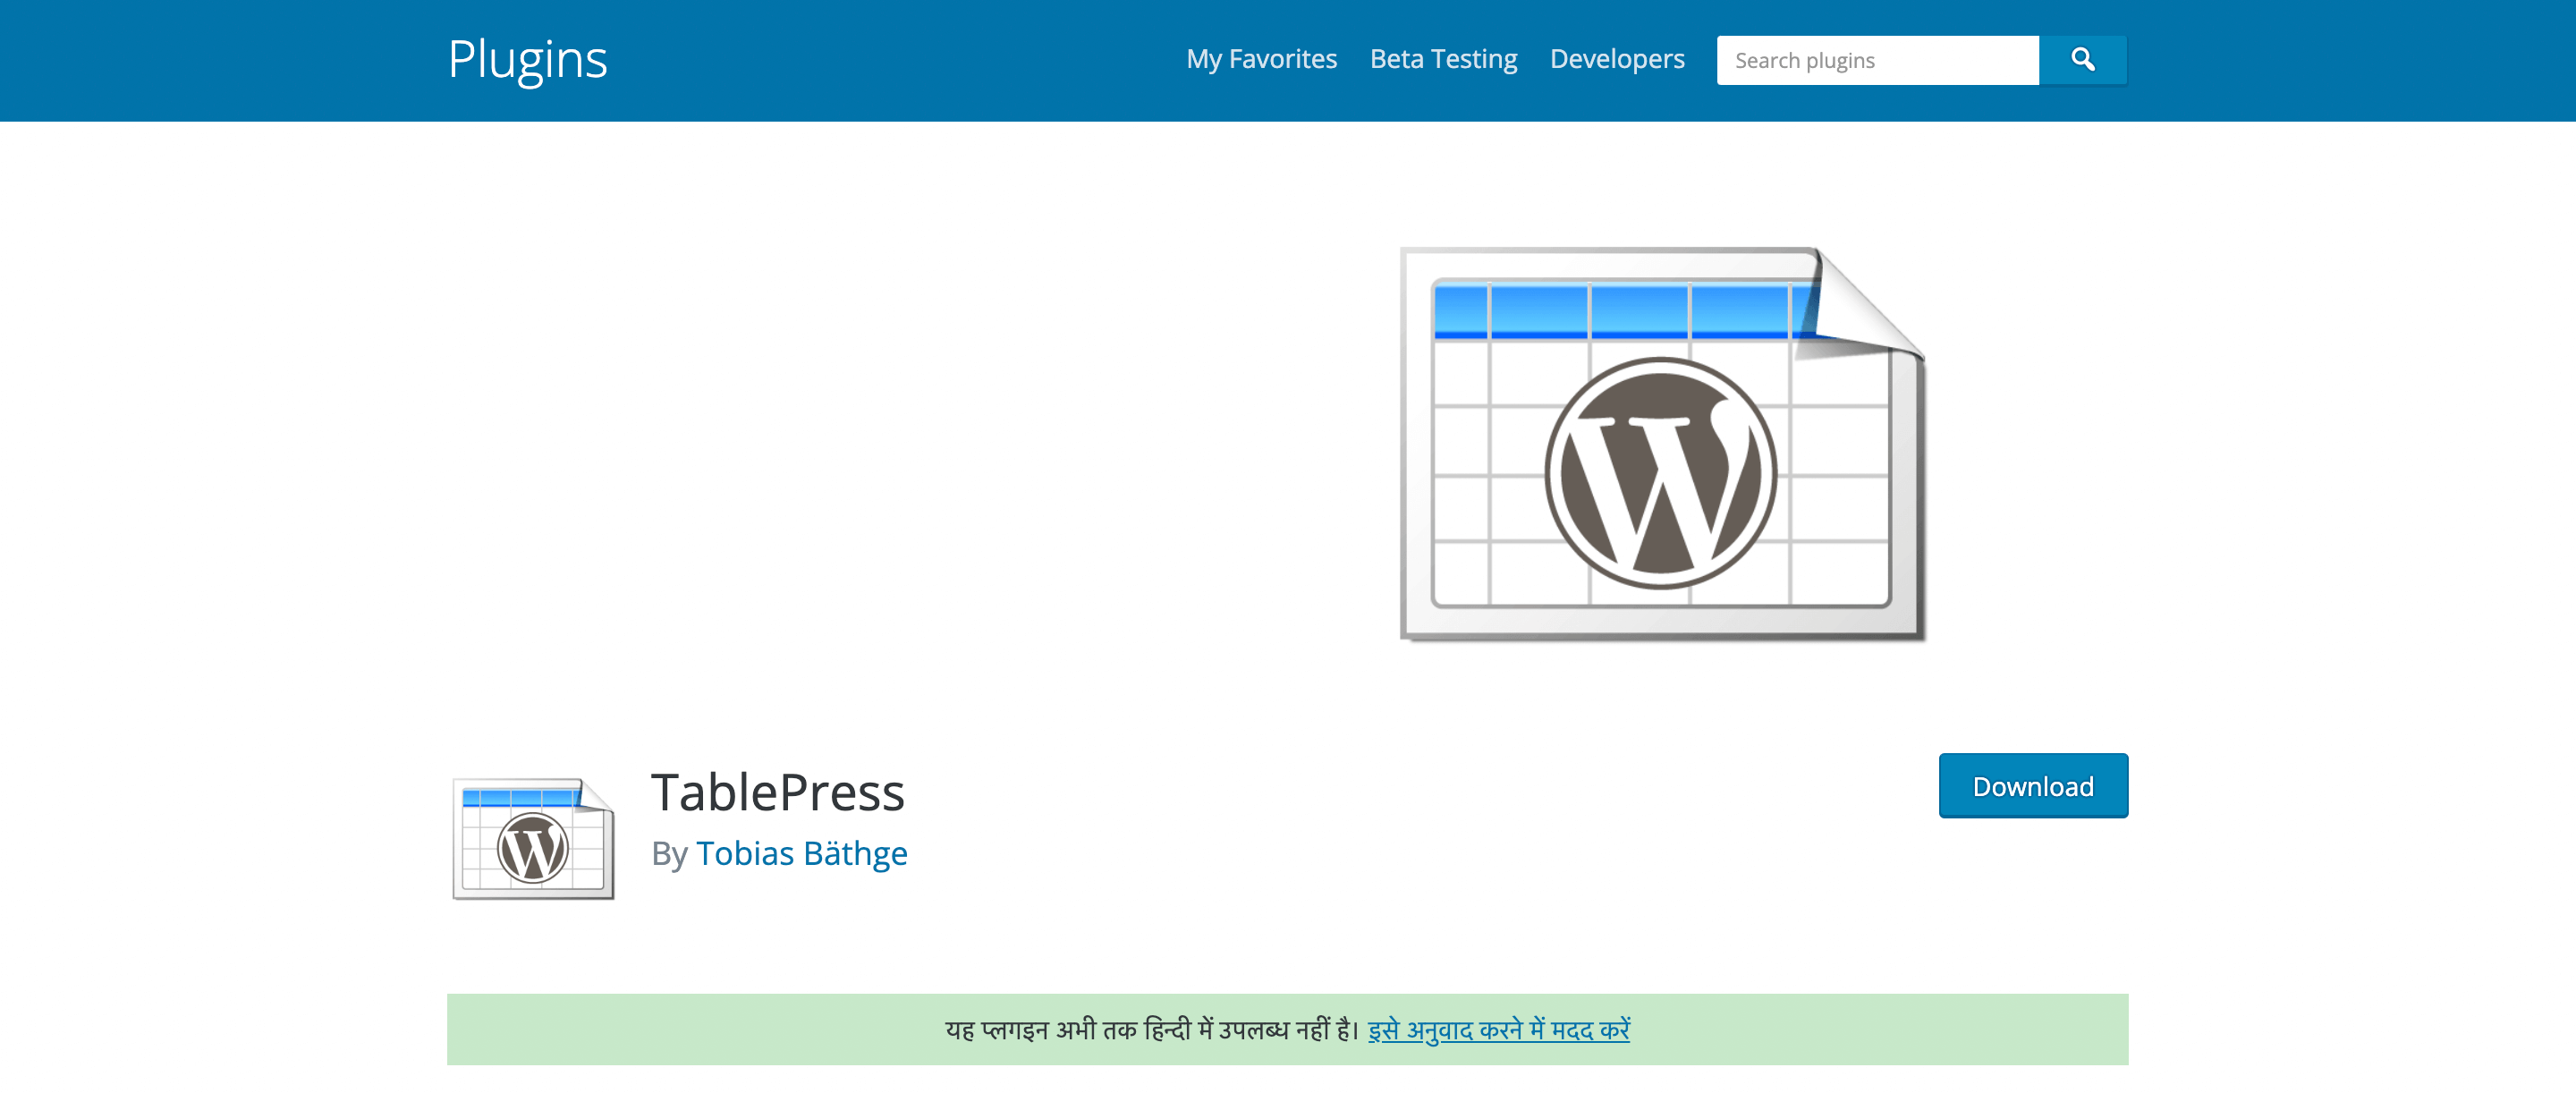
This plugin has over 800K+ active installations with over 99% positive user responses. To get started, you simply need to install and activate this plugin on your website. You can find more details on installing a plugin here.
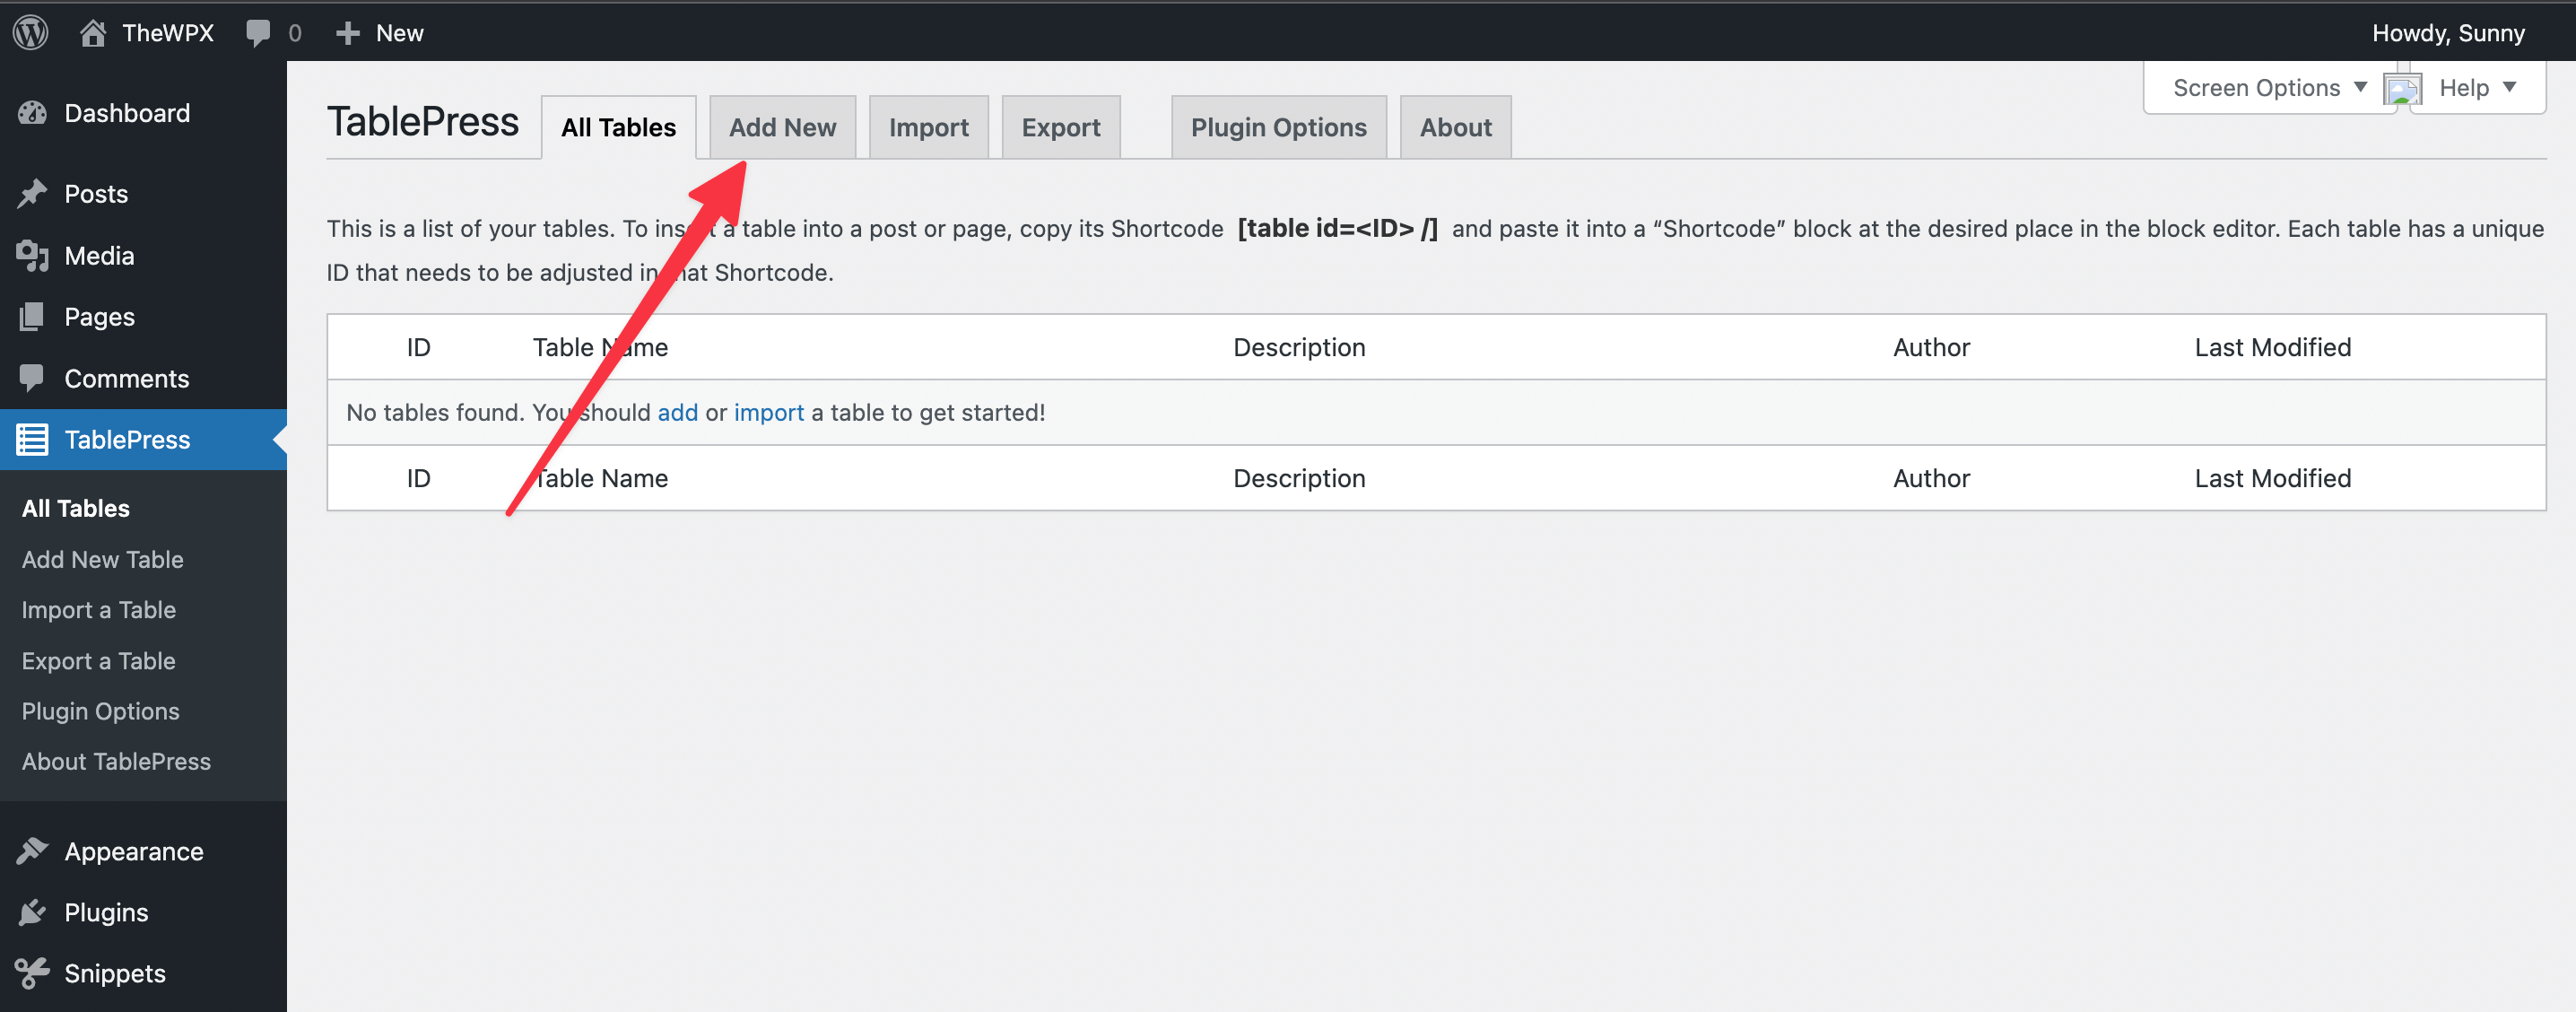
Once the plugin is installed on your website, you need to activate it. After activation, you need to visit the “TablePress > Add New” page to create the table.
And once you’re on this page, you need to enter several details like the table name and table description (optional) and have to select the number of rows and columns you want in your table.
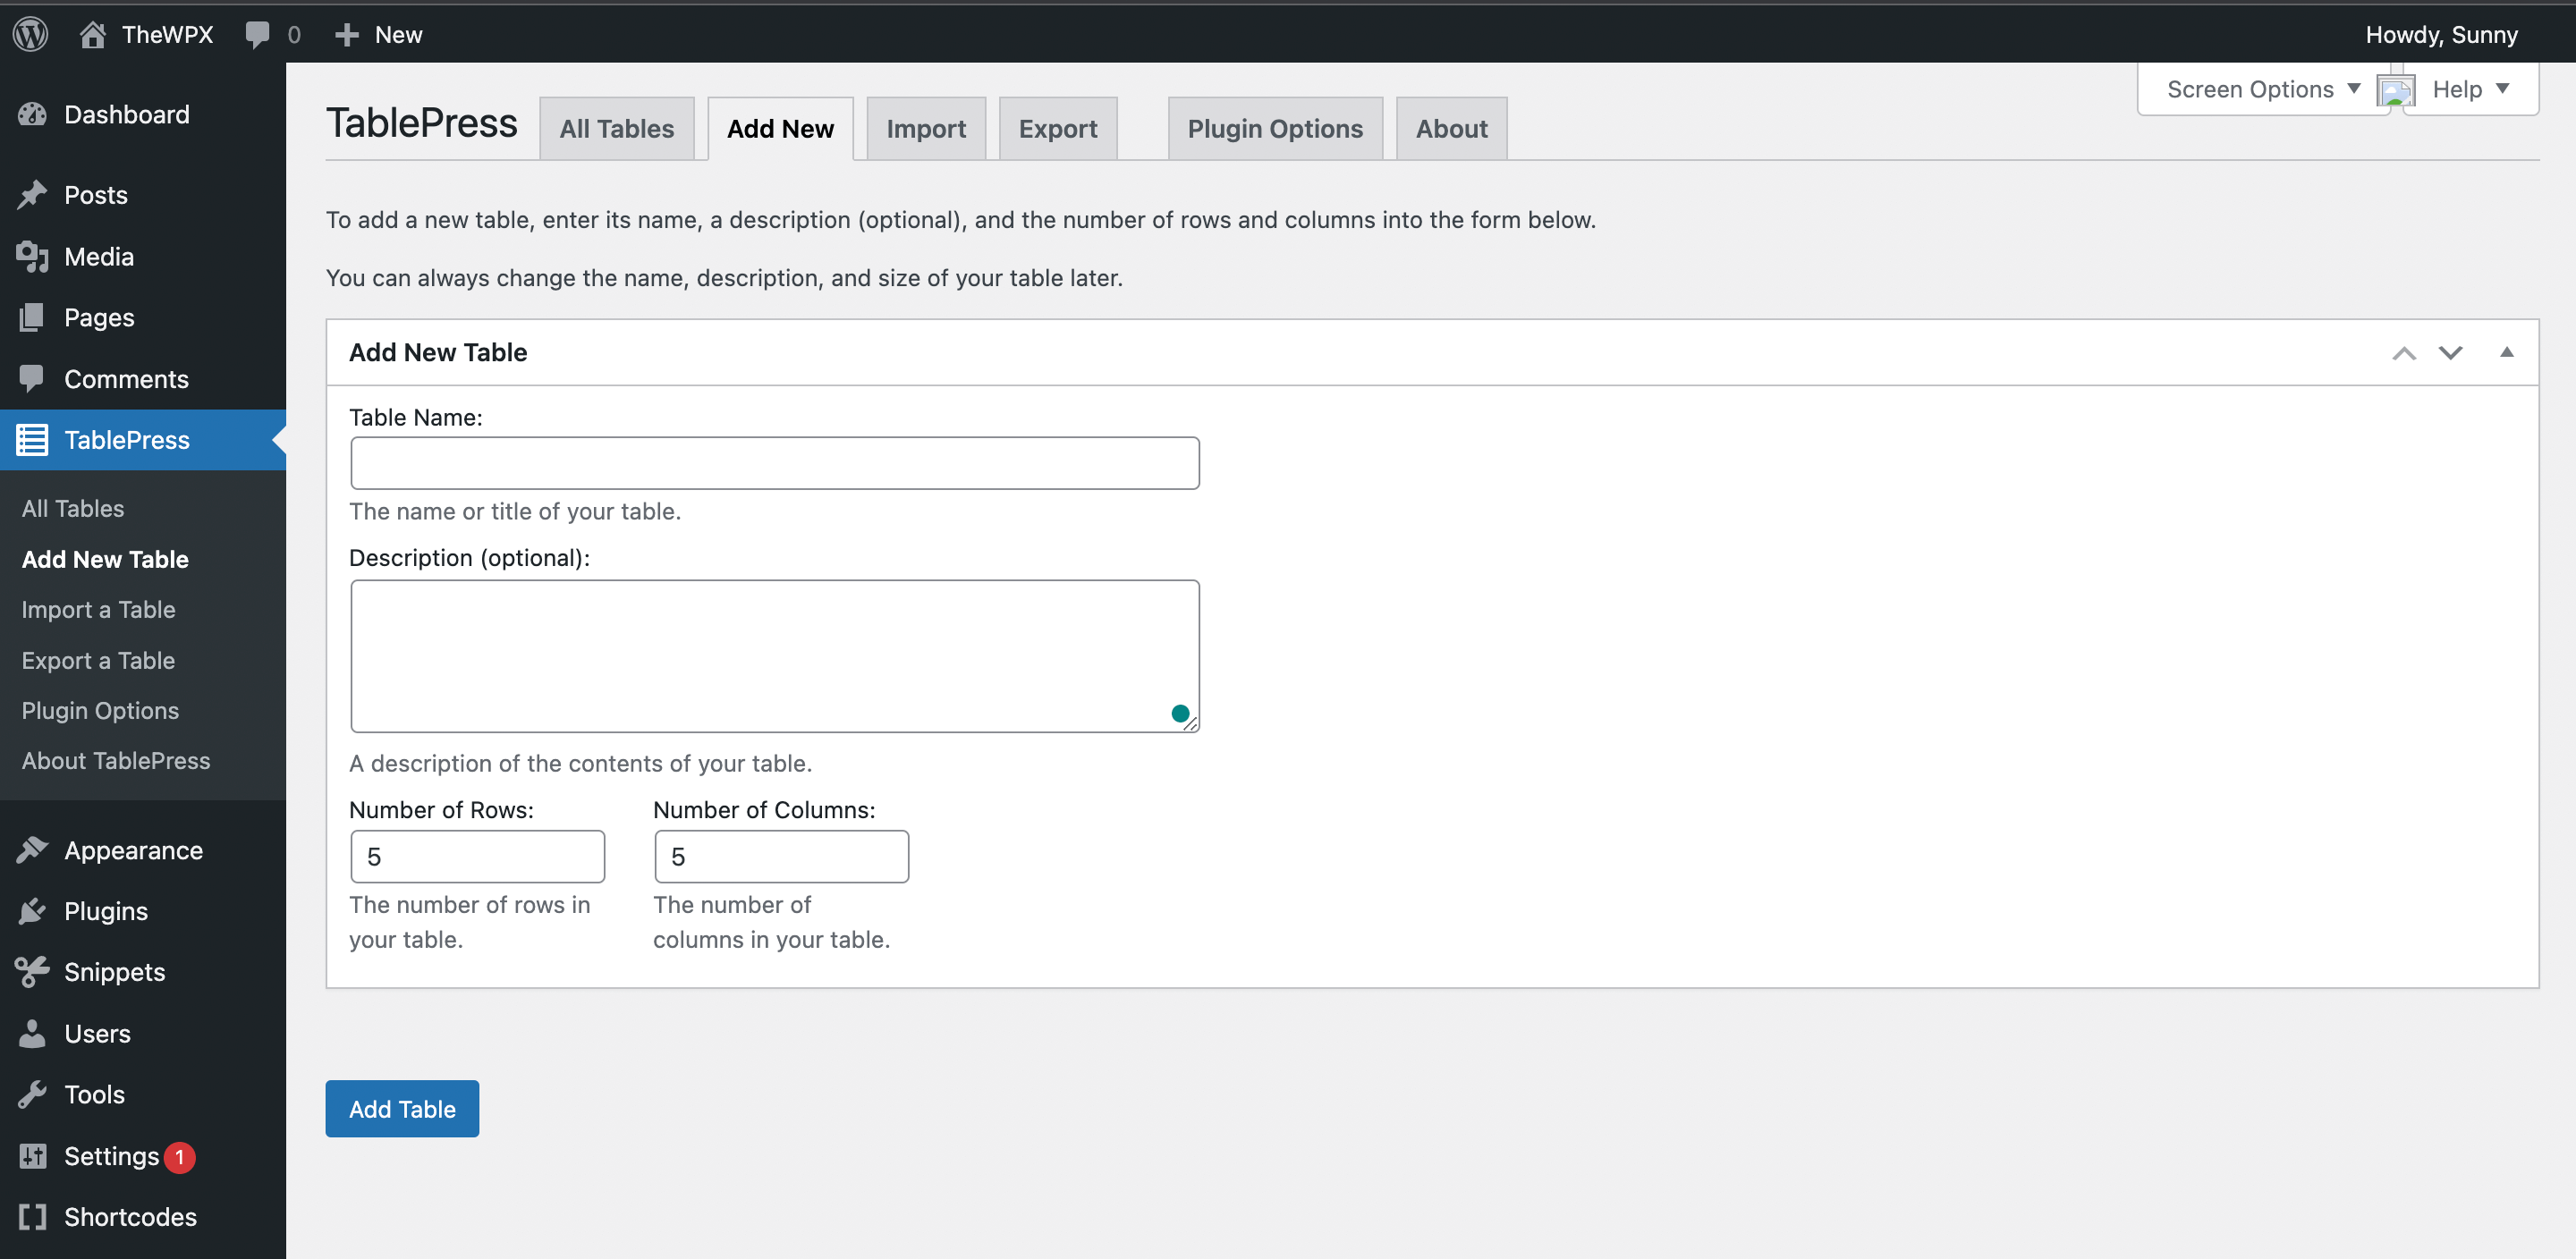
After you have done entering, click on the “Add Table” button to continue.
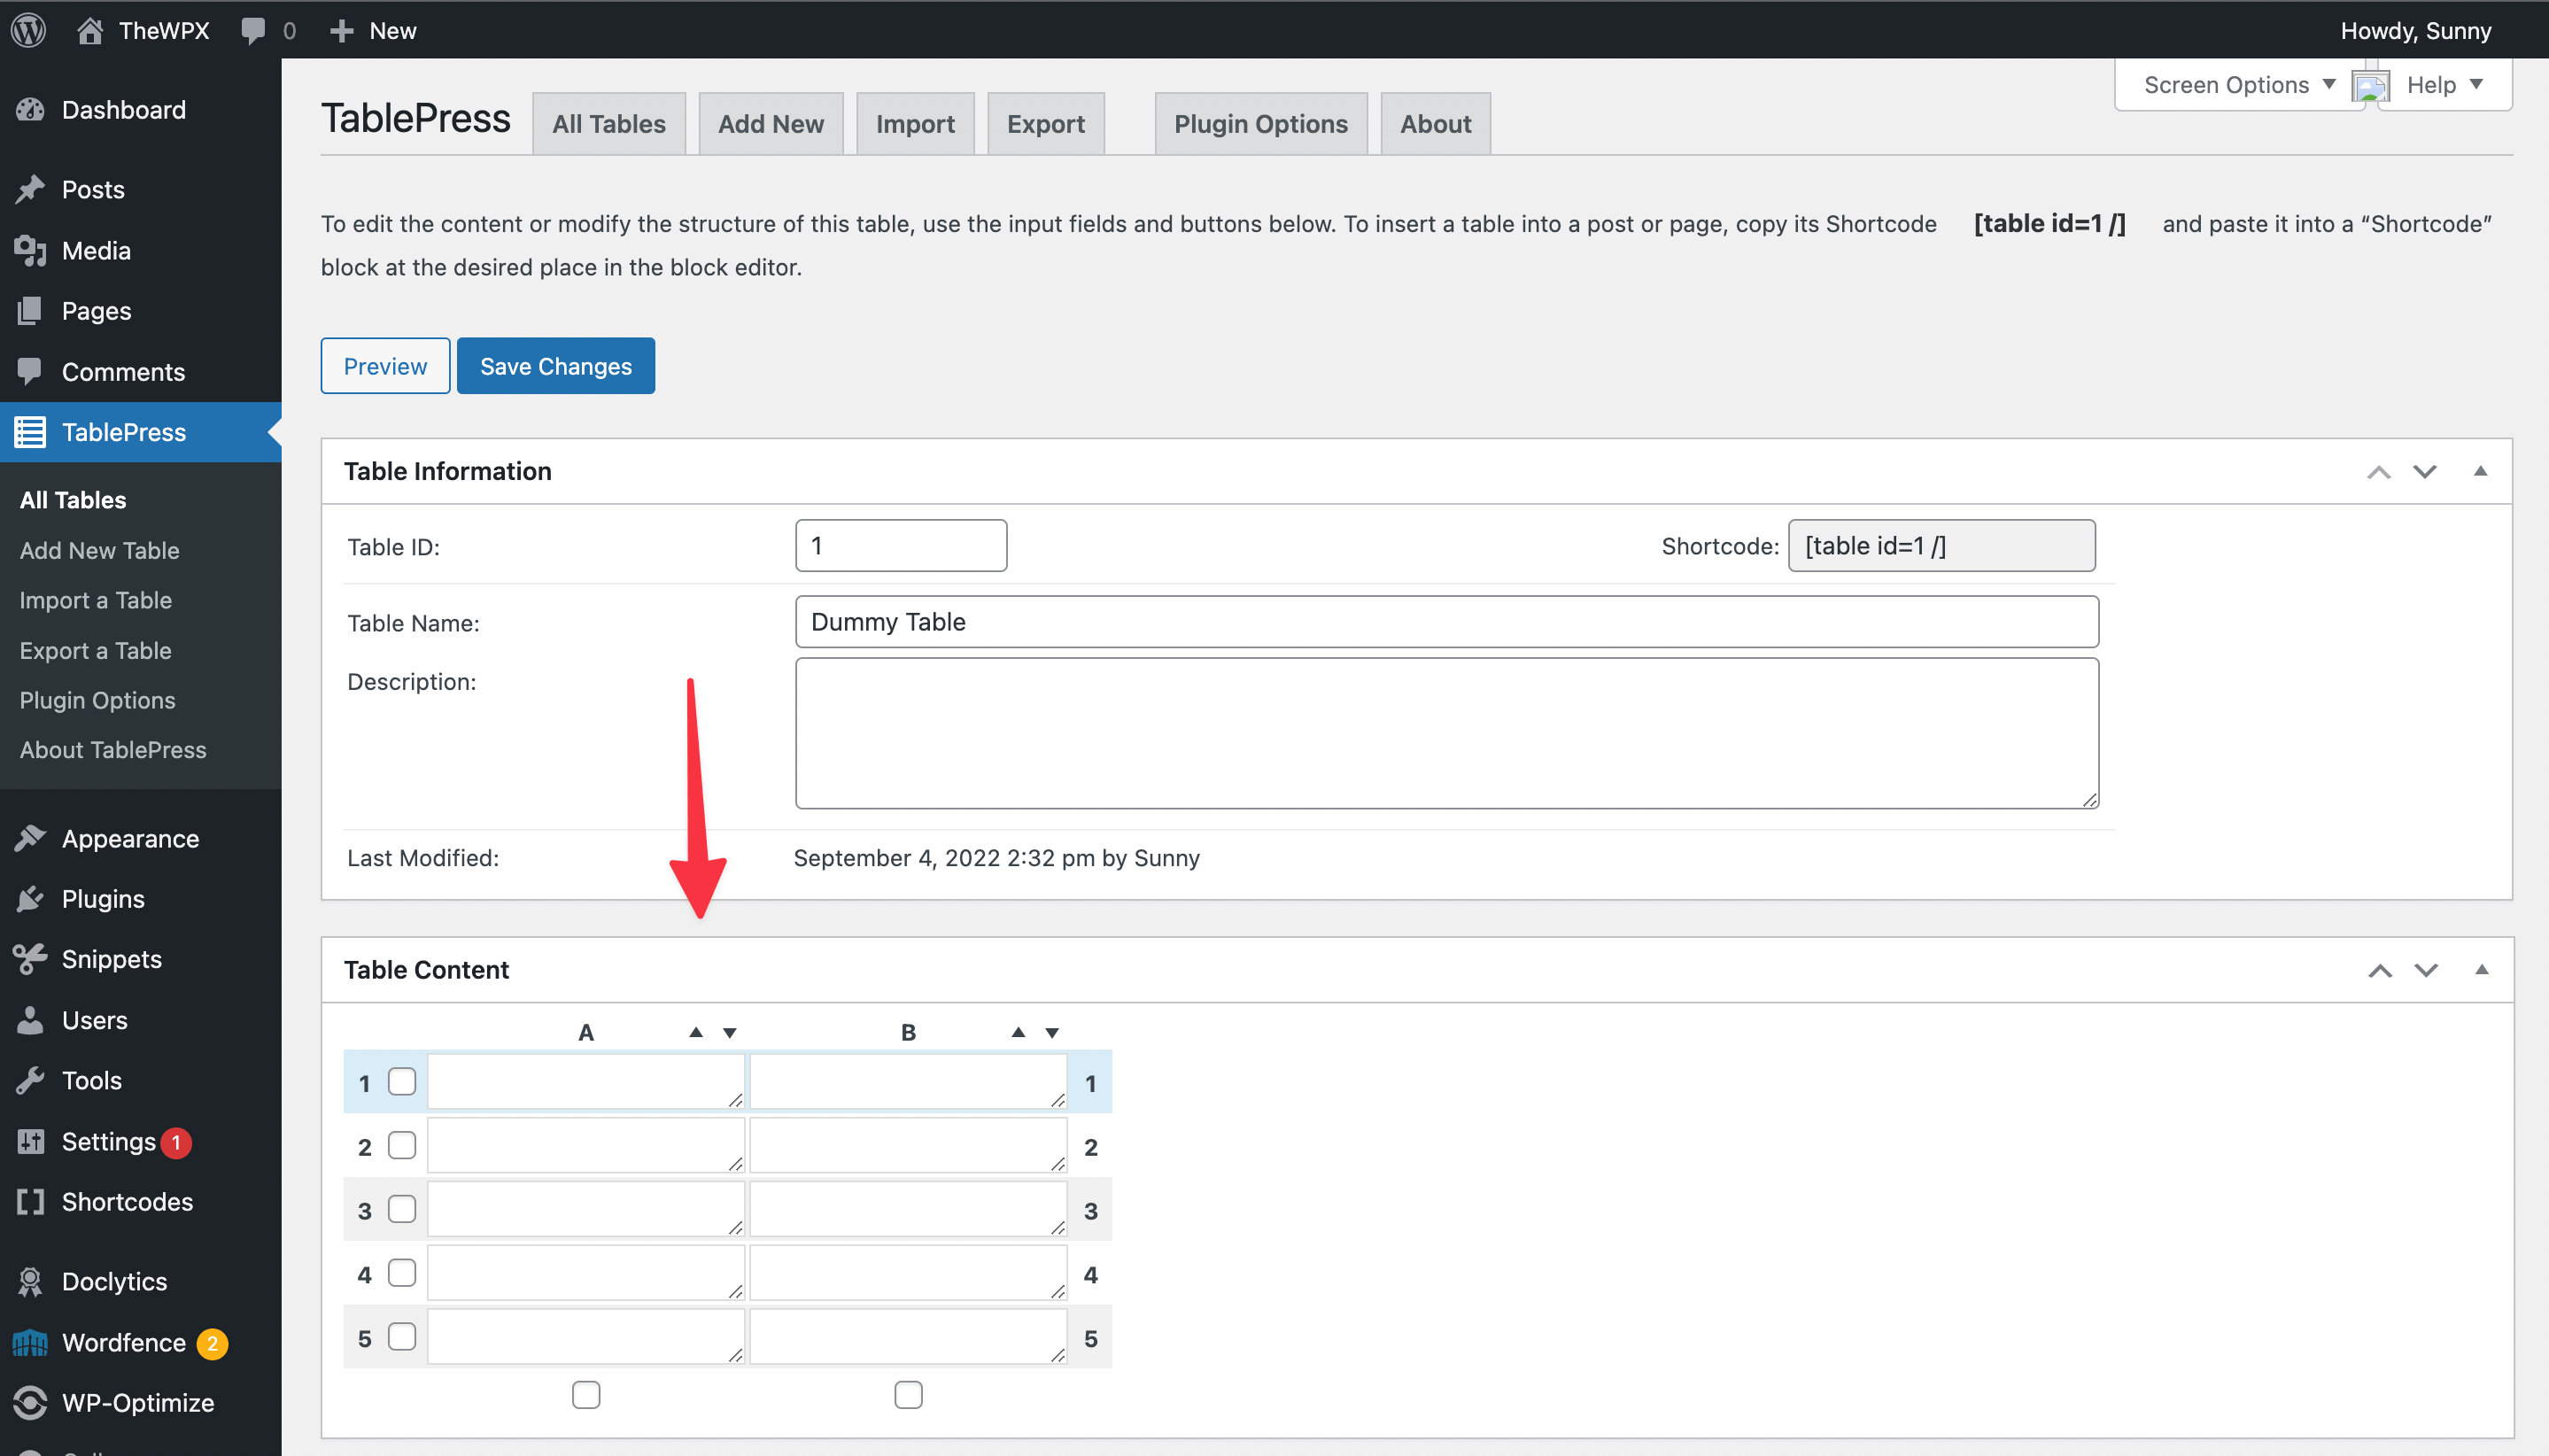
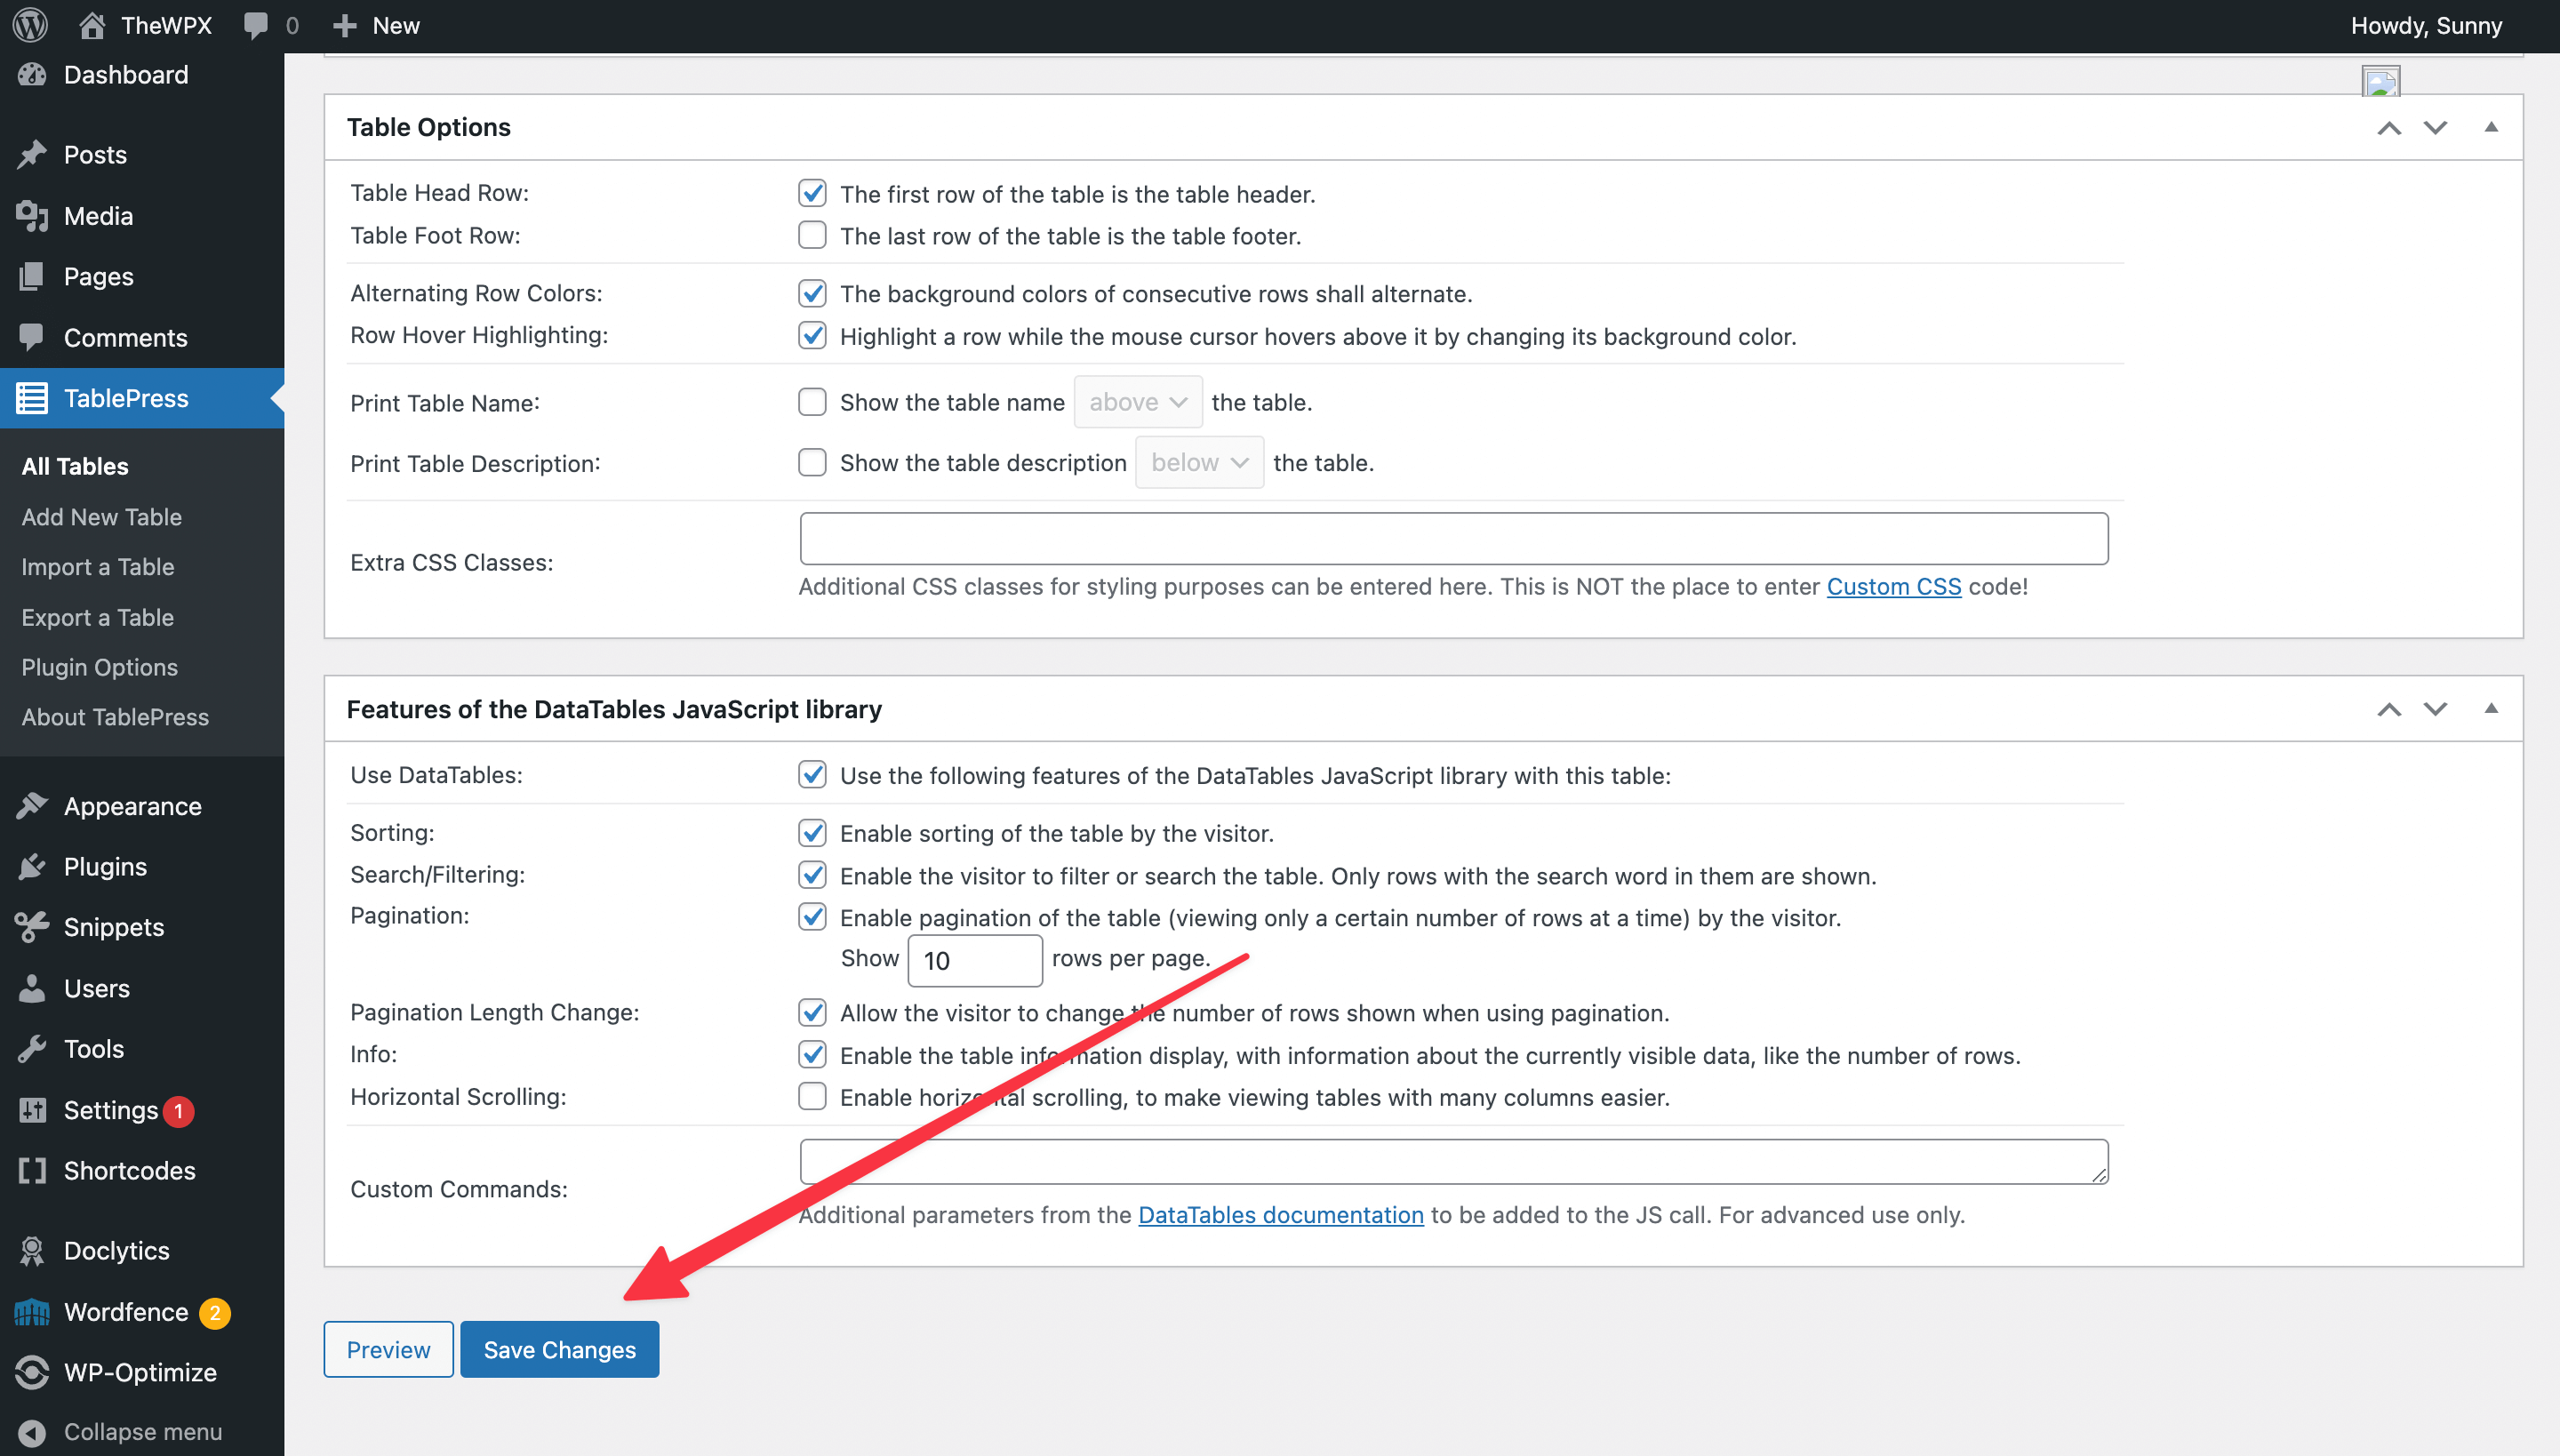
Now you’ll see your sample table with the placeholder text, the shortcode ID, and other details. Based on your requirements, you can select the options from there. And after that, start editing your data to tables by clicking on the cells.
After you’ve added your data to the table, click on the “Save Changes” button to save your changes. Now, you can insert your table anywhere by copying the shortcode, as seen in the image above.
That’s all; you have successfully created a table in WordPress using a plugin.
Creating a Table Using HTML Codes
Sometimes, we only want to show tables in one or two posts, and using a table plugin to show just 1 to 2 tables doesn’t make any sense. It also consumes our bandwidth and requests, further slowing our website and degrading its performance.
In that scenario, we always wanted to try a method that doesn’t consume our extra bandwidth and doesn’t affect our website’s performance. And adding custom HTML code to our website seems the most efficient way.
However, this method is a bit complex for non-tech people and requires some basic knowledge of HTML and CSS. And if you’re not familiar with coding, then we don’t recommend using this method.
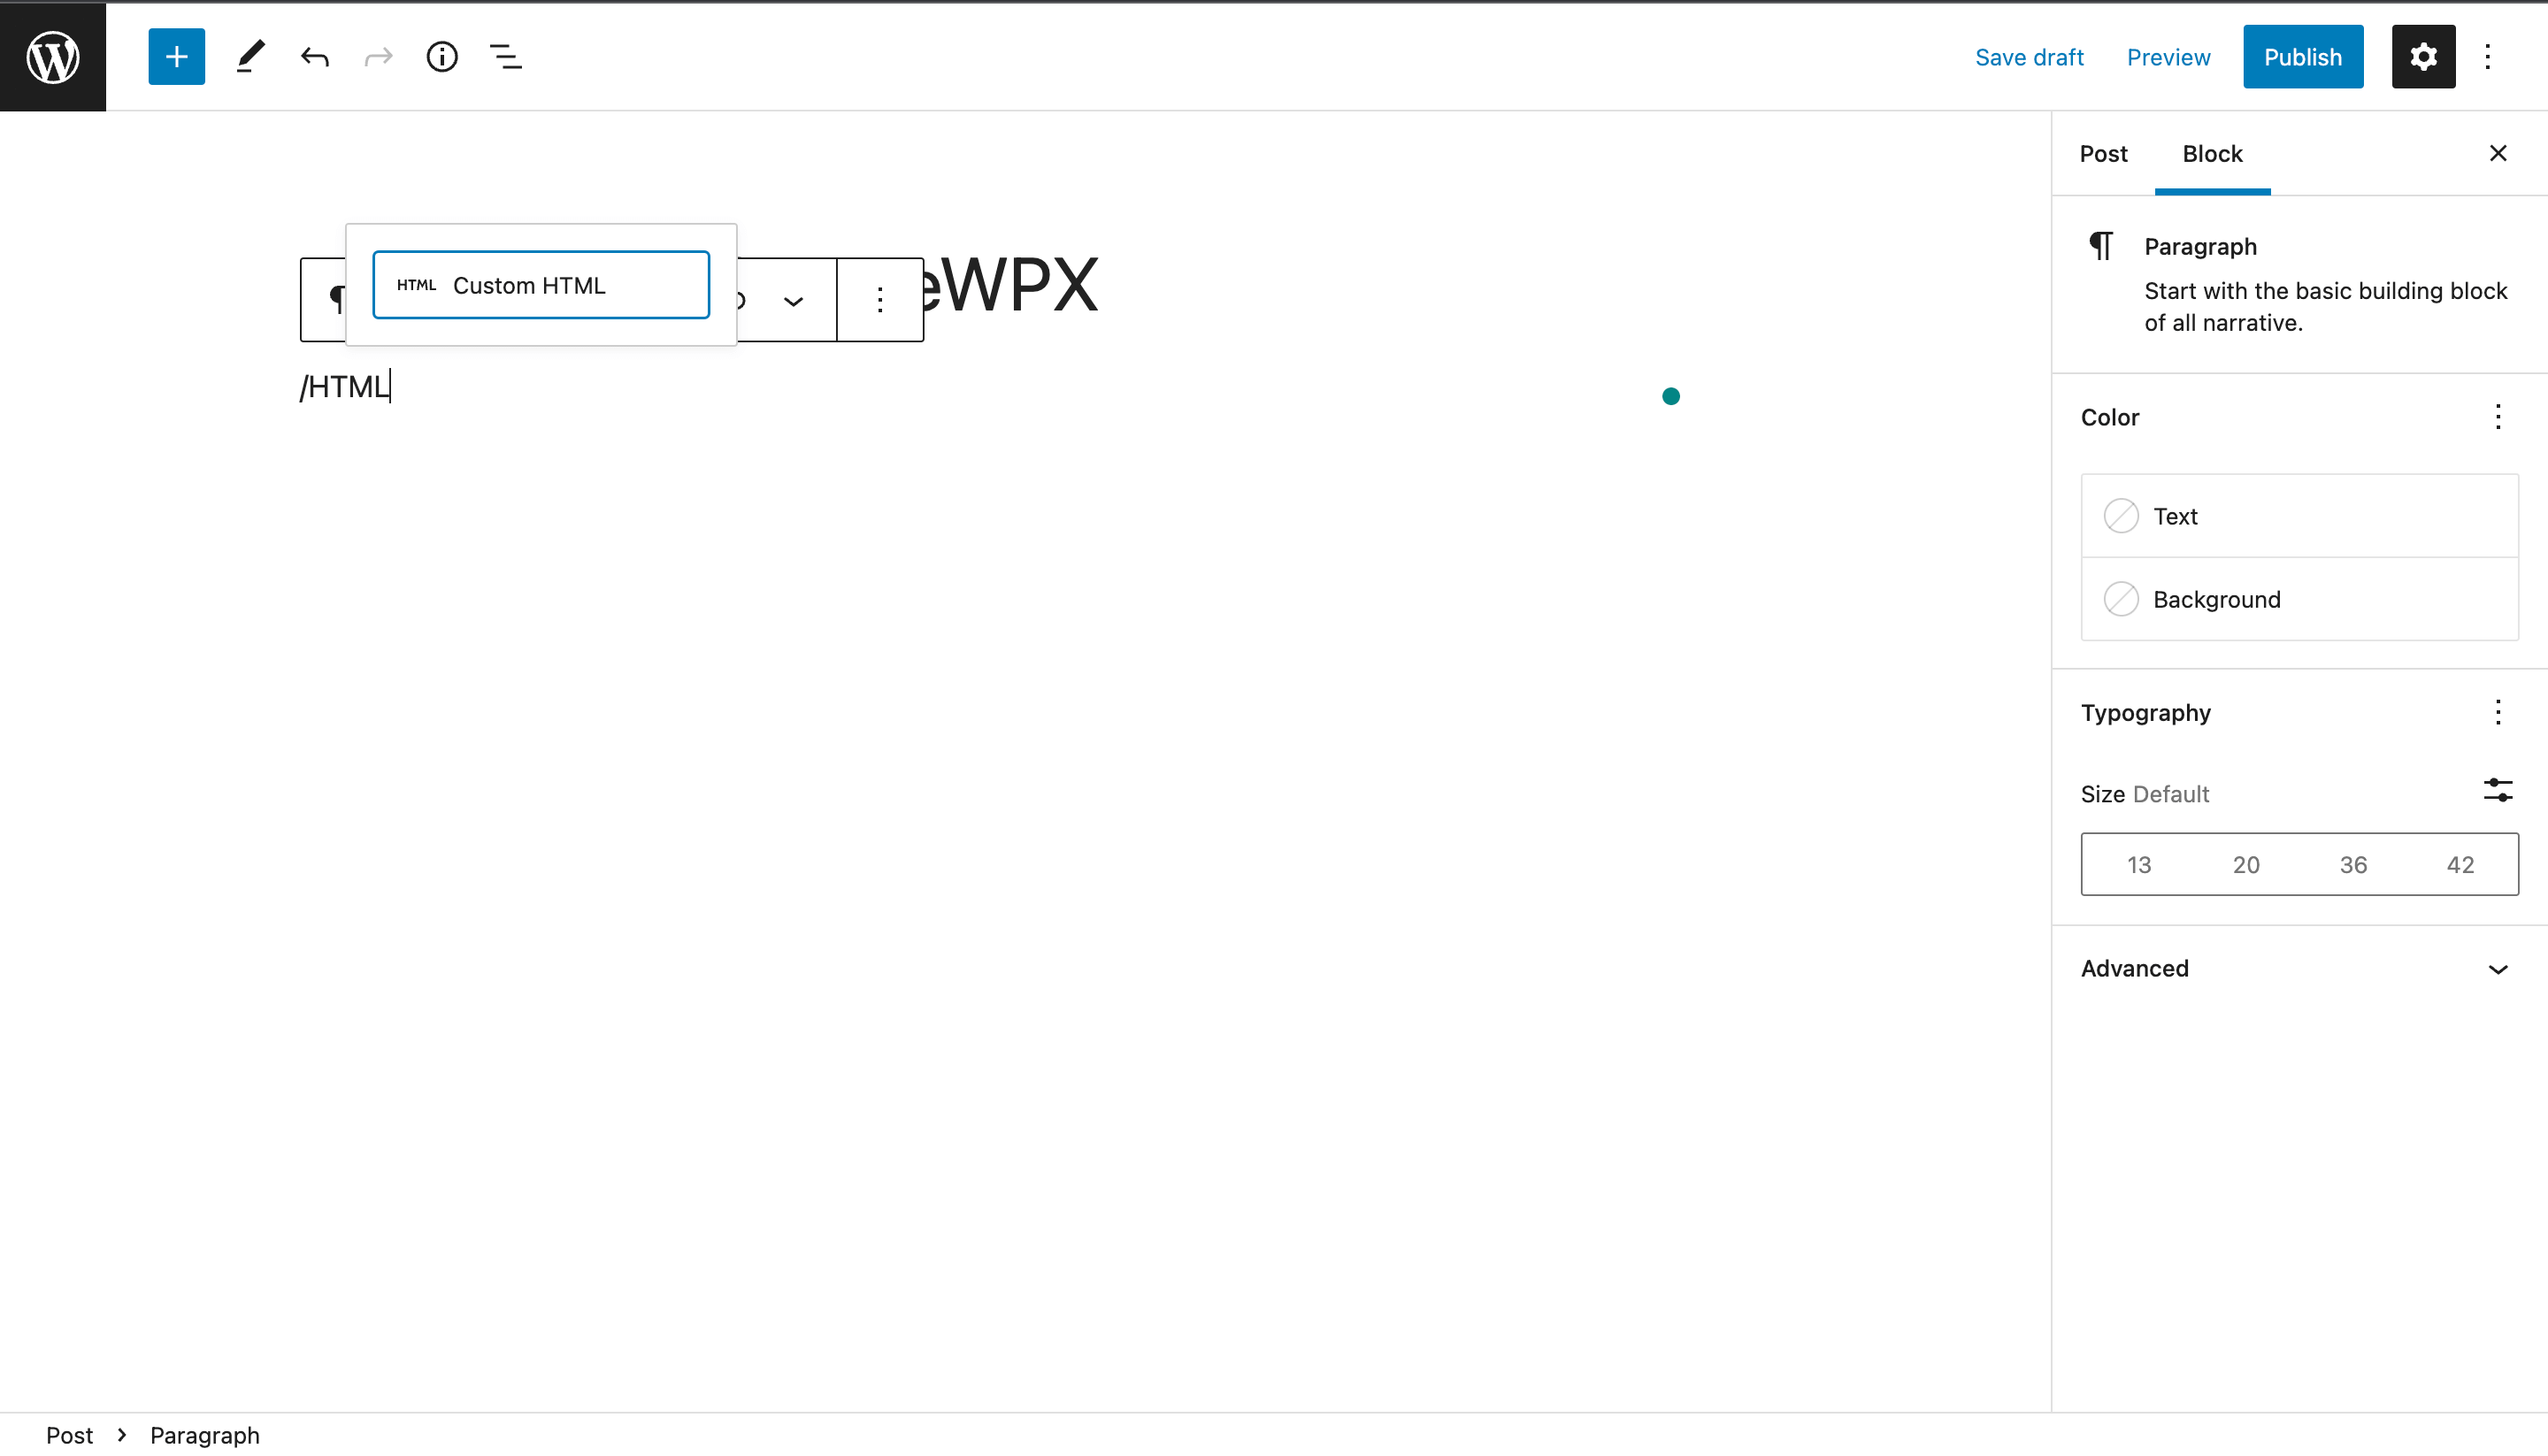
To create a table using HTML, first, you need to create a new post or page where you want to insert the table. After that, click on the “Text” tab next to the “Visual” option to switch from the visual to the text editor. And if you’re using Gutenberg, then click on the “+” icon and add a “Custom HTML” block.
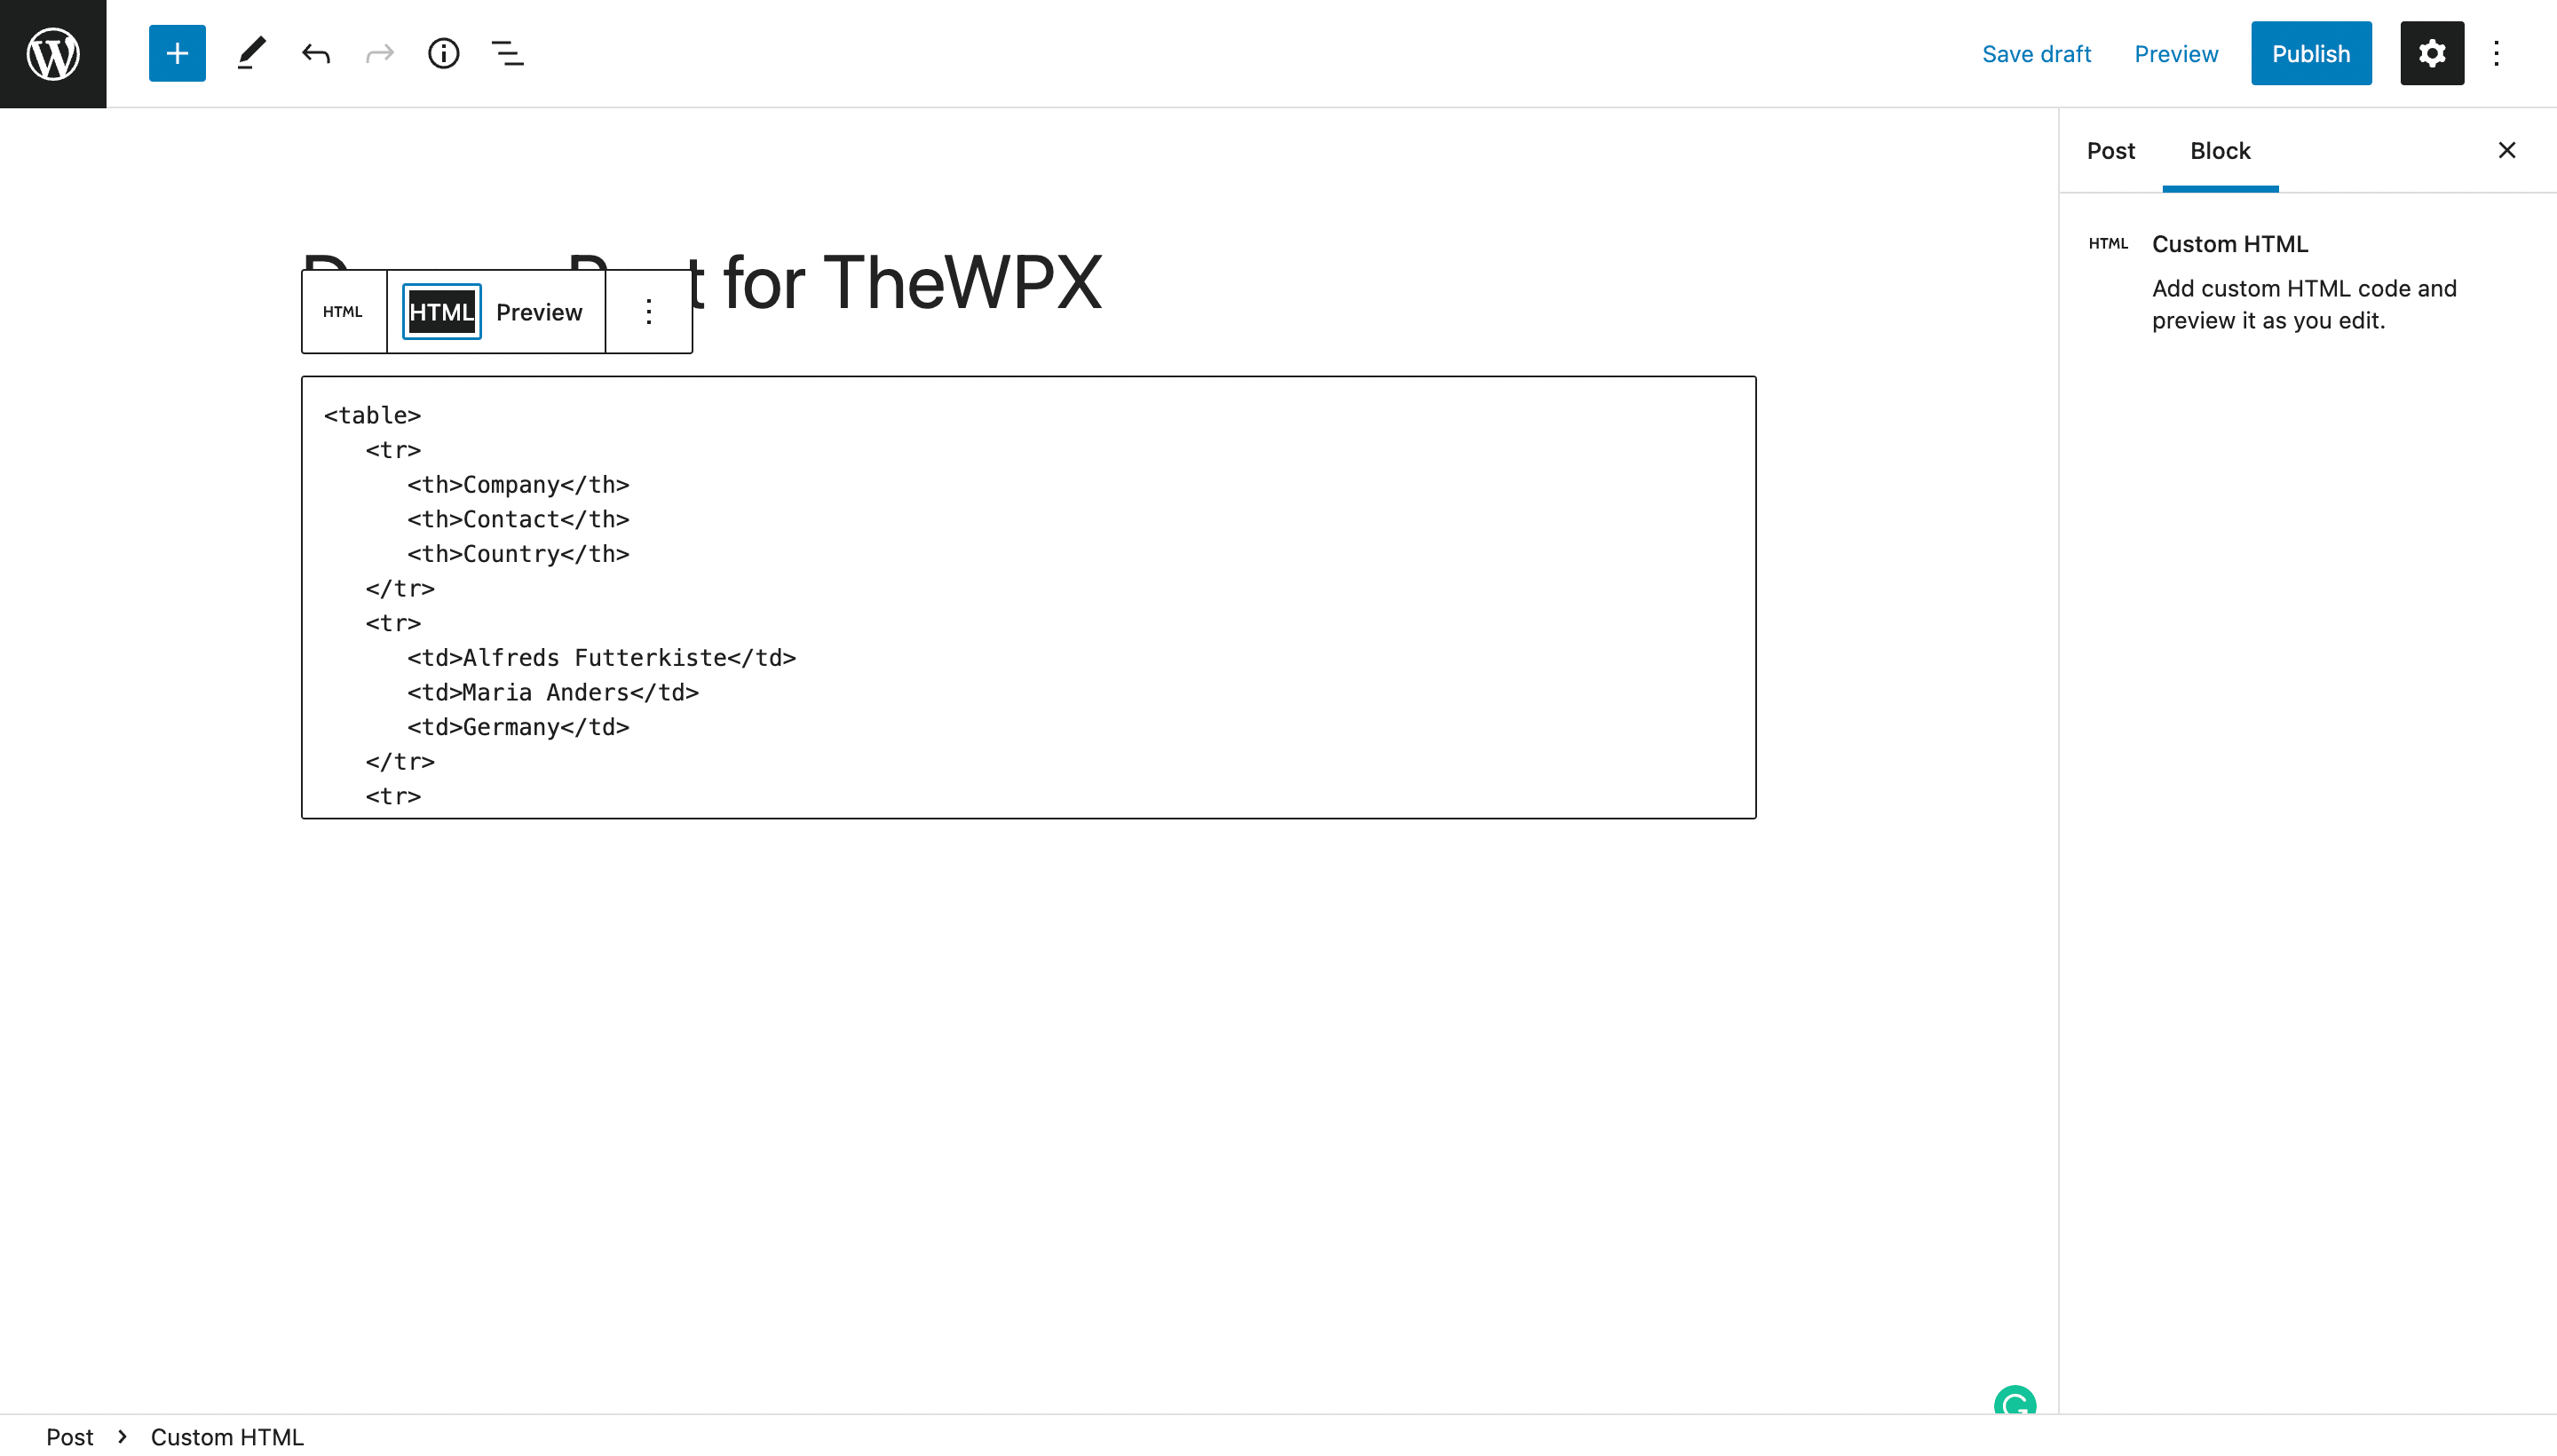
Once you’re on the text editor or the HTML block, you must paste the code we shared below into the desired location.
This is just a basic HTML table with three table columns. If you want, you can add more columns and rows to your table by copying the <tr> (table row) and <td> (table data) sections.
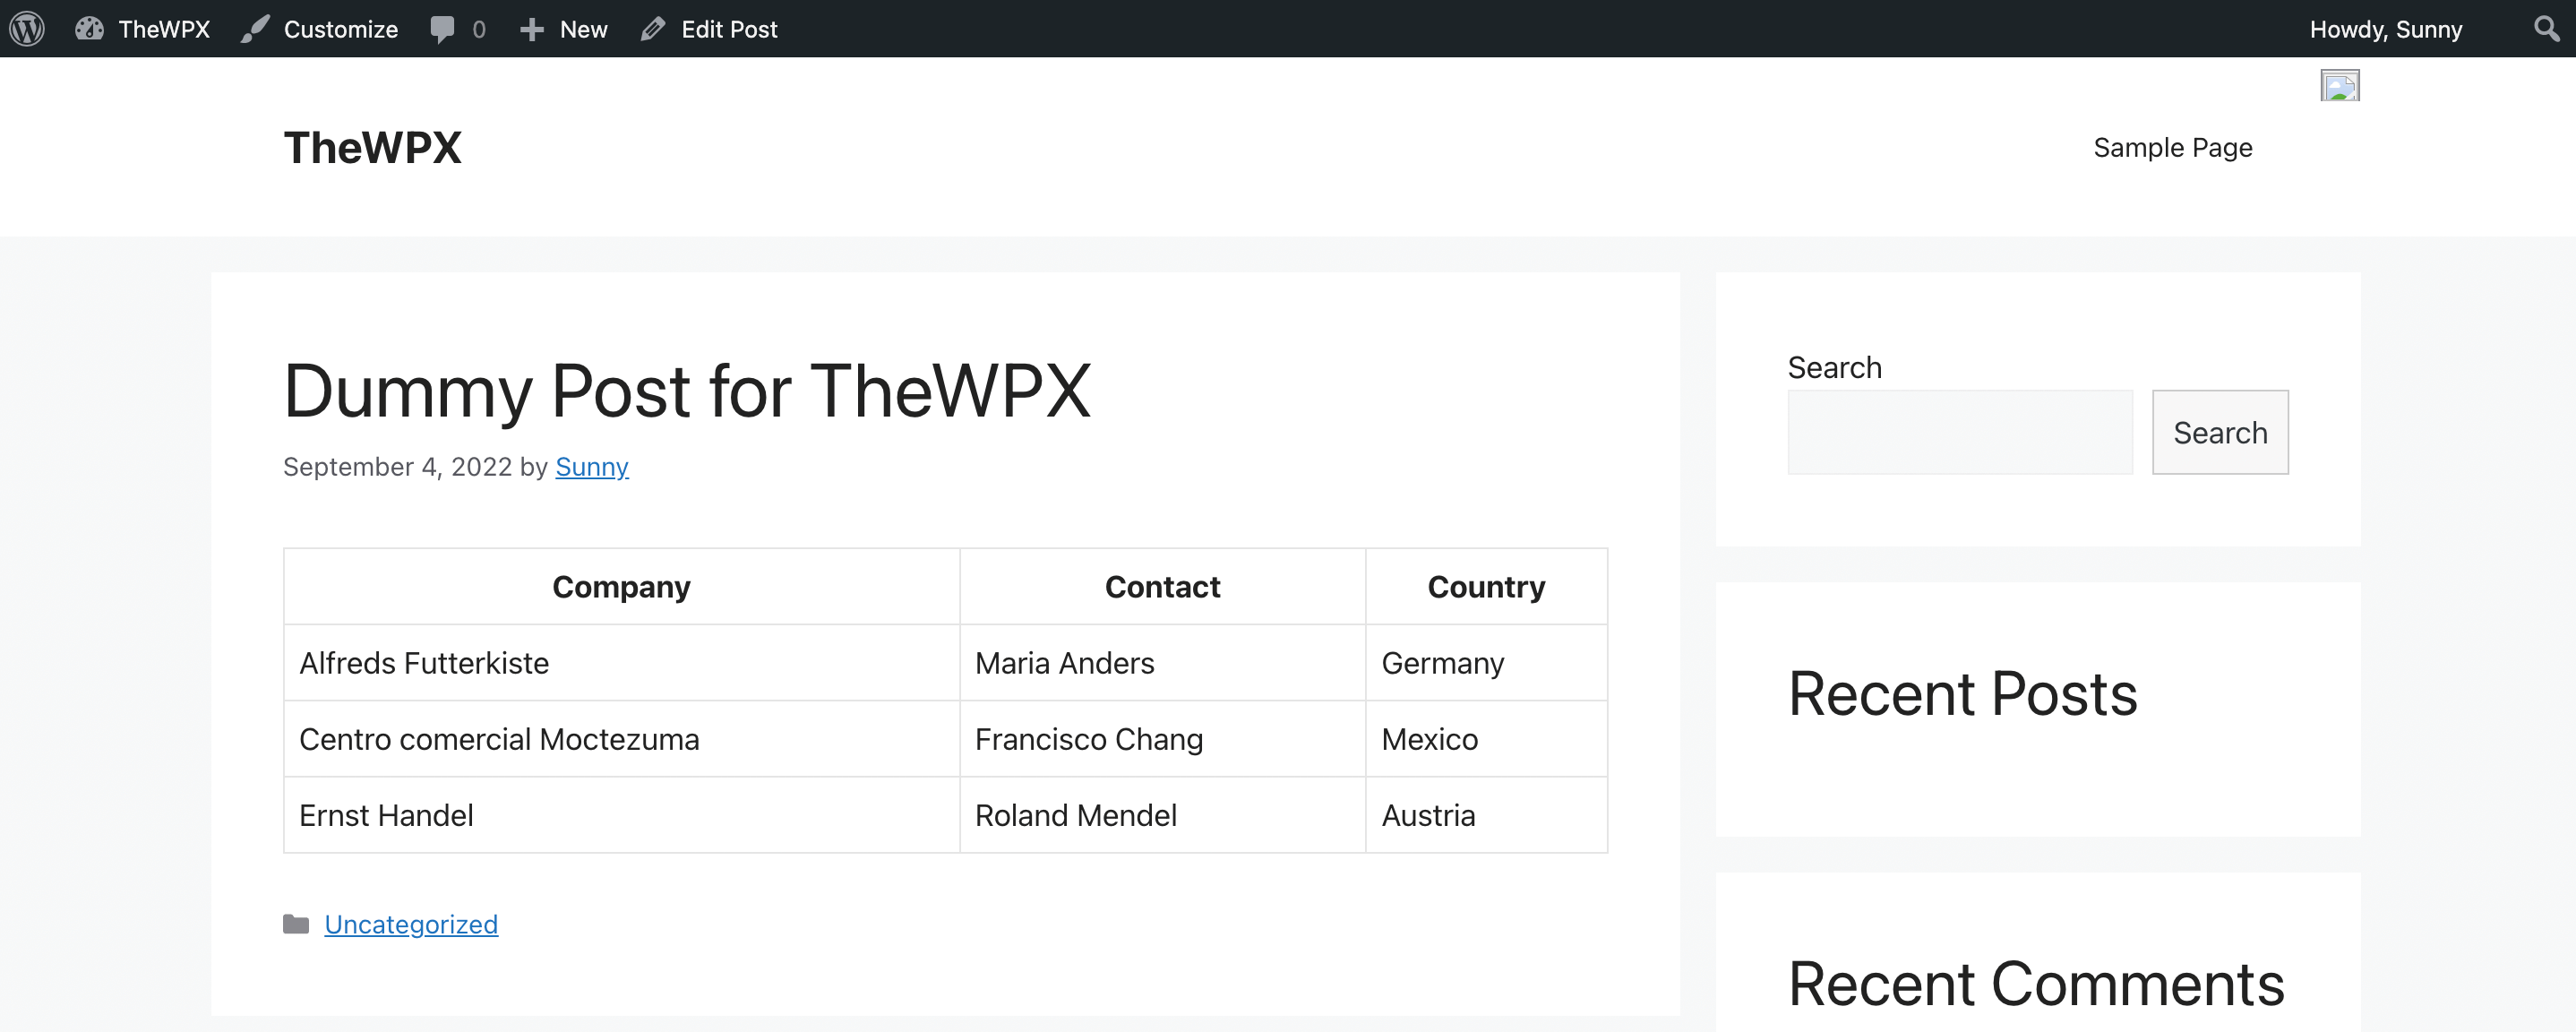
That’s all you need to do. And don’t forget to click on the “Update” or “Publish” button to store your changes.
Creating a Table Using Google Docs
I know how difficult it is to create a table in your WordPress website when you don’t know HTML and CSS and if you don’t want to use a plugin. In cases like this, the option left is to use Google Docs for creating tables.
Basically, in this method, you need to create a table in your Google Docs with desired data and copy-paste it from Docs to WordPress.
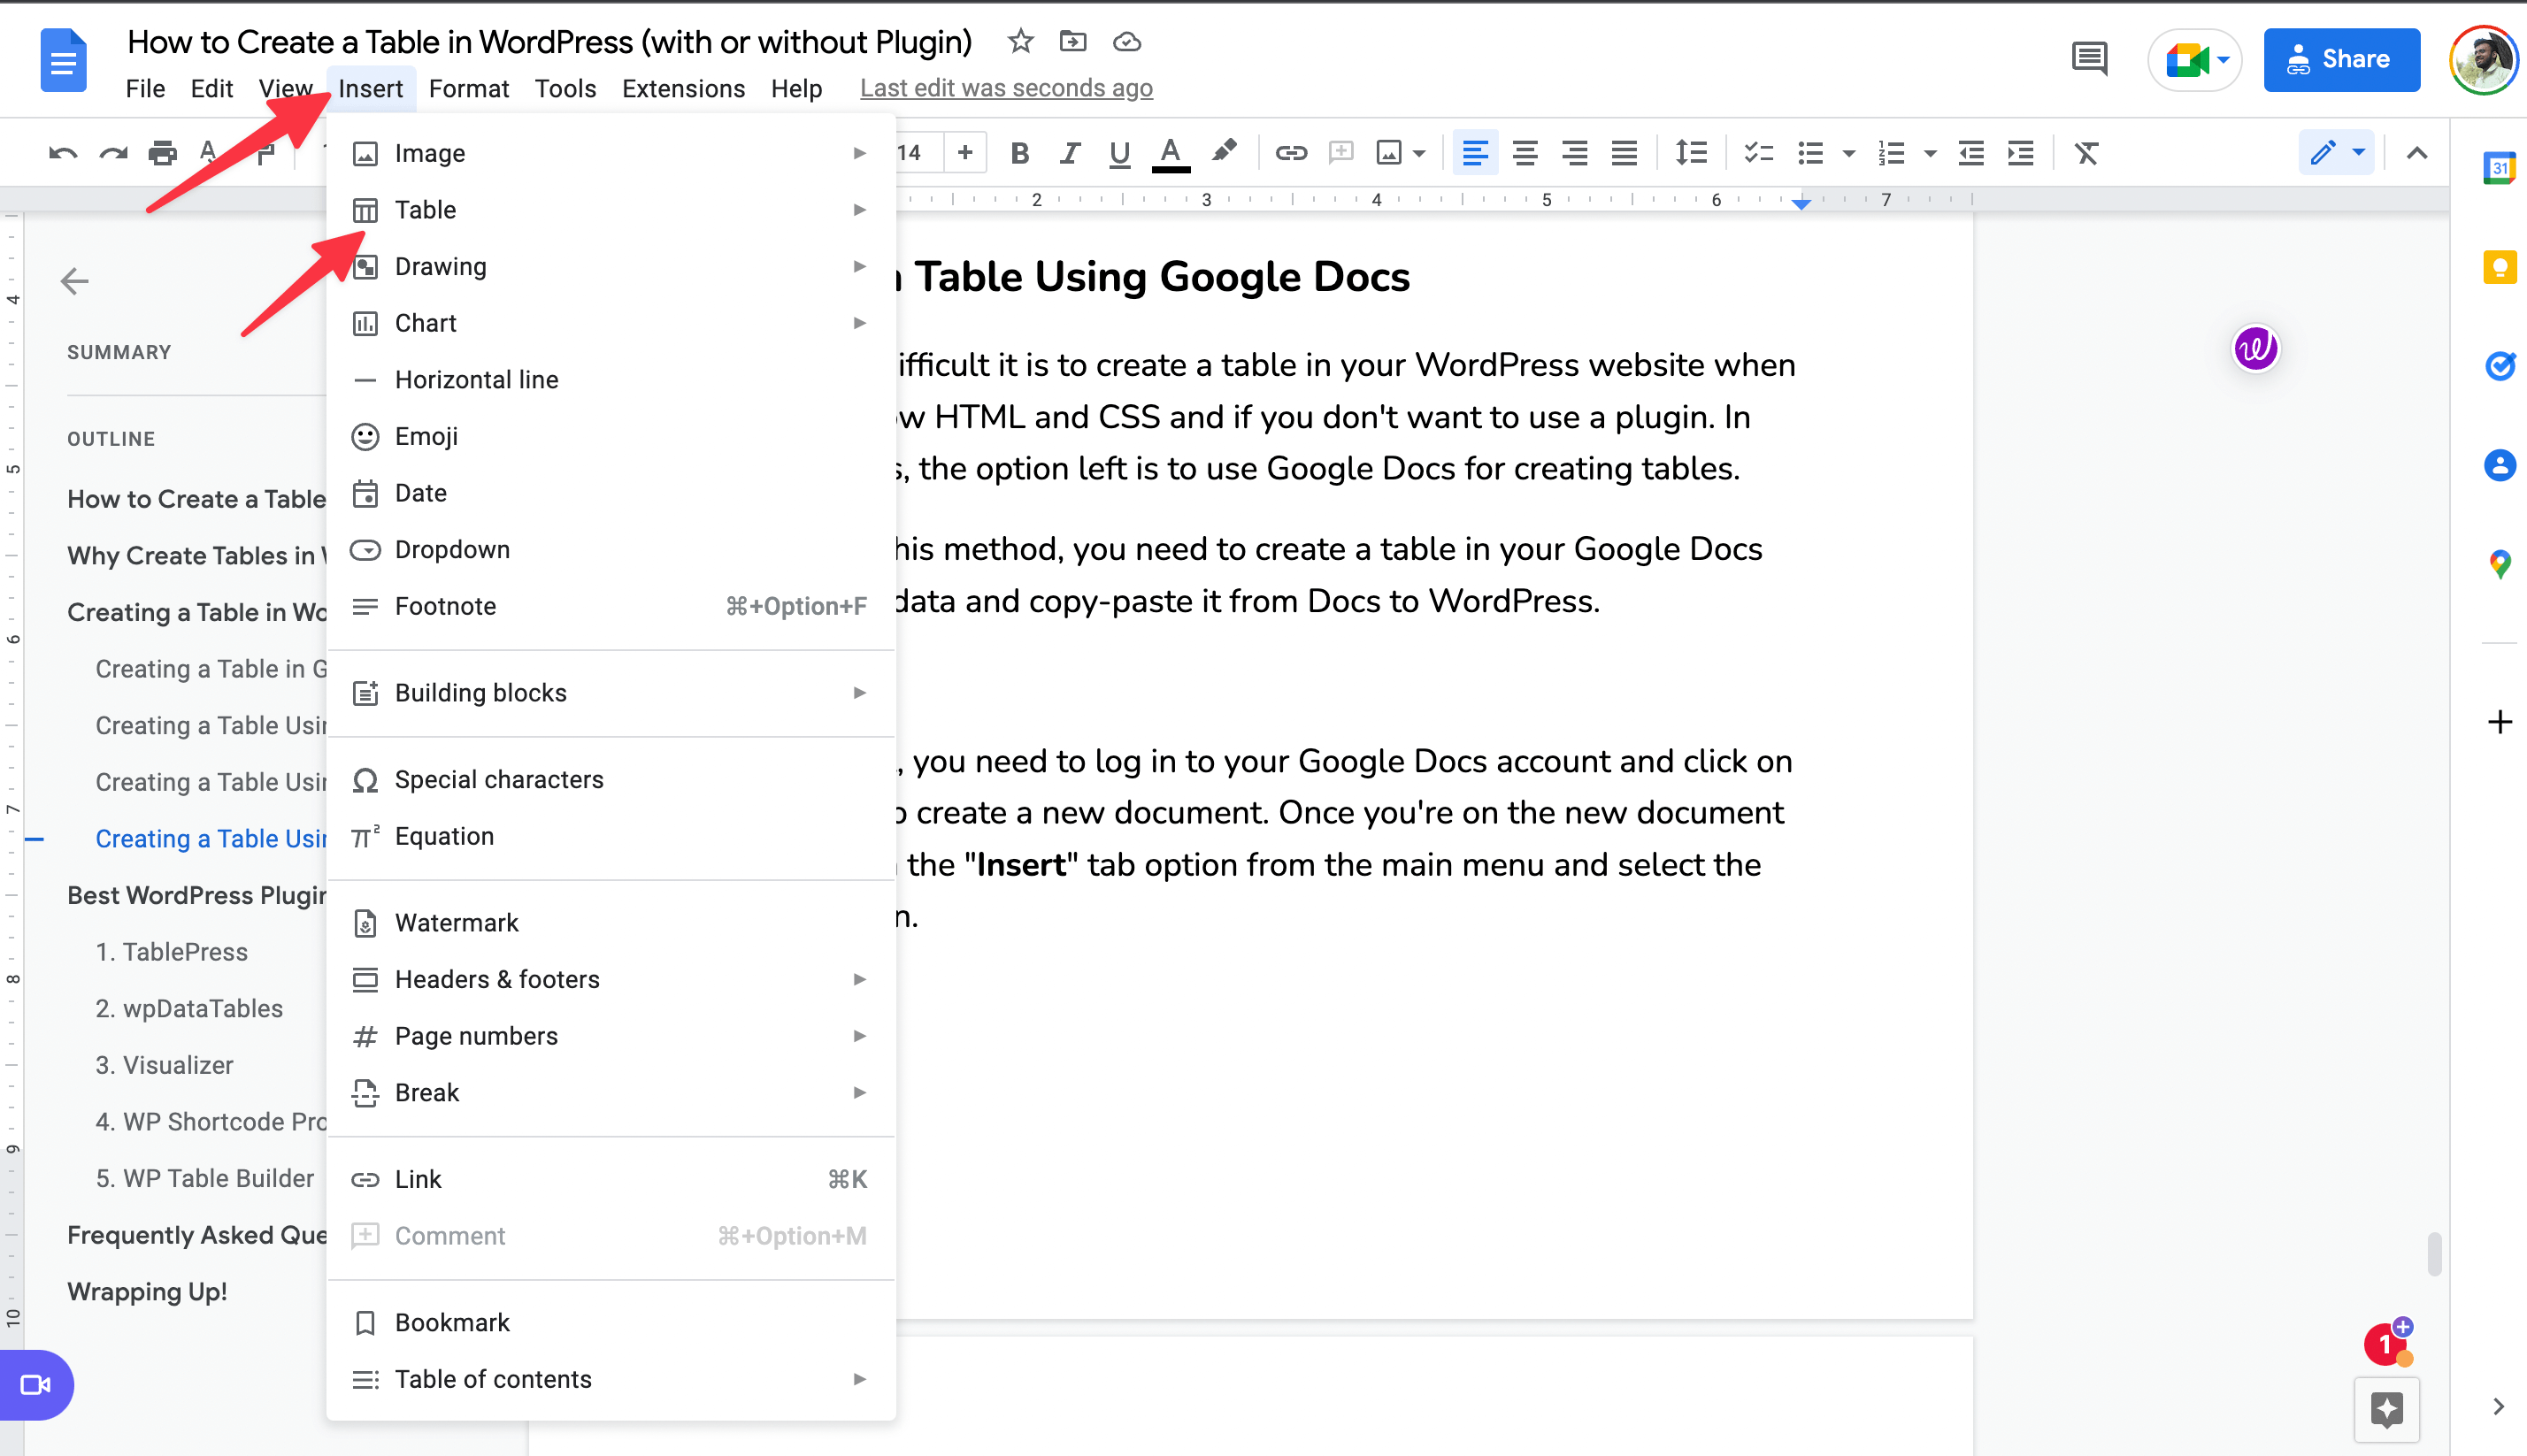
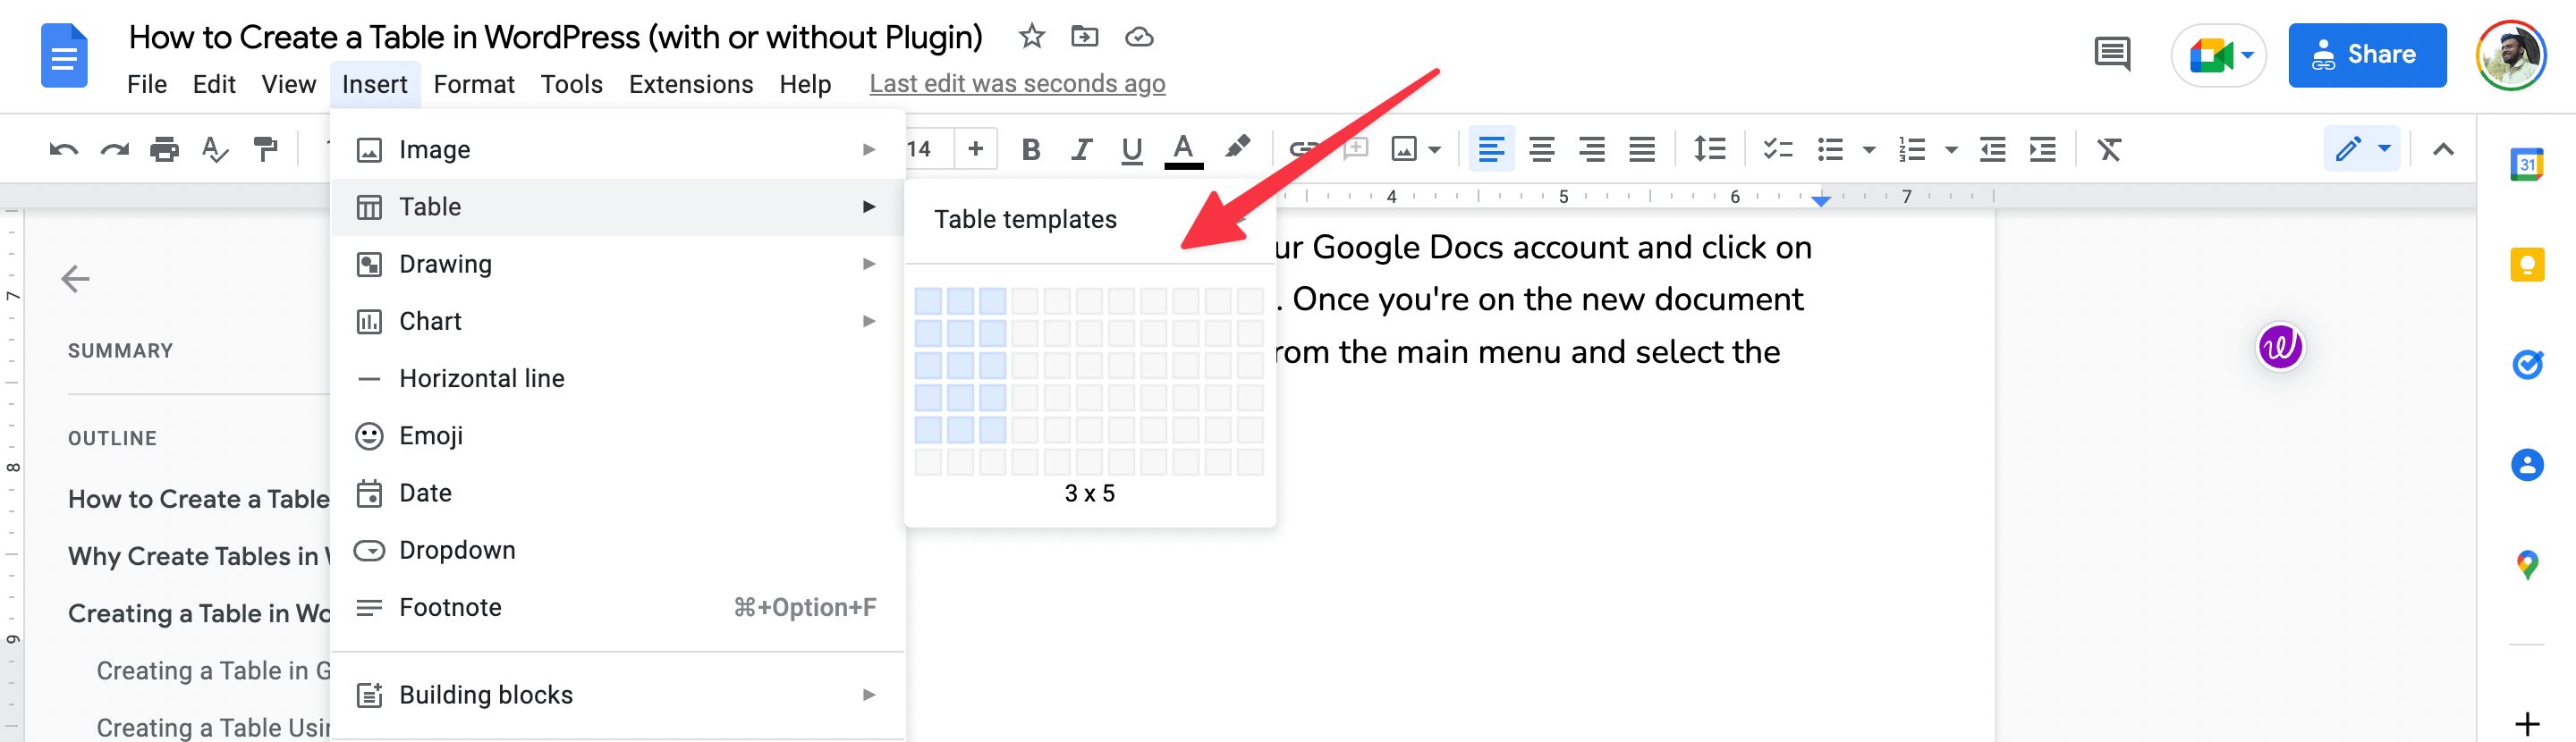
To do so, first, you need to log in to your Google Docs account and click on the “+” icon to create a new document. Once you’re on the new document page, click on the “Insert” tab option from the main menu and select the “Table” option.
Inside the Table Options pane, you’ll need to select the number of columns and rows you want in your table and then click on it.
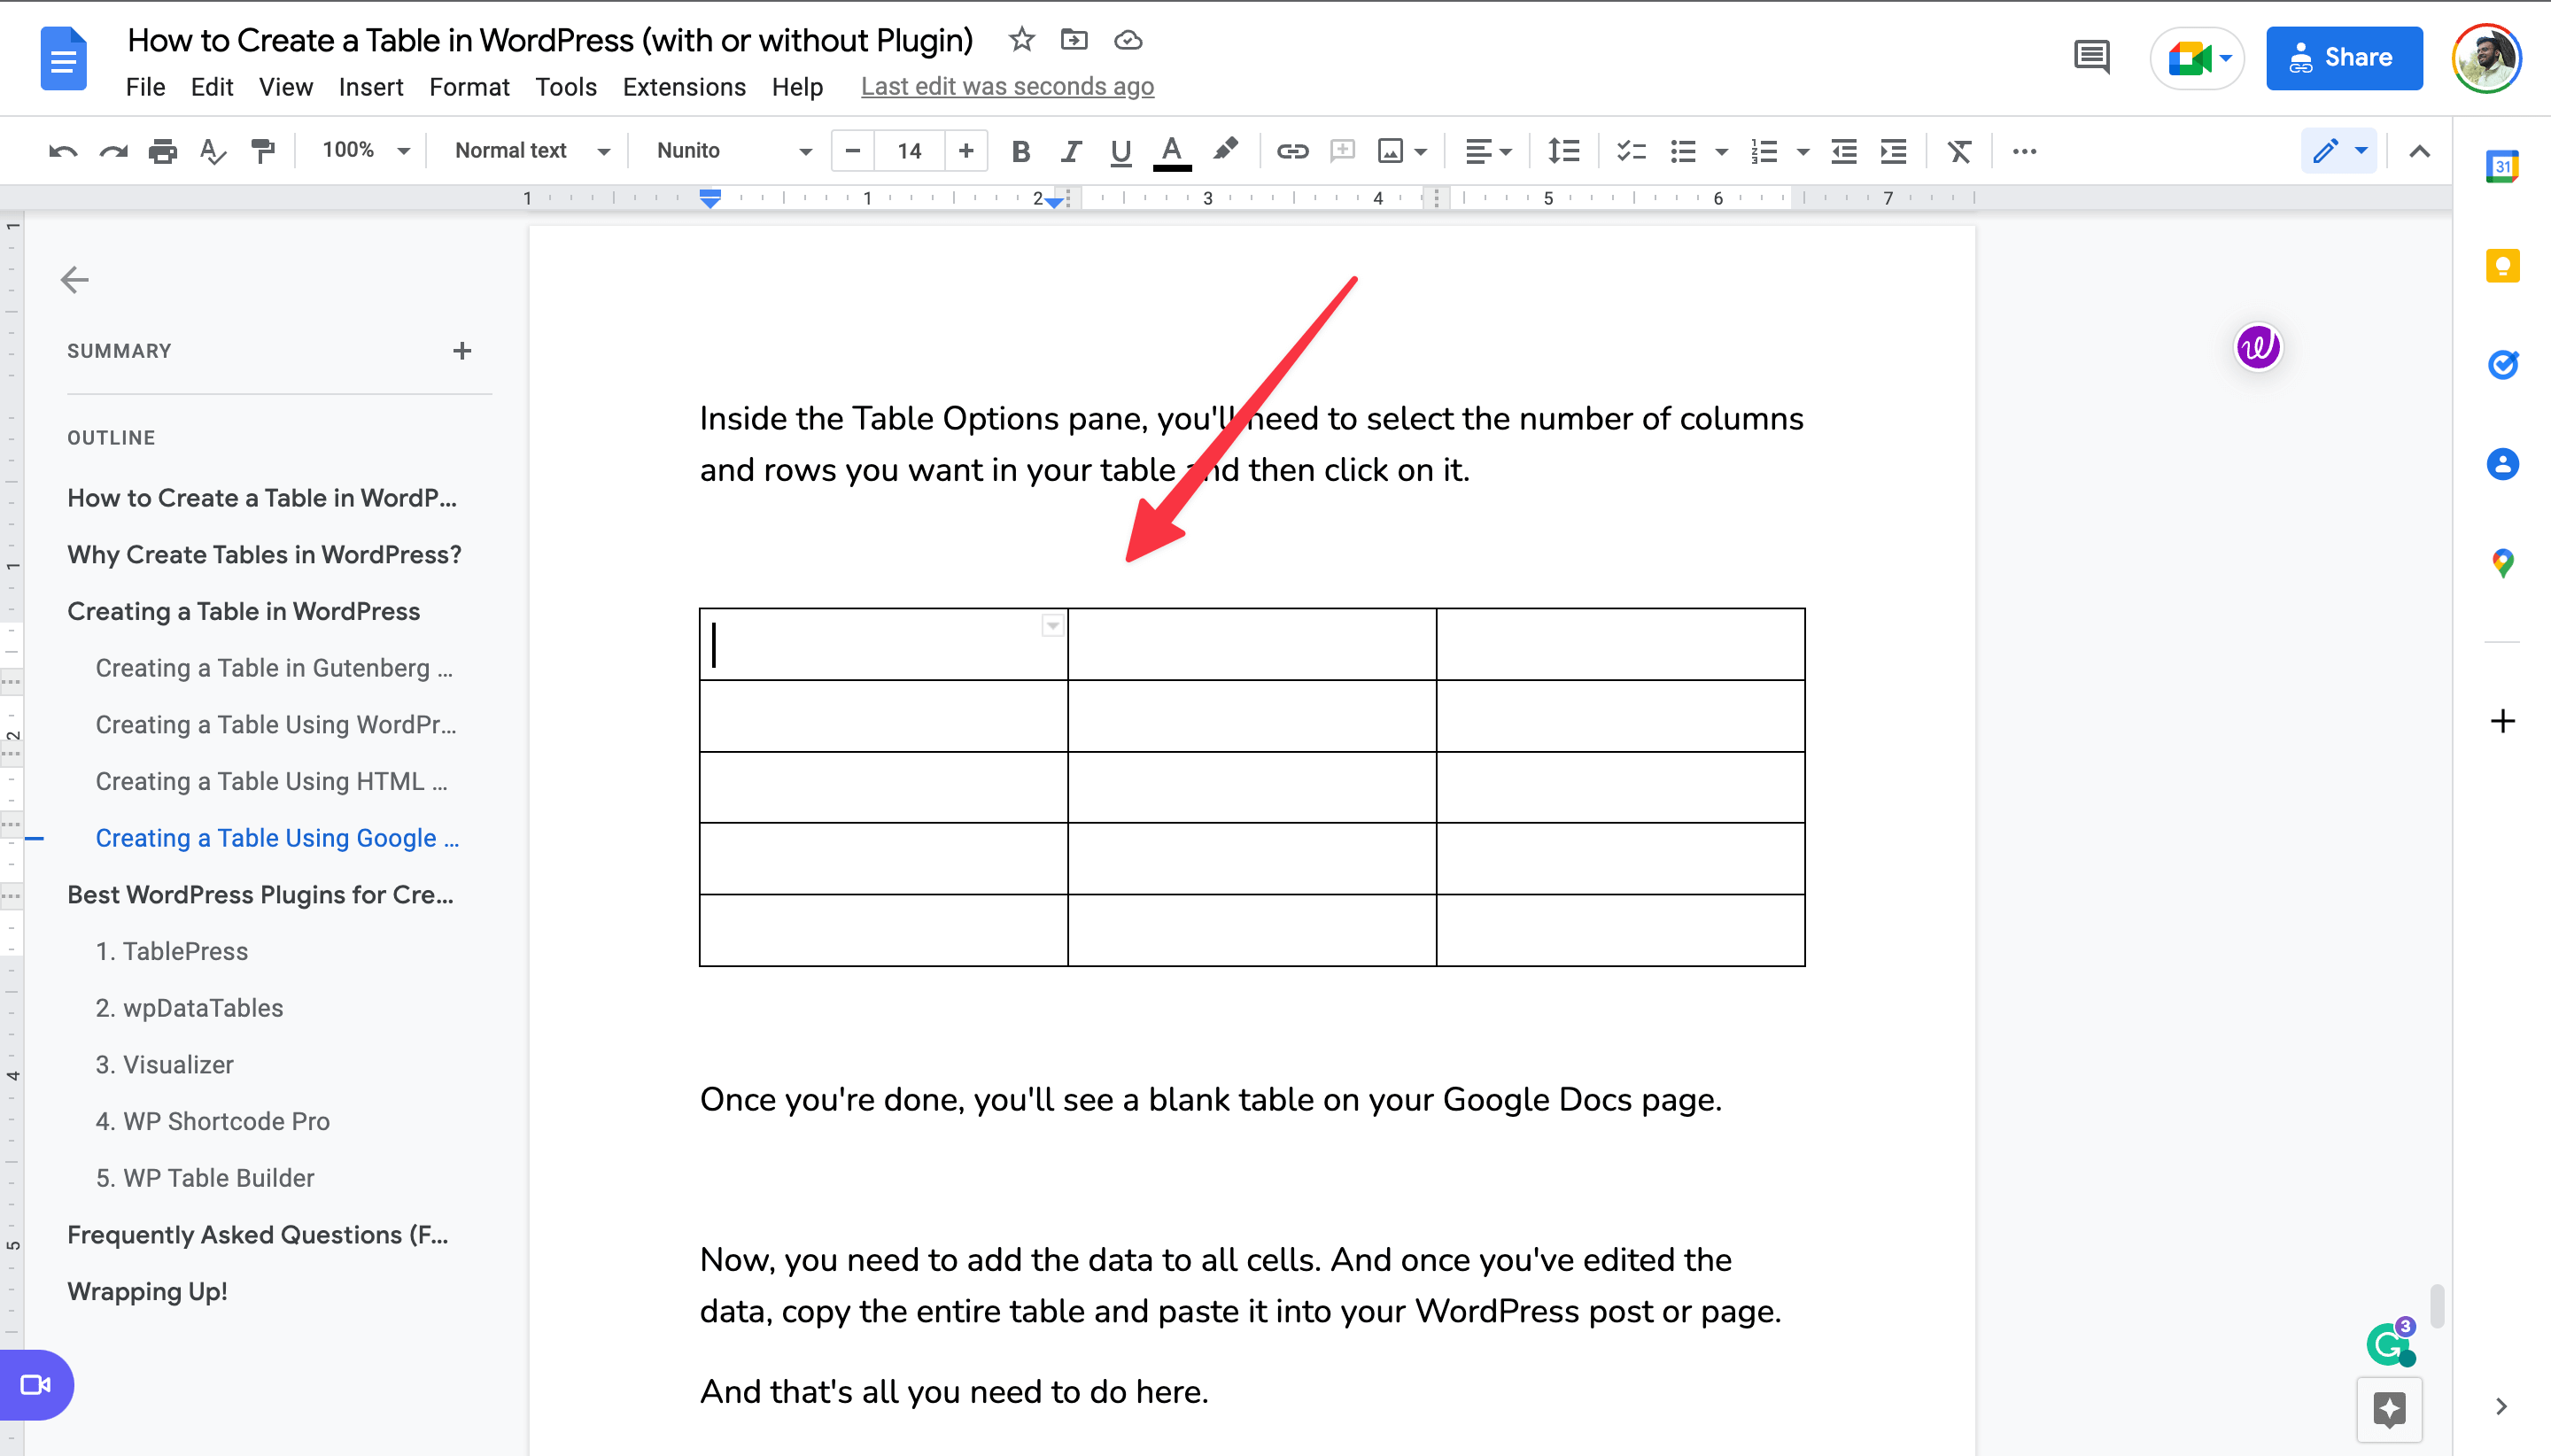
Once you’re done, you’ll see a blank table on your Google Docs page.
Now, you need to add the data to all cells. Once you’ve edited the data, copy the entire table and paste it into your WordPress post or page.
And that’s all you need to do here.
💡 Recommended readings…
Best WordPress Plugins for Creating Tables
When it comes to creating a table, the best solution is to use a WordPress plugin. And if you’re looking for a WordPress plugin that can help you create beautiful tables, then we have some options for you.
In this section, we will share some of the best plugins that you can use to create tables in WordPress.
And these plugins are;
1. TablePress
When we’re talking about creating a table in WordPress, the first plugin that comes to mind is TablePress. It is one of the most popular plugins available on the market, with over 800,000+ active installs.
And you can easily add your data to the plugin by simply adding it to the cells or importing it from a CSV file. TablePress also comes with some additional features like pagination, search, sorting, and more. It also allows you to style your table using CSS.
2. wpDataTables
If you’re looking for an alternative to TablePress, then WP Data Tables is the plugin for you. It also has a drag-and-drop interface that makes adding data to your tables easy. You can easily import data from Excel, CSV, JSON, or XML files.
Plus, a premium version is available for additional features such as chart creation, front-end table editing, and more. And yes, it also allows importing data from MySQL, Google Spreadsheets, and PostgreSQL.
3. Visualizer
Developed by ThemeIsle, Visualizer is a free WordPress plugin that allows you to create, manage, and embed interactive charts into your posts and pages. It comes with 9 different types of charts, including bar charts, line charts, geo charts, and pie charts.
And since they’re built using Google Visualization API, you can easily import data from various sources, and the premium version offers six more kinds of charts. This plugin also allows you to customize the design and colors of your charts.
4. WP Table Builder
WP Table Builder is a new WordPress plugin that allows you to create beautiful tables without writing a single line of code. It has a drag-and-drop interface that makes it super easy to add data to your table.
Most people use this table to create affiliate product comparison tables, pricing, product comparison tables, and more.
Wrapping Up!
I hope this article has helped you learn how to create a table on a WordPress website.
Mostly, I prefer using the “TablePress” plugin for creating tables easily and more efficiently. This plugin has 800,000+ active installations and is available for free on the WordPress repository.
And this plugin also allows you to import data from various sources, including a CSV file, HTML file, spreadsheets, etc. This is very useful for people like us who use tables on a daily basis.
If you have any questions about how to create a table in WordPress, let us know in the comments section below!
