
Uninstalling WordPress from cPanel is a super easy task; you can do it in just a few clicks. Below, I have shared the exact way you can follow to remove/uninstall WordPress from cPanel completely. Follow the below instructions carefully to be done with it.
You may need to uninstall WordPress from cPanel if you want to remove your website’s entire old content and start from scratch. Remember one thing, uninstalling a WordPress from cPanel means all your website files will be permanently deleted, including the core WordPress files and database of the particular website.
Here is how you can do it;
Wait! Wait!
Before starting with the actual process of uninstalling WordPress, I highly recommend you take a backup of your entire website and save it so that if you change your mind in the future, you can restore the website and start working on it again.
Here is how you can take the complete backup of your website before uninstalling WordPress from cPanel.
Backup Your WordPress Website Before Uninstalling WordPress from cPanel
Once you delete/uninstall WordPress from cPanel, there is no way to undo it, your site will be deleted entirely, and you will not be able to restore it at any cost. Even your hosting provider cannot help you in this condition, so it is highly recommended to take the backup. Follow the instructions below.
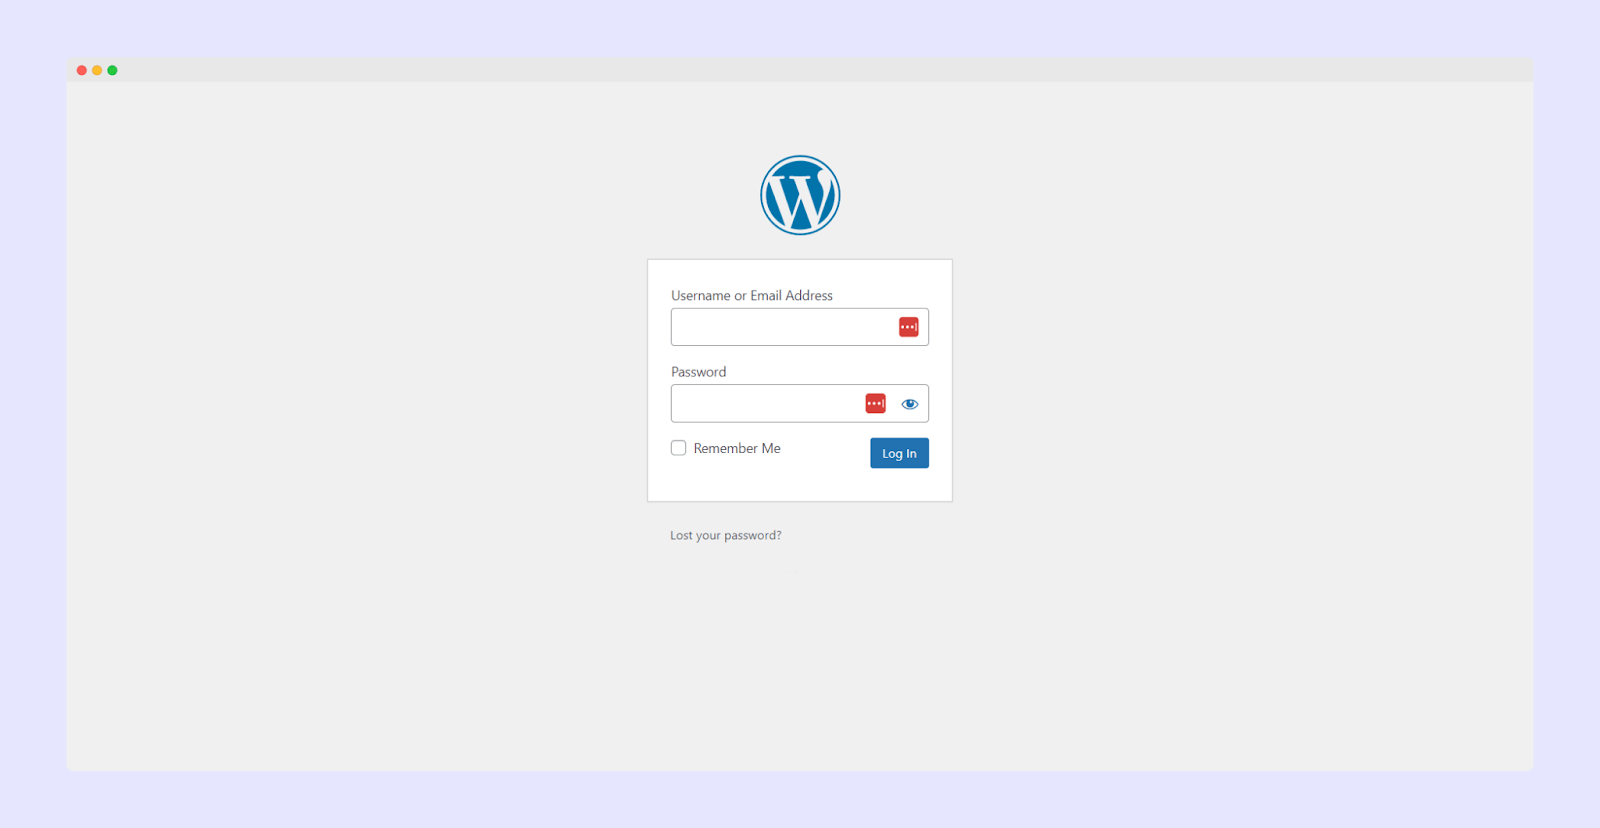
To take the backup, first, log in to your WordPress website. Go to example.com/wp-admin (here, example.com is your domain name) >> enter the correct Login ID and Password >> click the blue Login button, and you will be redirected to the WordPress admin panel.
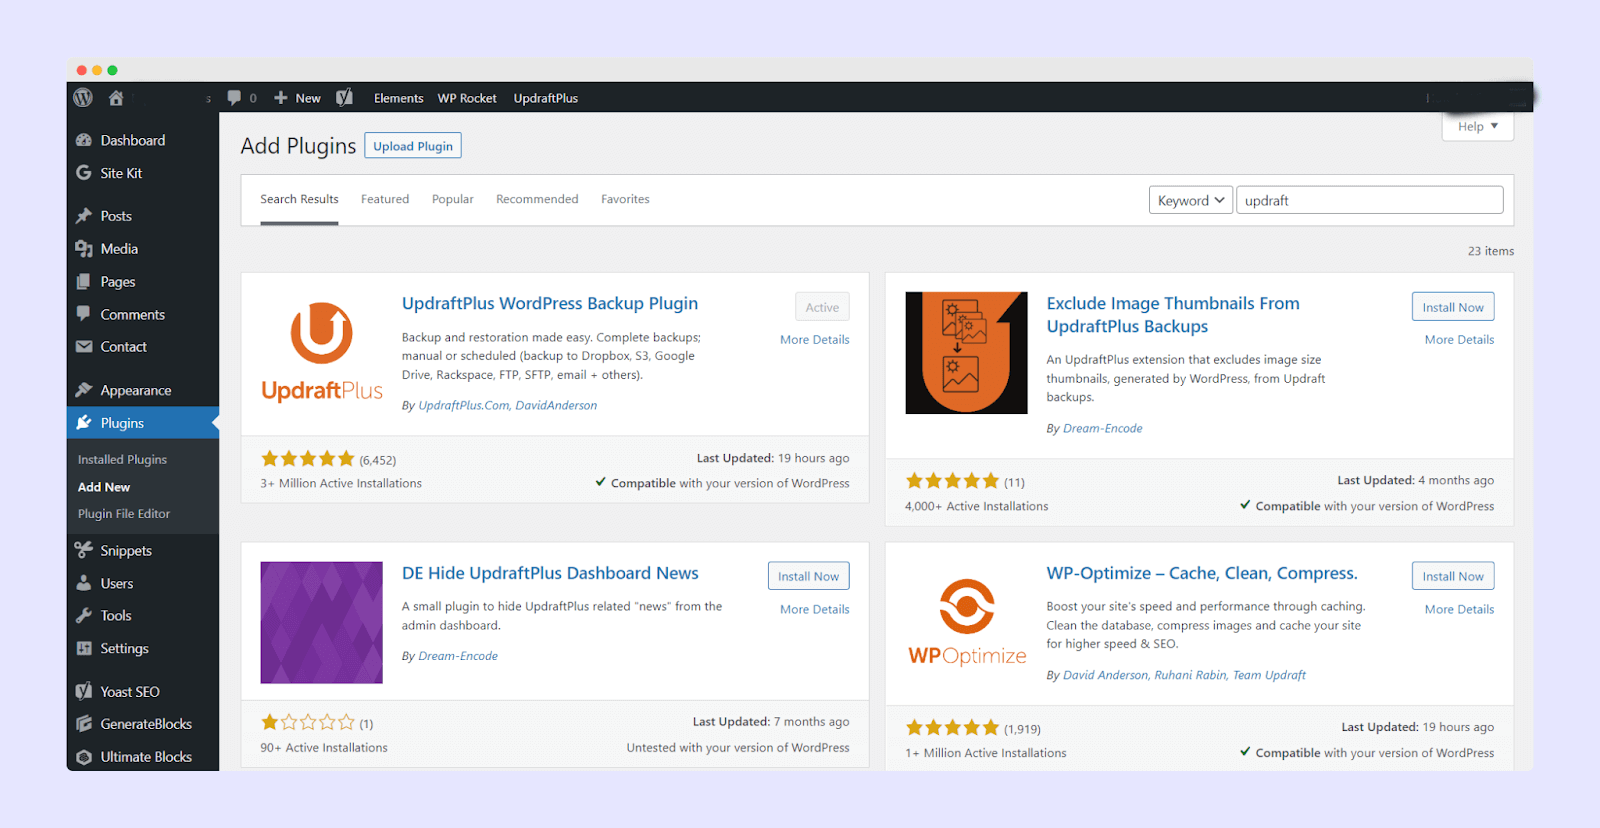
Once you are in the admin panel, scroll down and hover over the Plugin option >> then click on Add New >> now search for the UpdraftPlus>> as soon as you get the plugin, click on Install and Activate the plugin as shown in the image below.
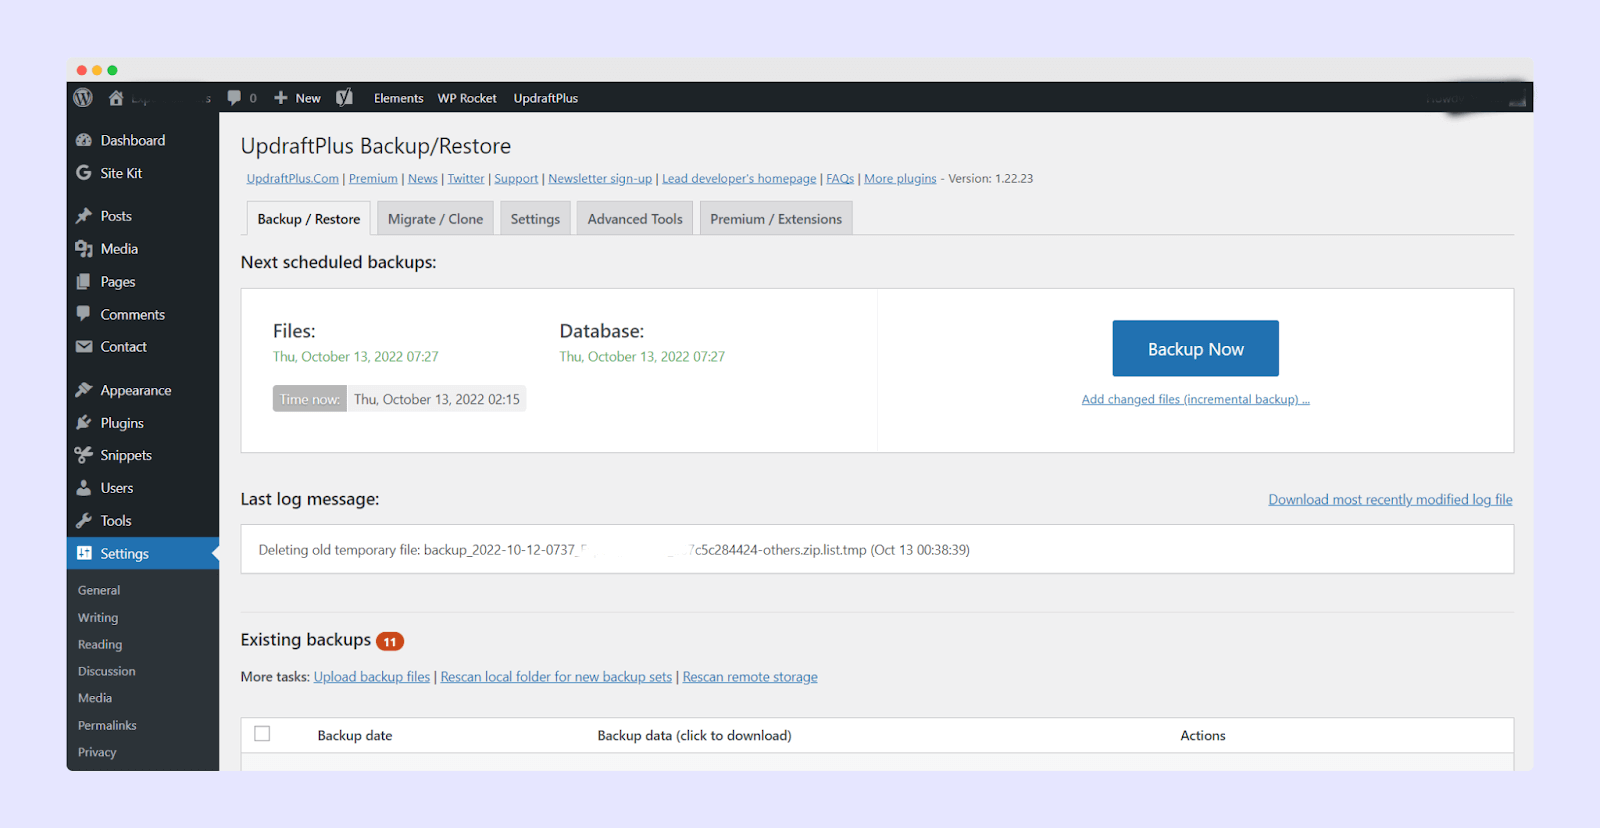
Now hover over Settings >> then click on “UpdraftPlugin Backups,” and you will be redirected to the Updraft settings page >> then click on the “Settings“ tab. From the “Settings Tab,” you need to set up an updraft and connect it to the remote storage to save the backup.
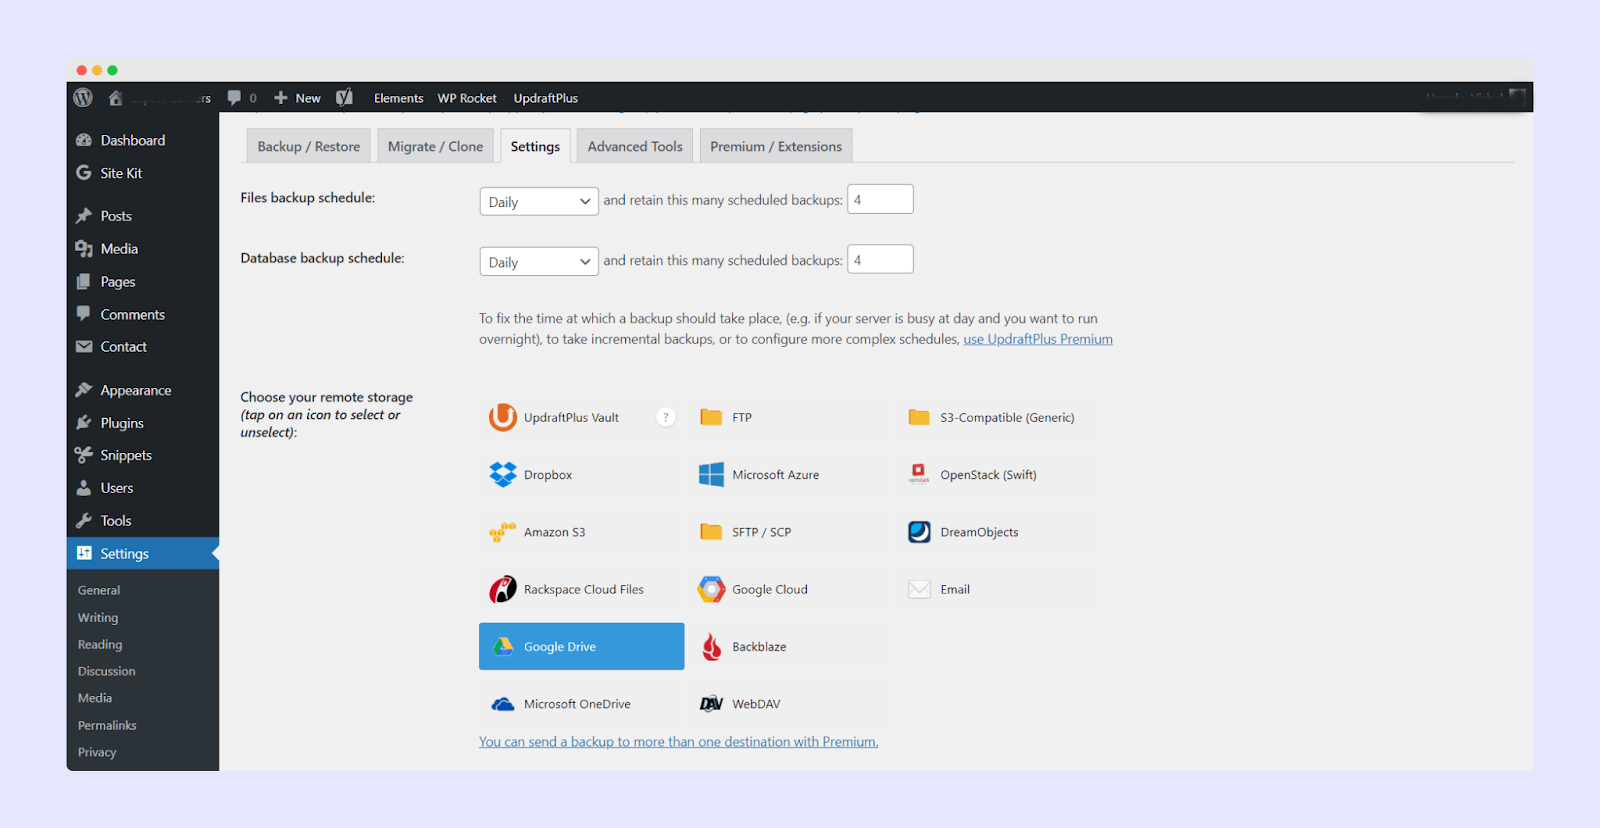
Set up the things as shown in the image below, configure your remote storage, and click on “Save Changes“. Now go to the “Backup/Restore tab,” click on the “Backup Now“ button, and wait for the backup to complete.
Once the backup is completed, you are free to uninstall WordPress from cPanel.
💡 Protip:
If you are uninstalling WordPress to clean the old files and database of the website, then I recommend using the WP Reset plugin.
This plugin will provide you with a clean and new WordPress installation in just one click; all your older files and database will be deleted. What you have to do is install the plugin and click on Reset.
How to Uninstall WordPress from cPanel
There are different ways to uninstall WordPress from cPanel; the most common method is by using “WordPress manager” and by manually deleting the files and database of your WordPress website.
I will share both methods with you one by one; you can follow any of the methods to uninstall your WordPress website from cPanel.
1. Uninstalling WordPress Using WordPress Manager
To uninstall WordPress from cPanel, you need access to your cPanel account. Required details include:
- Server IP
- cPanel Username
- cPanel Password
If you don’t have those details, you can ask your hosting provider or check the old email from the hosting company when you purchase the hosting. Usually, the first email contains all the server and cPanel details.
First, go to ServerIP:2083 (ServerIP will be the IP of your web server) or example.com:2083 (replace example.com with your actual domain name).
Click on enter, and you will be redirected to the cPanel login page.
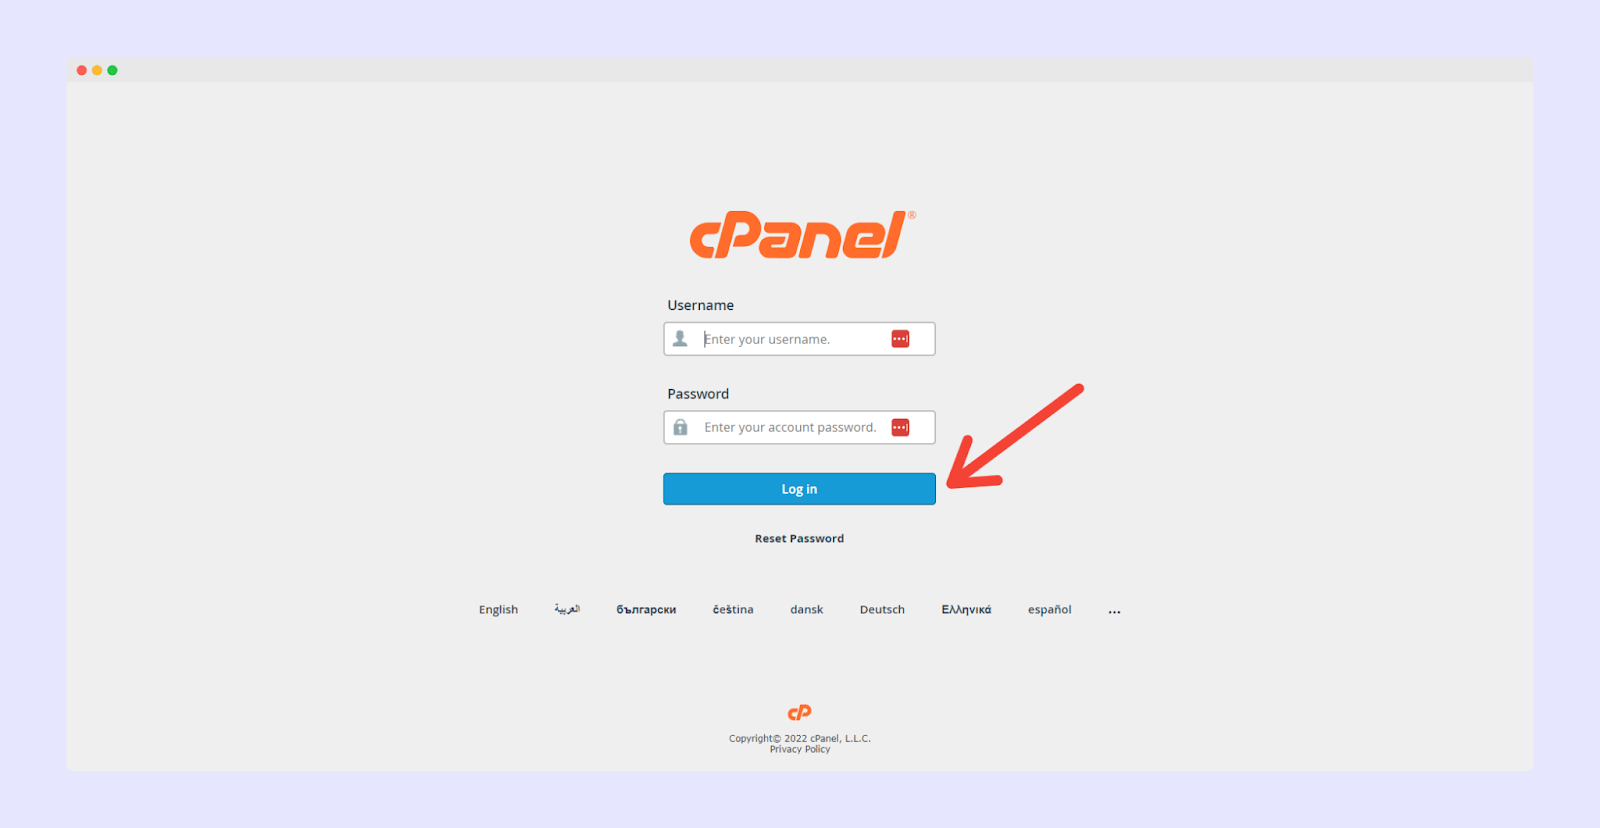
Enter the correct Login ID and Password in the given field, then click on Login, and you will be redirected to the cPanel.
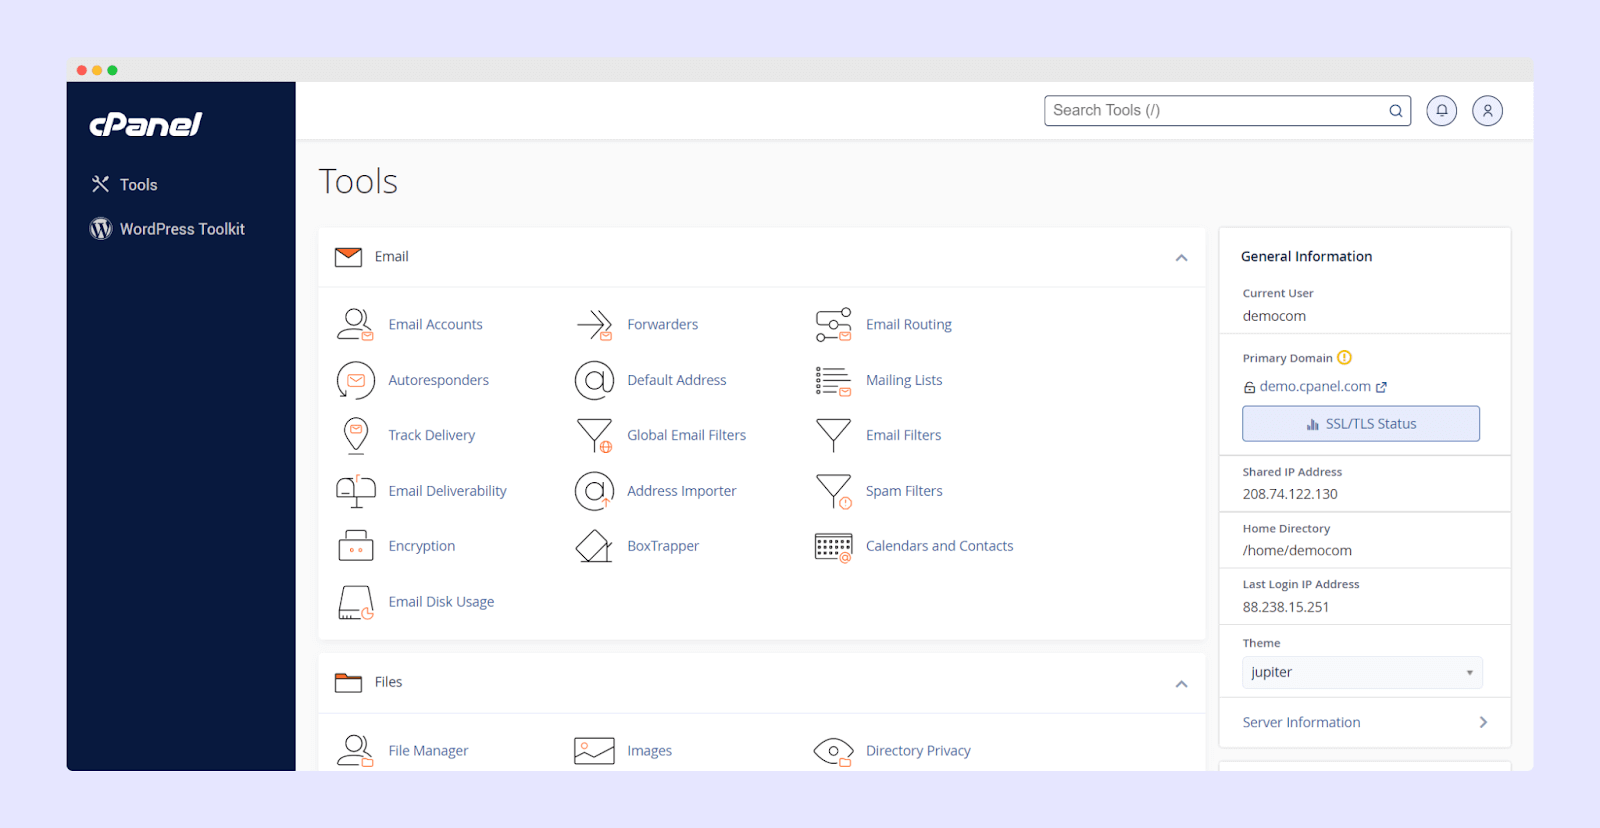
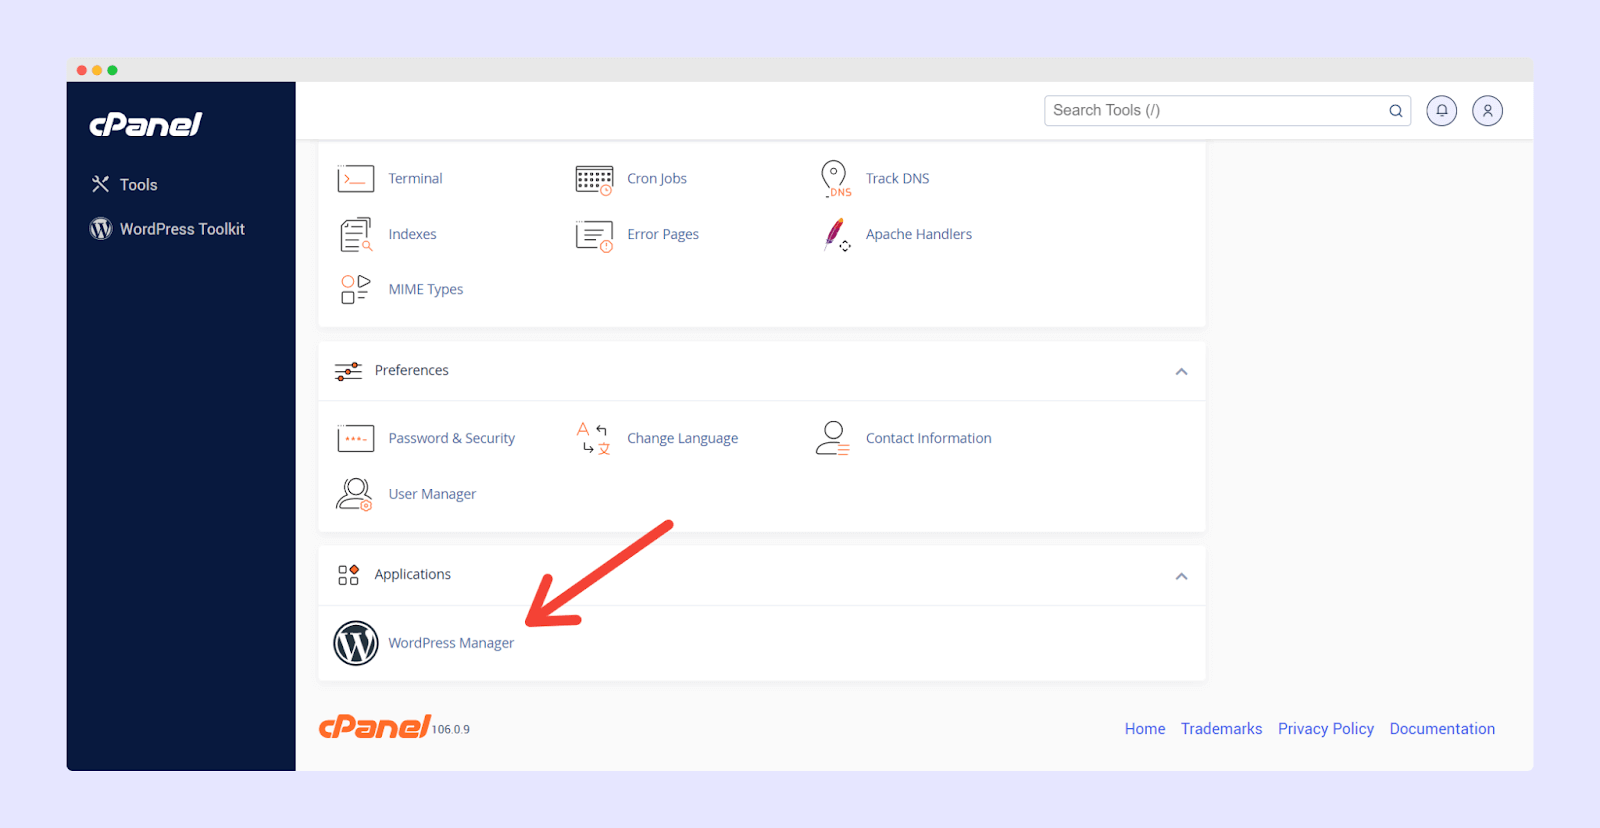
Now search for WordPress Manager and click on the option. On the WordPress installation page, you will get the option Manage Installations at the top; click on it.
You can manage and uninstall all WordPress installed on your server from here. Look for the site of which WordPress you want to uninstall and click on the X icon, the process for WordPress uninstallation will be started.
This is how you can uninstall WordPress from cPanel.
2. Manually Uninstalling WordPress from cPanel Using File Manager
The method we shared above is the most comfortable and straightforward way to uninstall WordPress from cPanel. However, if you are not able to locate the WordPress Manager in your cPanel or want to do it manually, then this is how you can do it:
First, go to ServerIP:2083 or Website.com/cpanel and log in to your cPanel account.
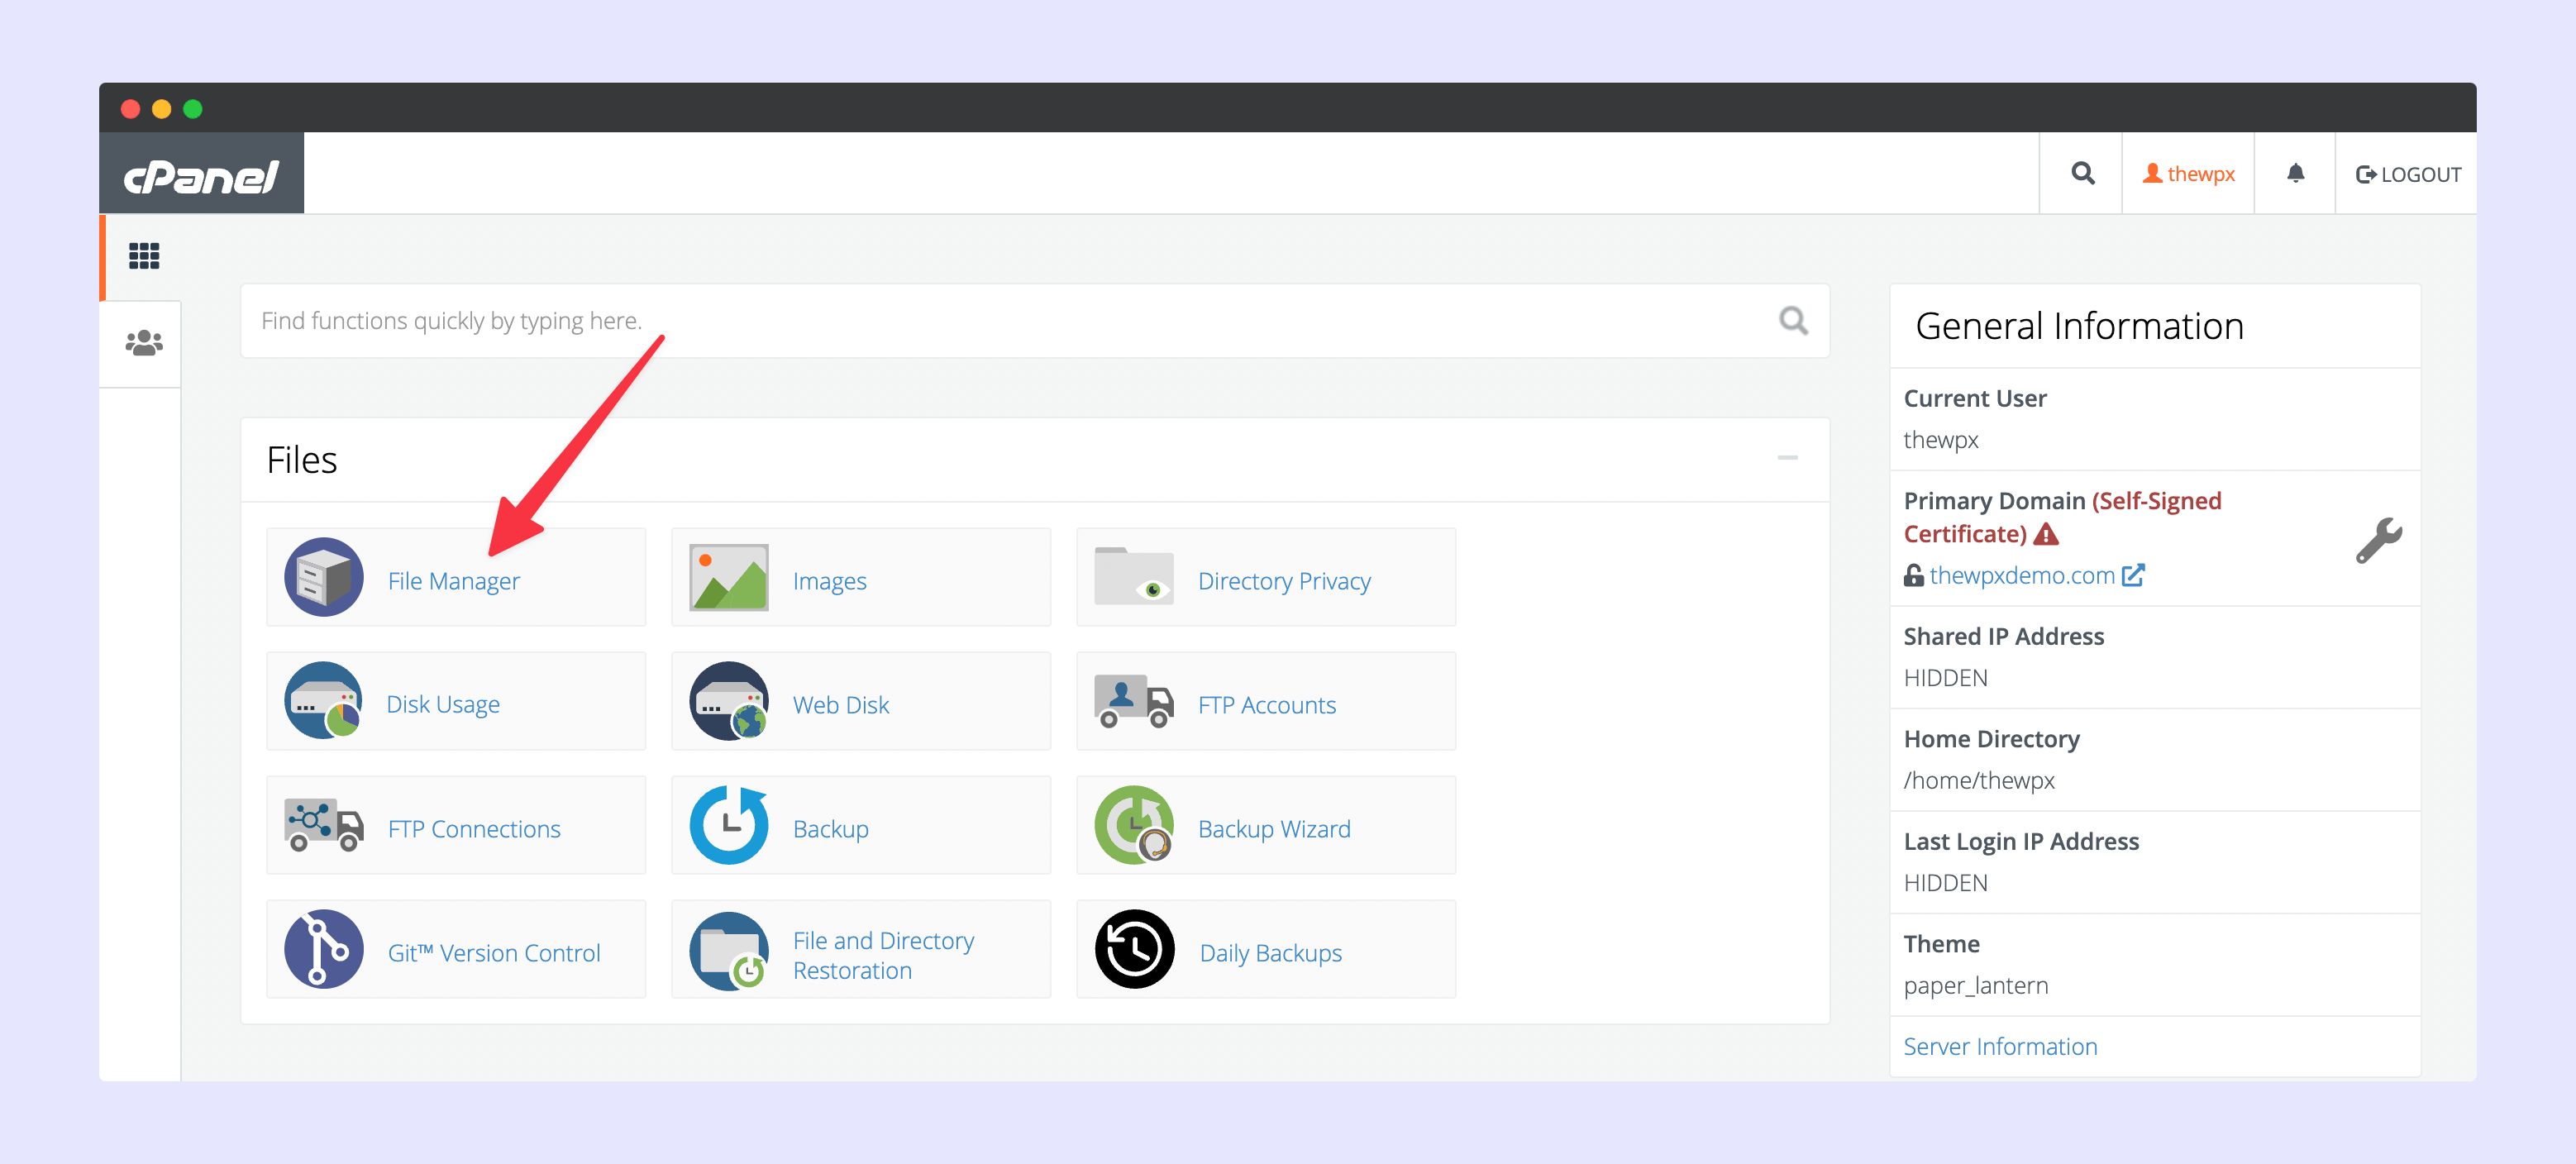
Now search for File Manager and click on the option; you will be redirected to the file manager page of your server.
In the public_html folder, you will get all the files and folders of your website.
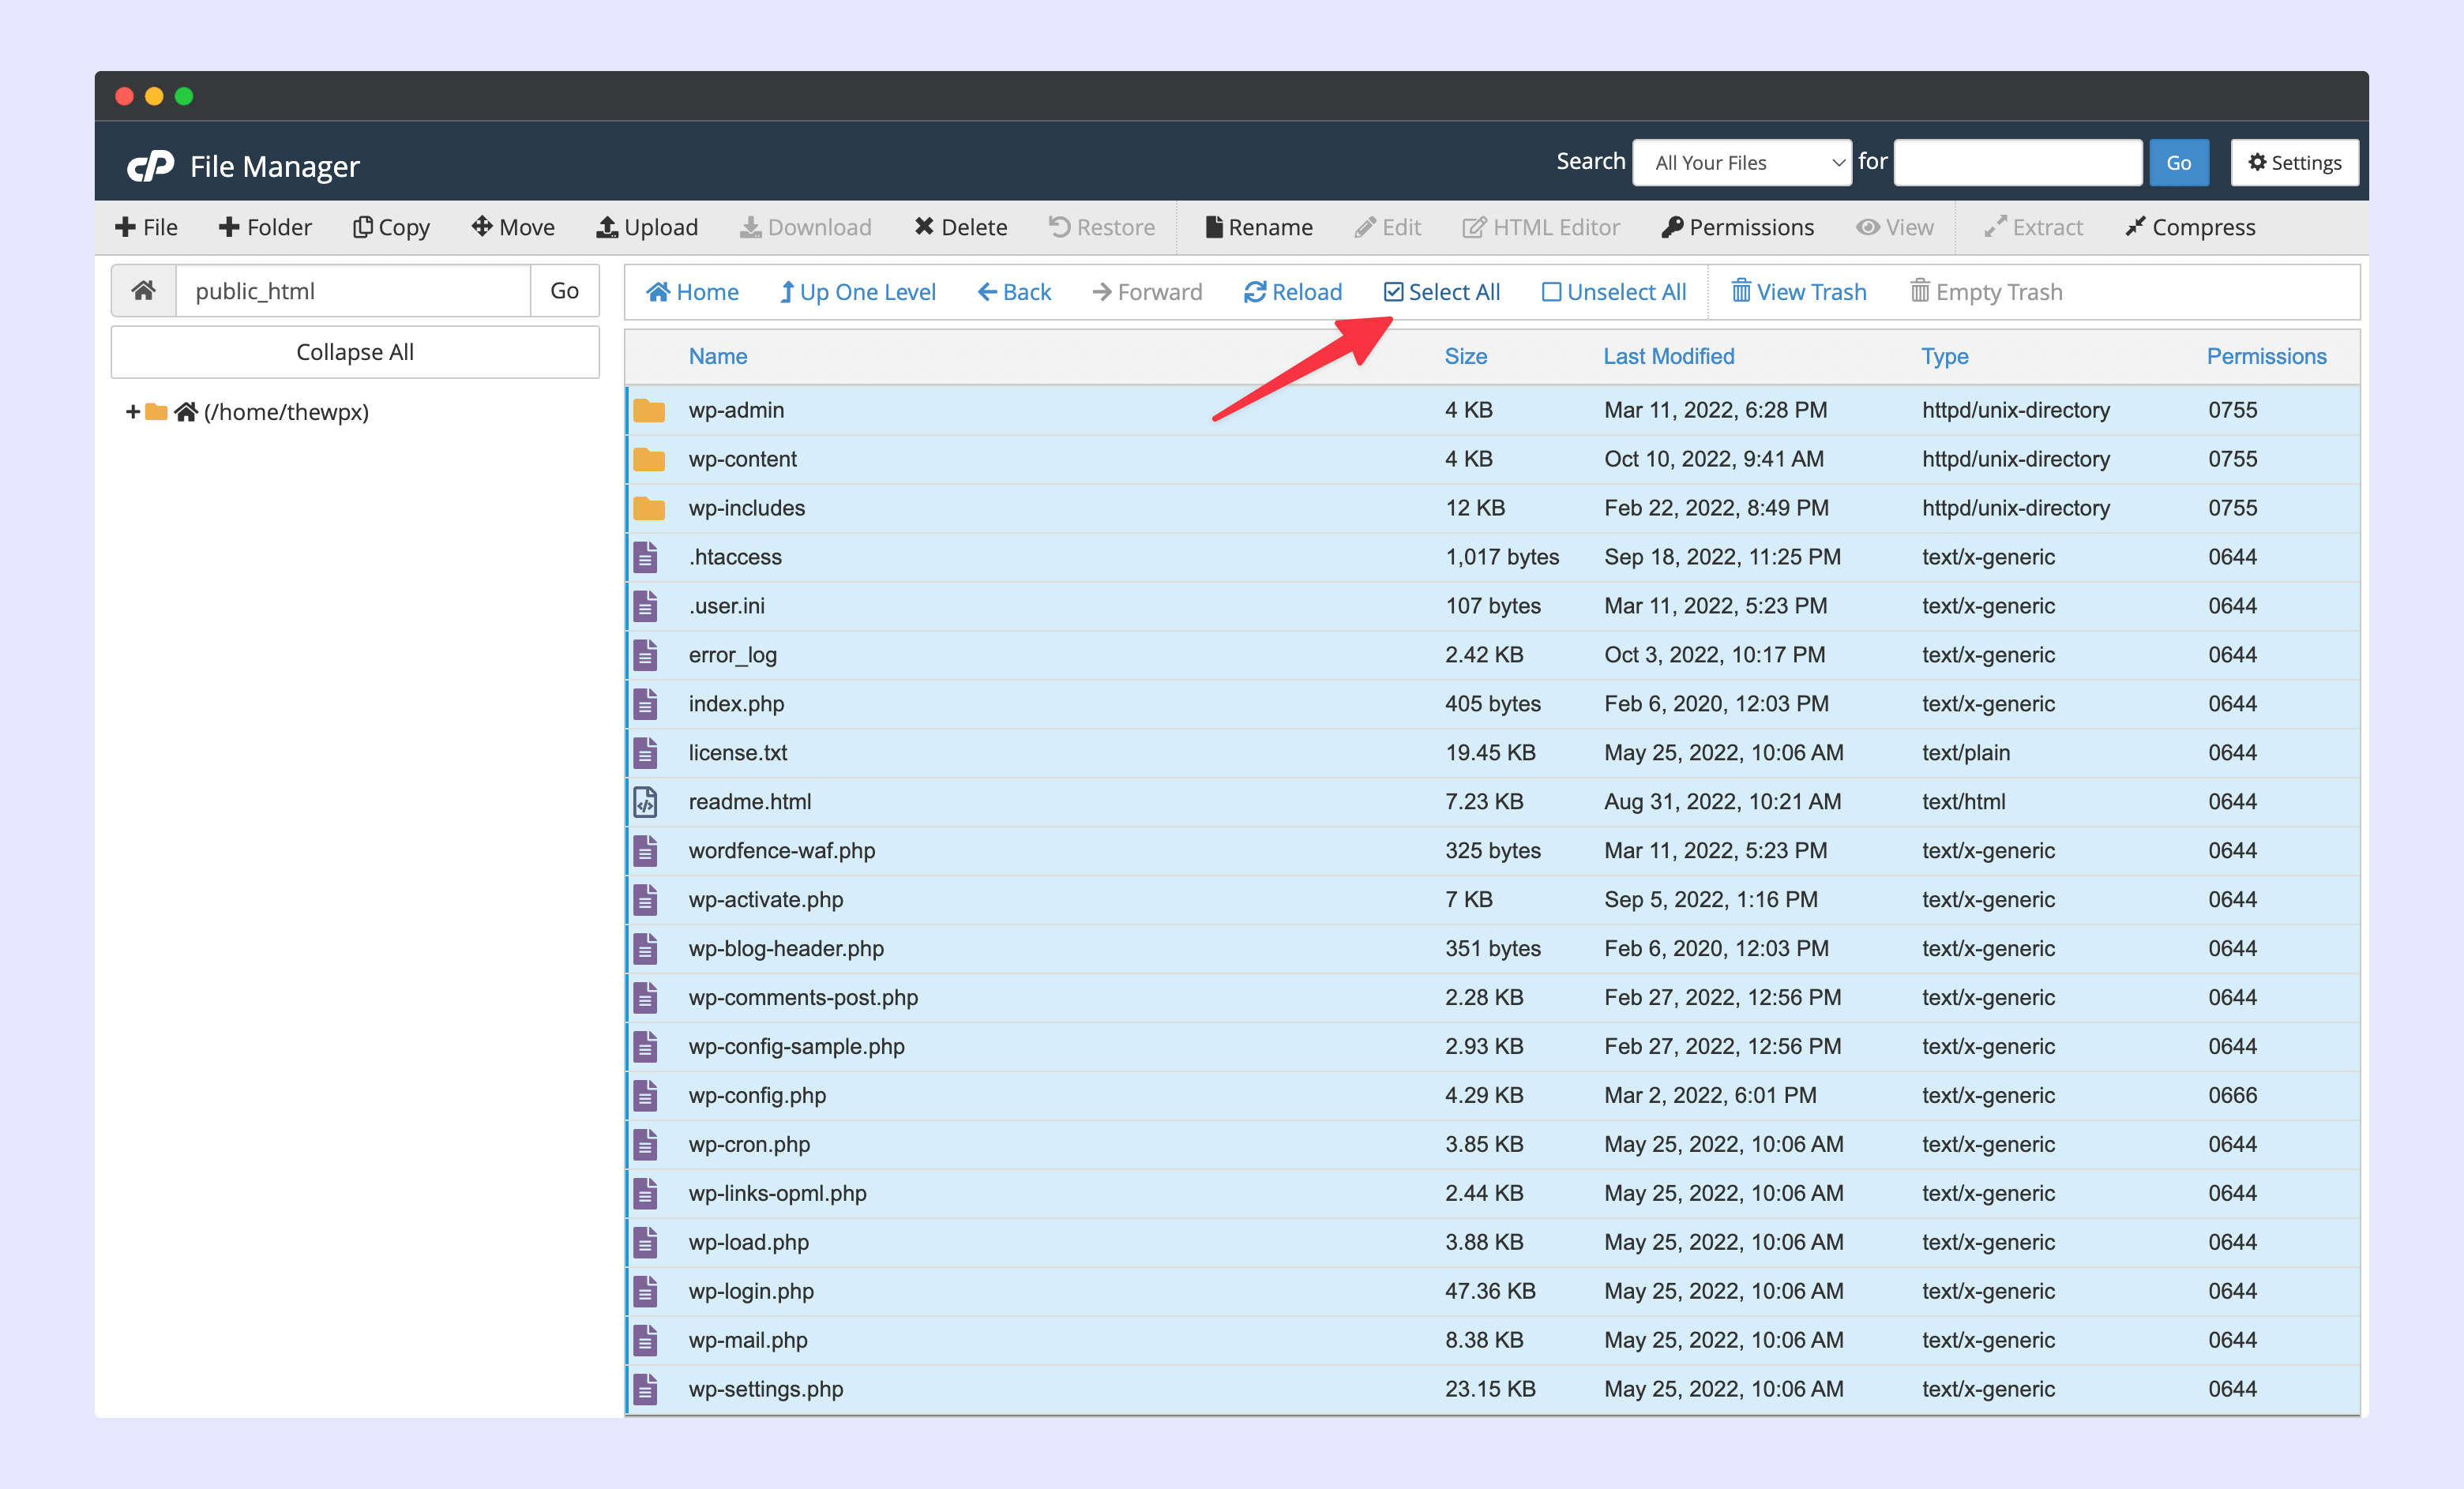
Now, you need to select all the files and folders and delete them.
After deleting all the files, you now need to delete the database. To delete the WordPress database, go to cPanel and search for MySQL Databases. Click on it, and you will be redirected to the MySQL Databases page.
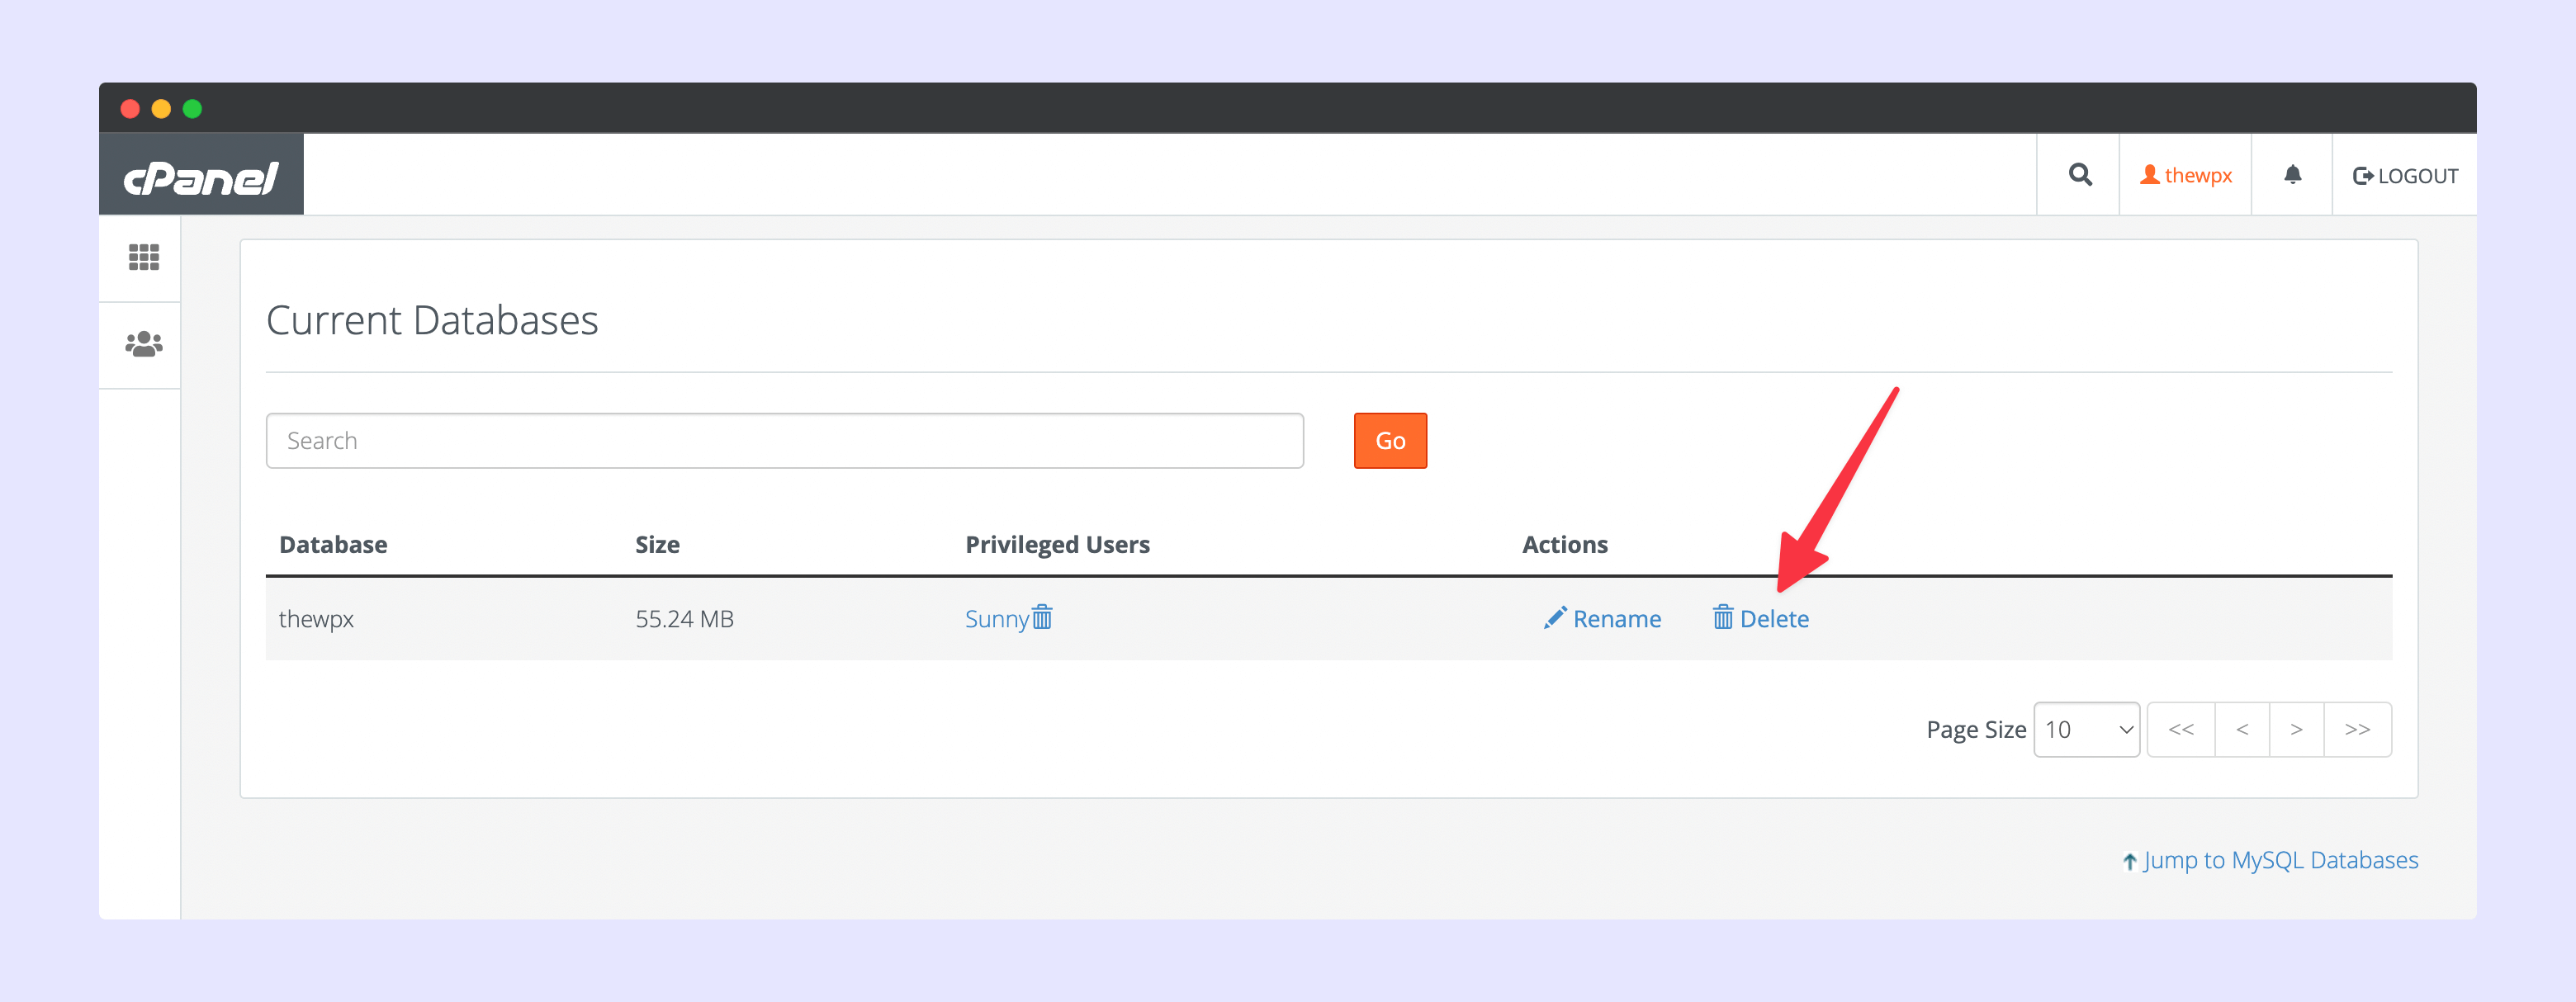
On this page, scroll down, and you will see all the databases created for your website; look for the database of your WordPress site and delete it. Once done, click on Remove Selected Databases.
That’s all! This is how you can uninstall WordPress from cPanel manually.
Final Words
Above, I have explained how you can easily uninstall WordPress from cPanel with proper instructions and images; although there are many different ways to uninstall WordPress from your server – but these are the only way I would recommend for people who have just started with WordPress and cPanel.
Also, do note that cPanel offers a few different themes to make the interface look good, so you should need not to worry if your cPanel looks different than the images shared above; all options will be identical.
I hope this article helped you get what you are looking for.
Please keep visiting our blog!
