
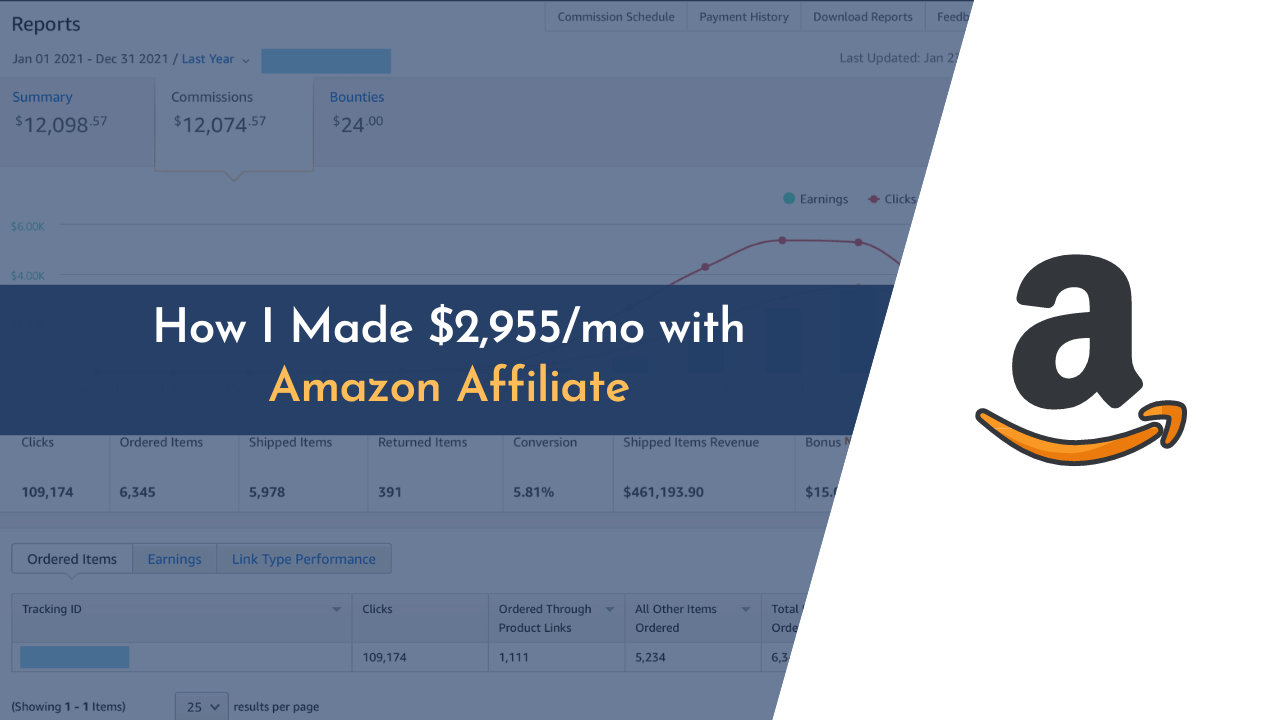
If you’re looking to start generating passive income, then starting a blog and monetizing with an Amazon affiliate is one of the best ways. In this case study, I’ll share how I made over $2,955 per month in affiliate income through my very first Amazon affiliate blog.
I started my affiliate journey in 2015, and later in 2021, I started working on my first Amazon affiliate blog (yes, I ran a few automation sites early, but this was my first blog dedicated to Amazon affiliates).
I was quite passionate and eager to get results.
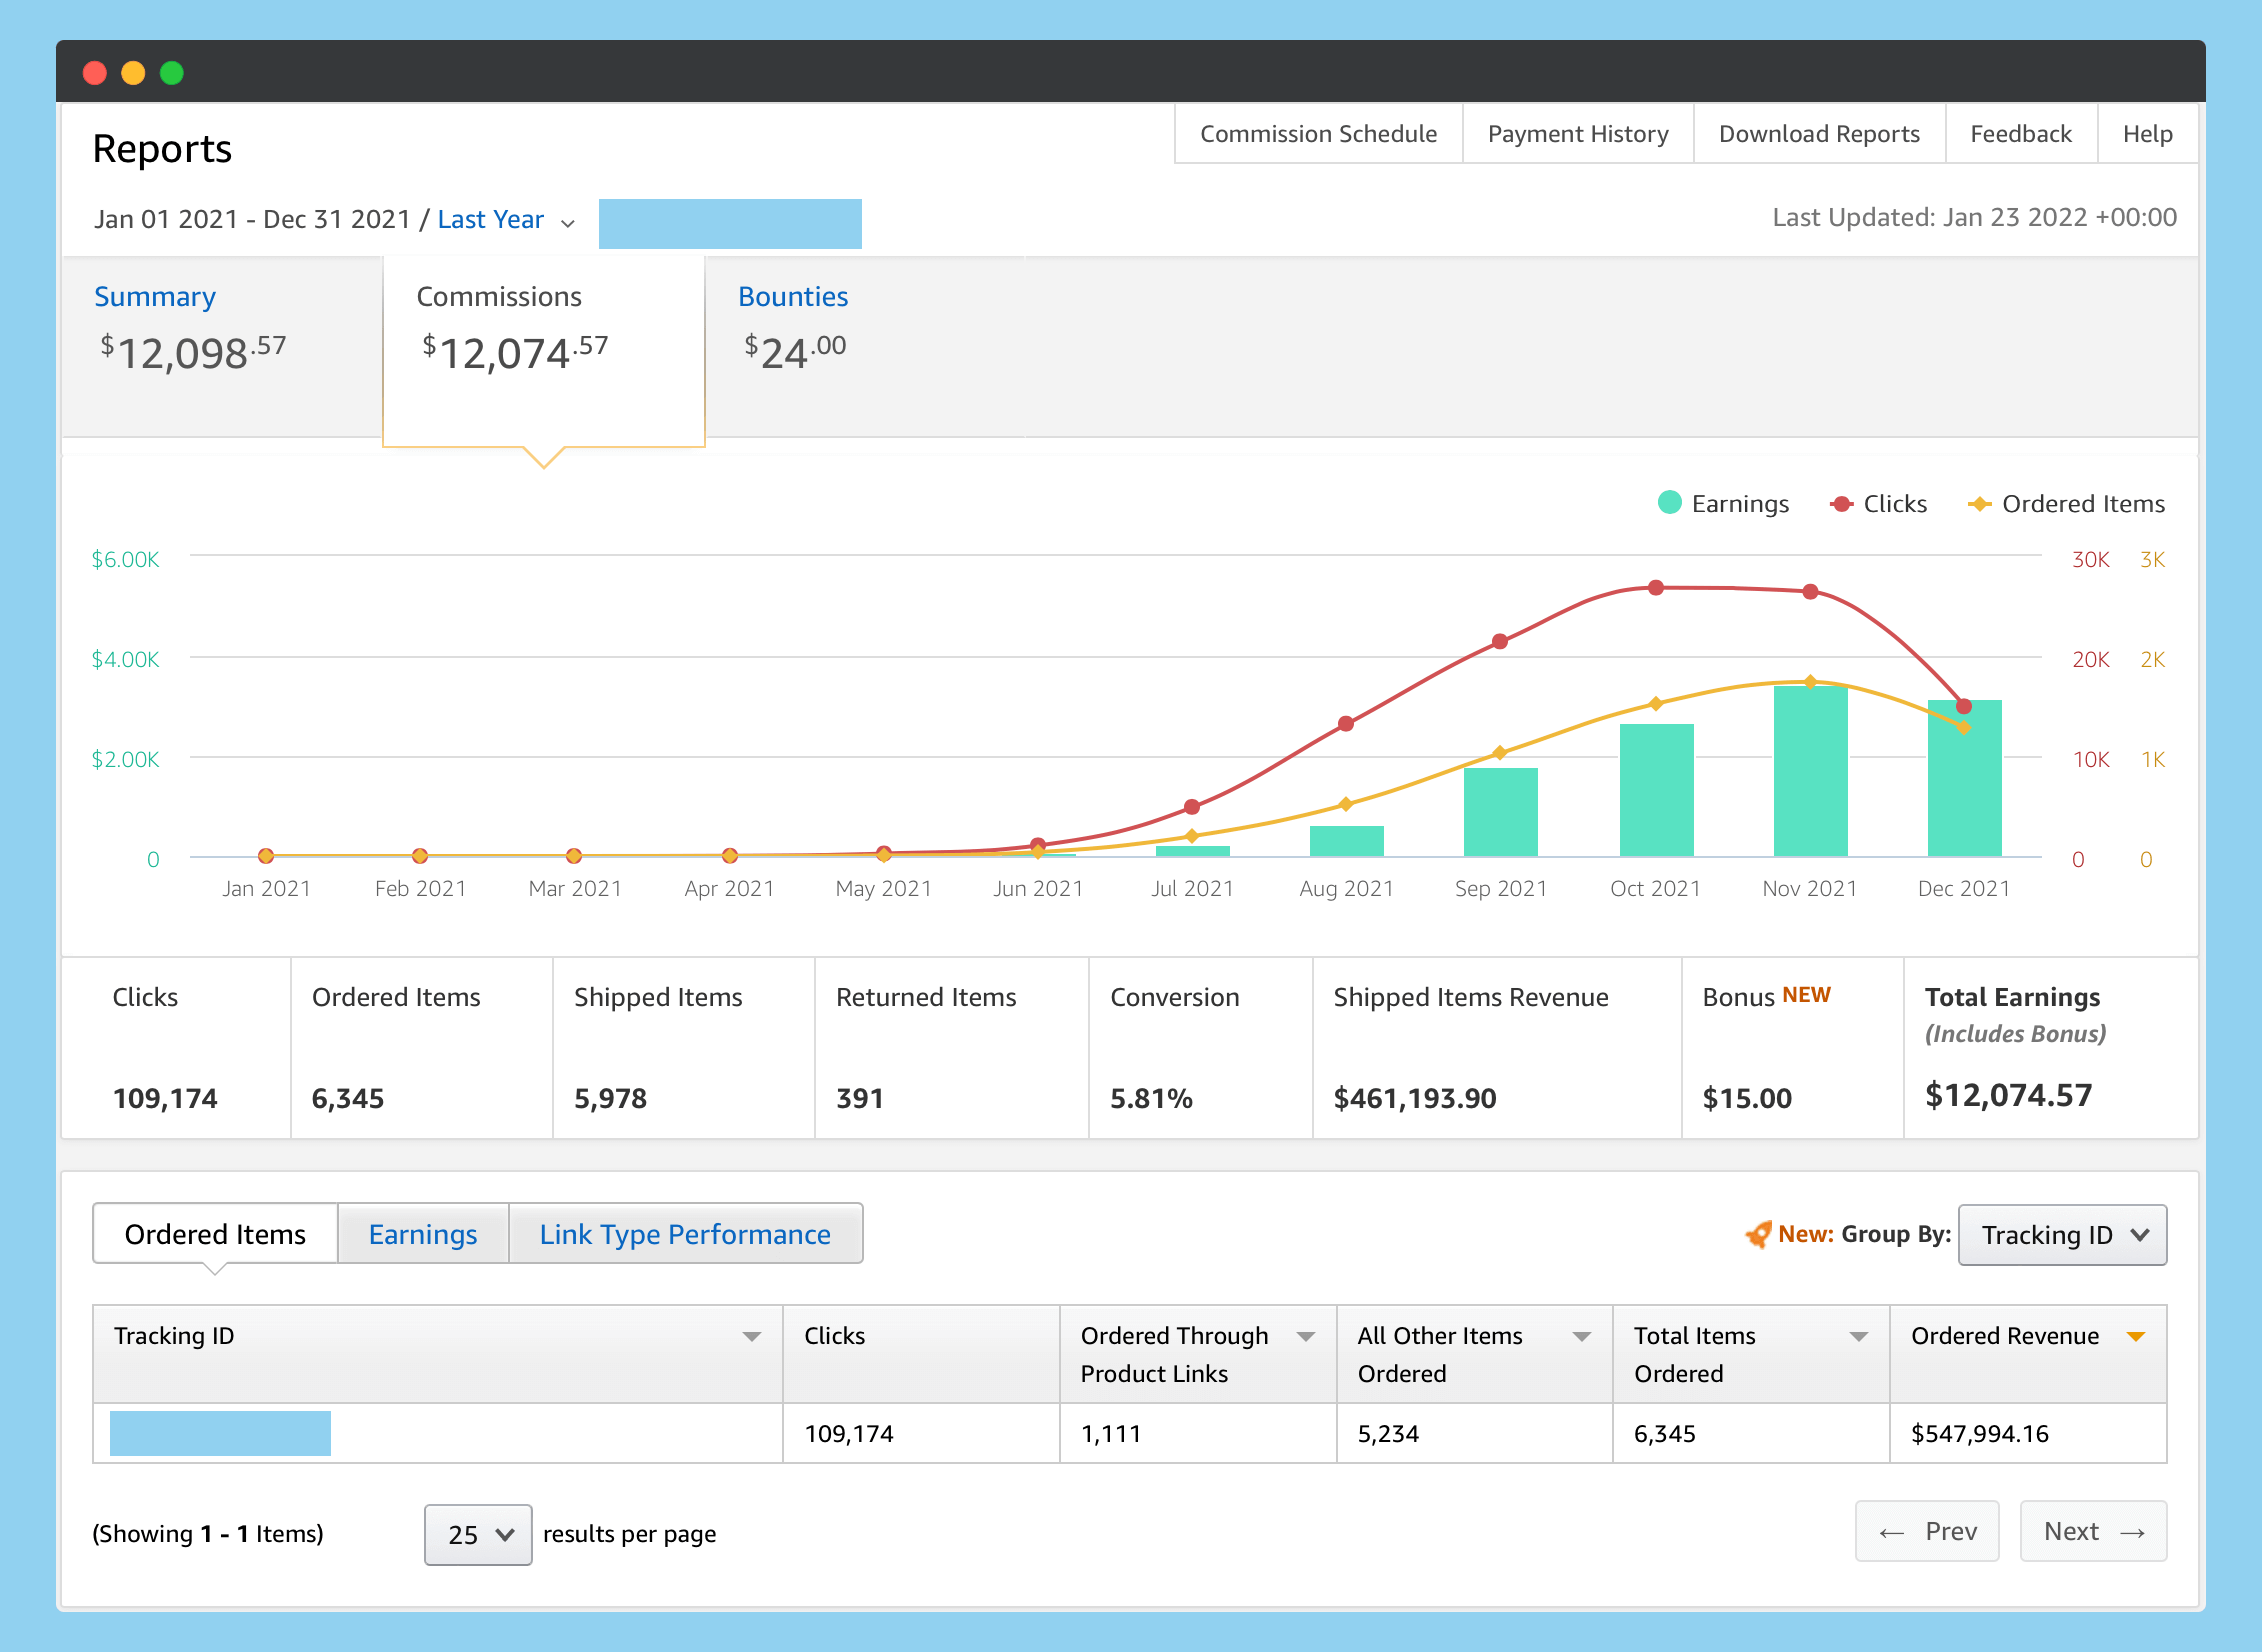
And I got results in the first three months! My blog started generating around $5-10/day in affiliate income, which was around $150-300/month.
Not bad for a newbie!
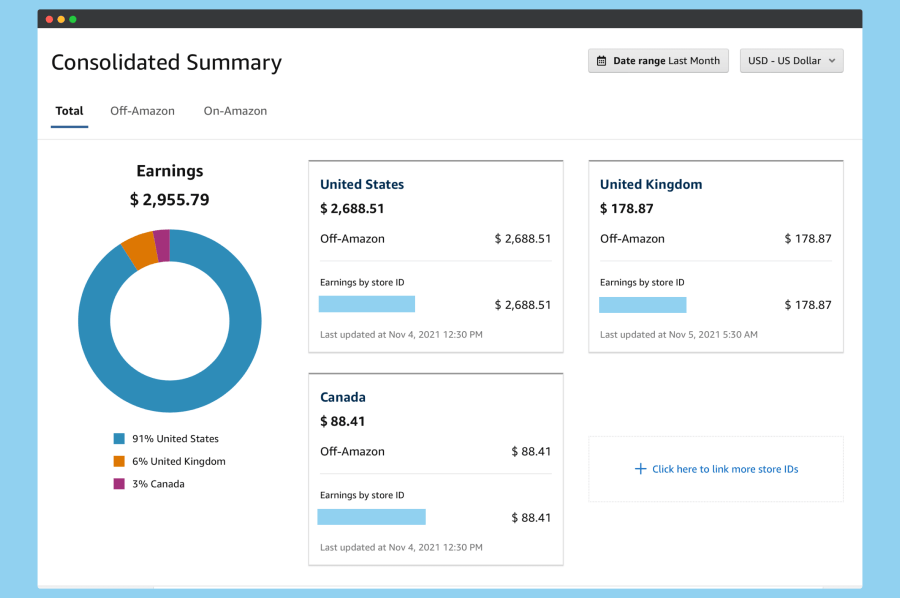
In the other 2-3 months, it increased to $2,231 (combined data of all Amazon stores), and after that, it hit over $3k for the first time ever! From there on, things just kept on growing.
✍️ TL;DR;
Getting started with an Amazon affiliate is really easy, and you can start earning $5 to $10 a day within the first 4-5 months. You just need to pick a good, easy-to-rank niche for your website and then create a list of relevant keywords for your niche.
Once you choose your niche, you need to write and publish 2-3 posts a week (you can also use AI tools like Jasper.ai to increase efficiency and speed). After the initial 30-40 days, start building foundational links and then outreach for guest posts and contextual links.
That’s all you need to do to earn $2,955+ from an amazon affiliate. And if you want, you can hire our HeySERP team to build a DFY Amazon affiliate site for you!
In this study, I’ll show you exactly how I did it and what methods I used to grow my blog’s affiliate income so quickly.
To give you an idea of the scope of this case study, here’s an overview of what I’ll be covering:
- Getting started with an Amazon affiliate
- How I picked my niche
- The starting phase of development
- Doing keyword research & finding LSI keywords
- The strategies I used to grow my traffic
- How I increased my conversion rate
- What tools and resources I used
…and many more!
So if you’re looking to start your own Amazon affiliate blog or website, then this case study is for you.
Let’s dive in!
What is an Amazon Affiliate
Before sharing my case study, let me give a brief overview of what Amazon affiliate is for those who are new to this concept.
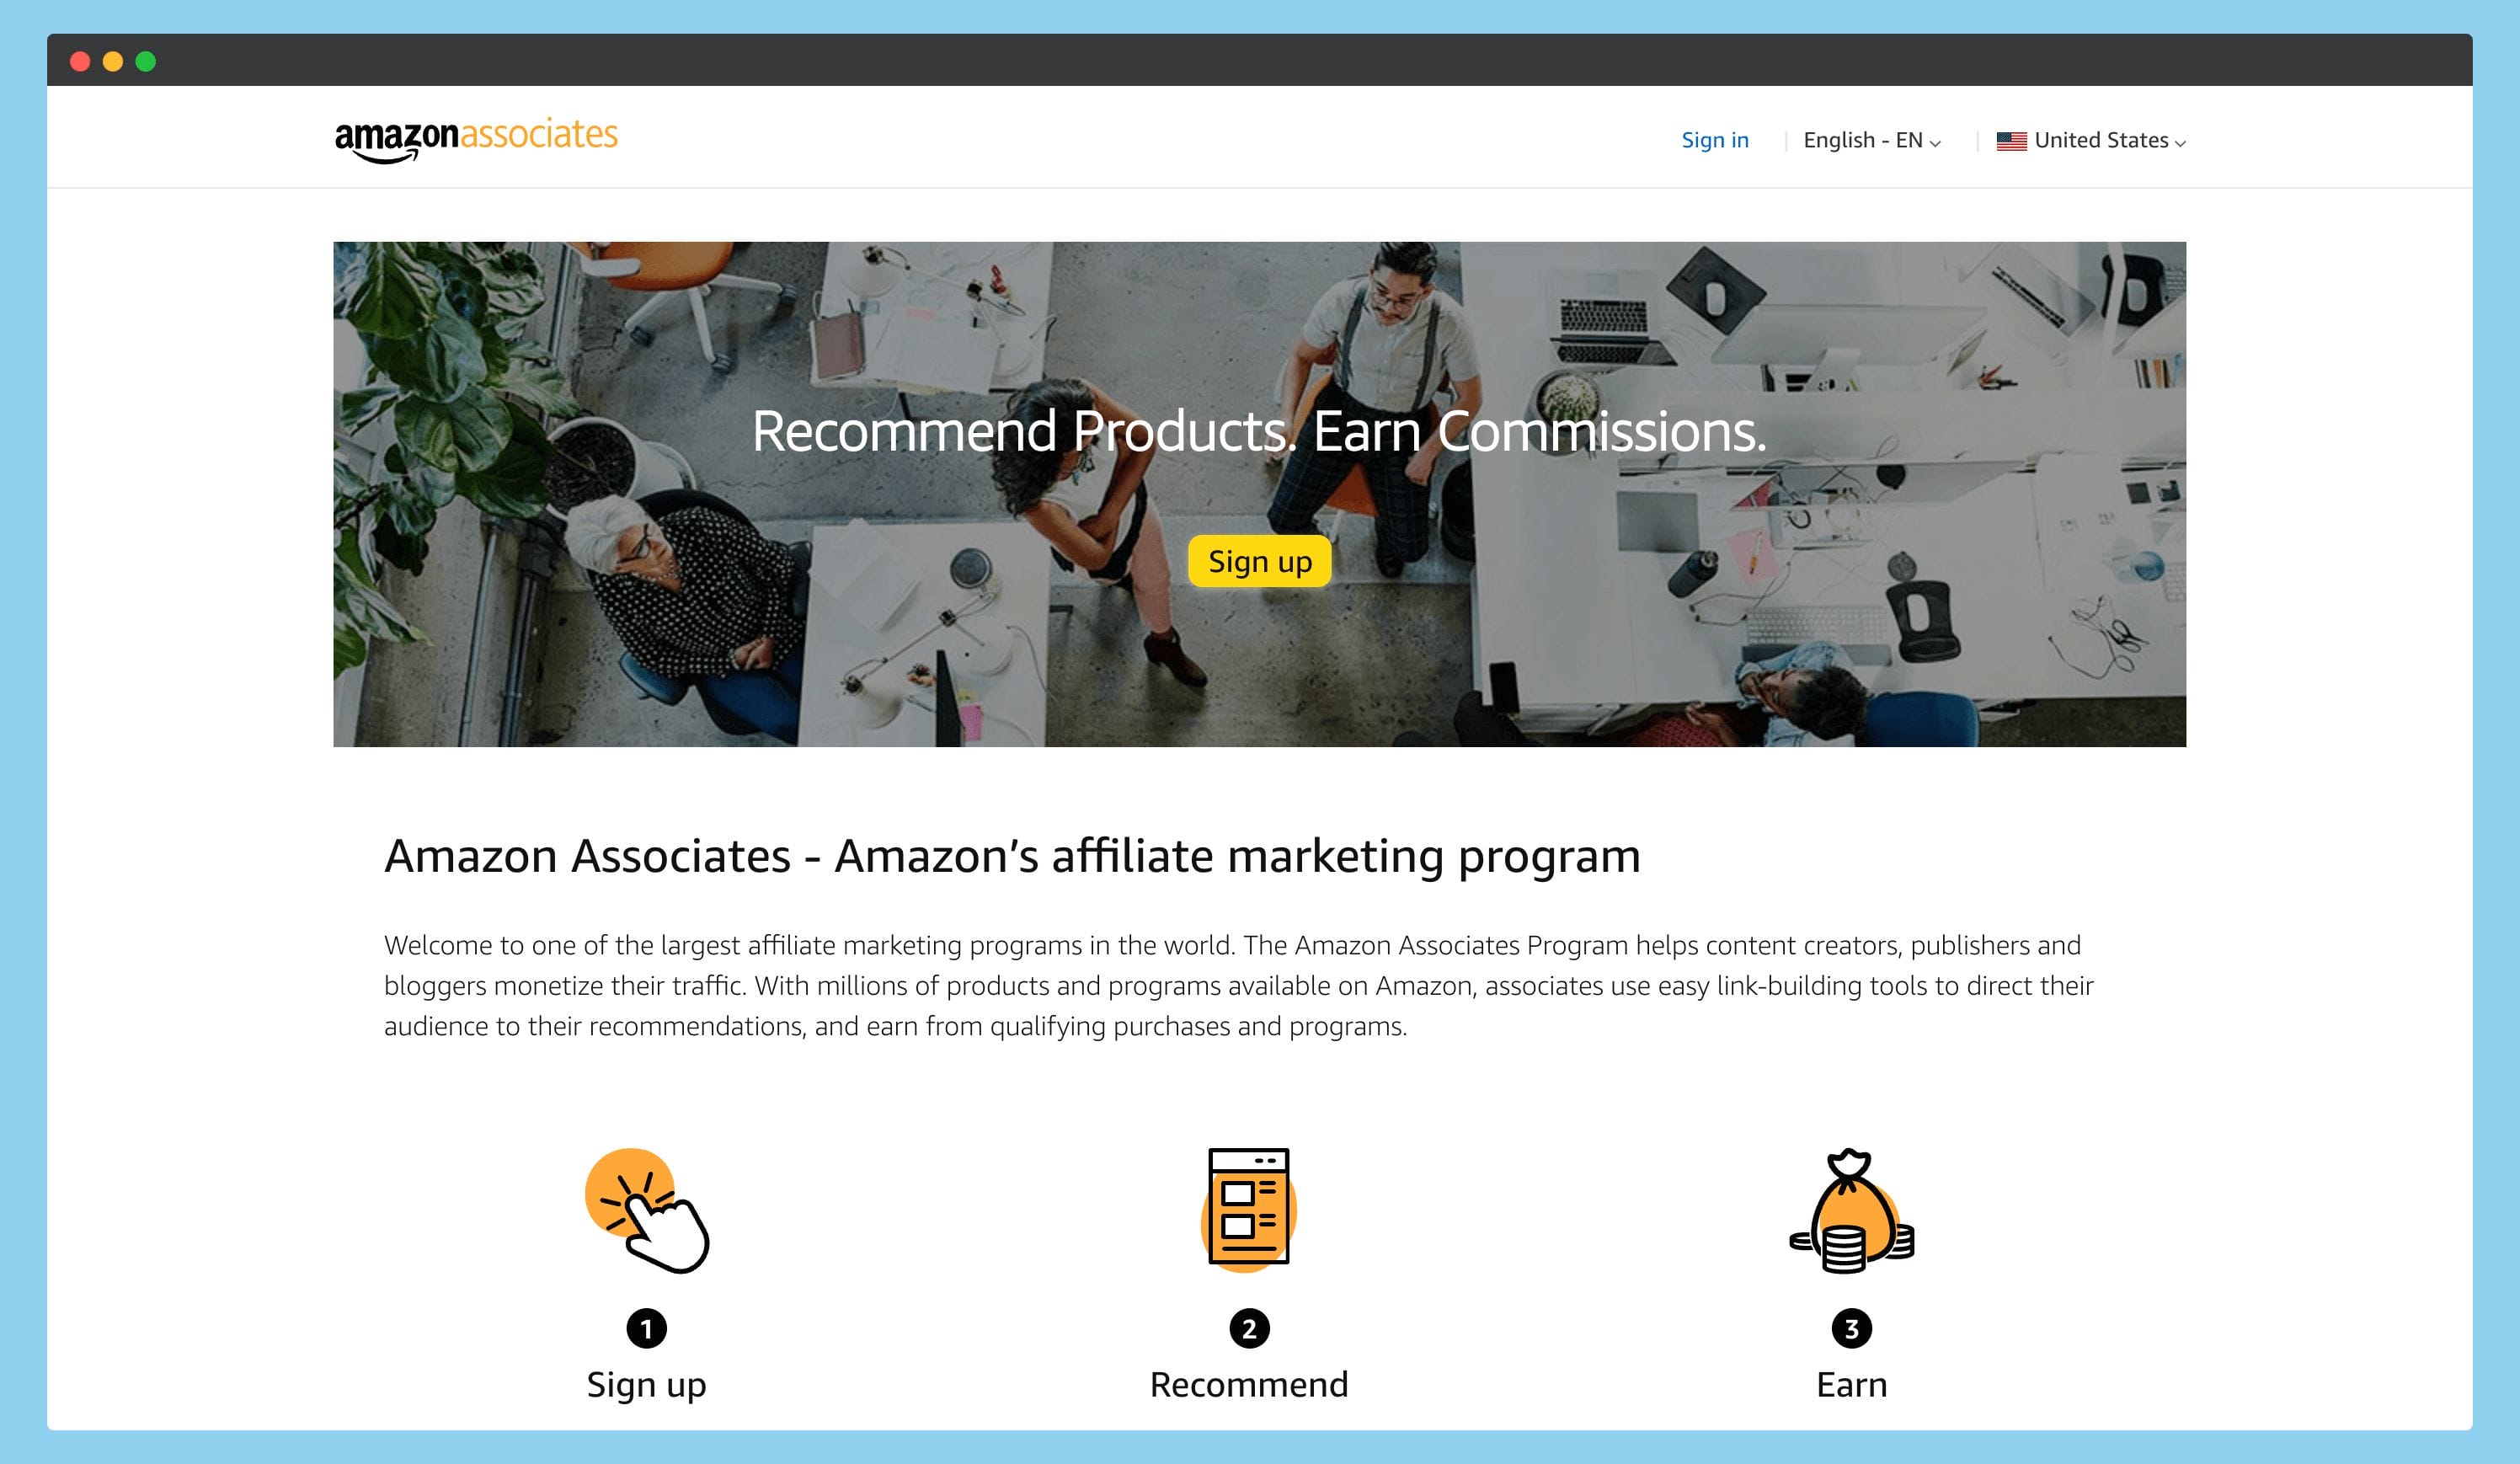
Ok, so what is an Amazon affiliate? In short, it’s a program where you get a commission for promoting products on Amazon.com or any of their other international stores. It is a great way to monetize your blog or website and start generating passive income from it.
It’s one of the most popular affiliate programs because:
- Amazon is a trusted brand with a great reputation
- They offer a wide range of products in nearly every niche
- The commissions are decent (usually around 4-8%)
- And it’s relatively easy to get started
The commission rate may vary depending on the product category you promote on your website, but they usually range from 2.5% to 10%. And sometimes, you can even earn up to 20% commission on qualified sales (you can check standard commission rates here).
To become an Amazon affiliate, click here and sign up for their affiliate program. After you sign up, you can start promoting products on your blog or website.
How I Make Niche Selection?
This is one of the most important decisions you’ll make before starting your first Amazon affiliate blog, and believe me, it’s not an easy decision.
The niche you choose will further determine the type of products you can promote, the keywords you’ll be targeting, and the overall direction of your blog. So it’s important to choose a profitable niche you’re passionate about.
There are many things you need to consider before making your selection, but here are the 3 most important ones:
1. Passion
Passion is one of the most important factors, and you need to make sure you’re passionate about the niche you choose.
But why?
Because it is your main focus, and you’ll spend a lot of time working on your blog and doing lots of research. And if you’re not passionate about the niche you choose, you’ll quickly get bored and give up (which happens to 90% of people)!
2. Potential
After the passion, you need to ensure that the niche you’re working on has a lot of potential to be profitable. It is really important because no one likes to waste 5 to 6 months on a blog that doesn’t generate money in the end.
To do this, you need to check the demand for the products you’re going to promote and see if people are actually buying those items.
You can use tools like AMZScout, Ahrefs, SEMrush, KWFinder, and Google Keyword Planner to get an estimated idea of certain keywords in your niche.
3. Competition
The last factor you need to consider before starting your Amazon affiliate blog is competition. You need to make sure there’s not too much competition in the niche you choose.
If there’s competition or if the first page has lots of high-quality blogs, it’ll be hard to rank your content and get organic traffic. Therefore, before starting your blog, you need to make sure your niche isn’t crowded with high-quality sites.
Aside from these, you also need to…
- Determine what problems your website is solving and how it will stand out
- Pick a good domain name (you can choose between EMD, PMD, or a branded domain)
- Begin in-depth keyword research on topics you’re going to publish
- Consider long-term strategies, etc.
Now, enough of these theoretical talks; let’s see how I pick my niches…
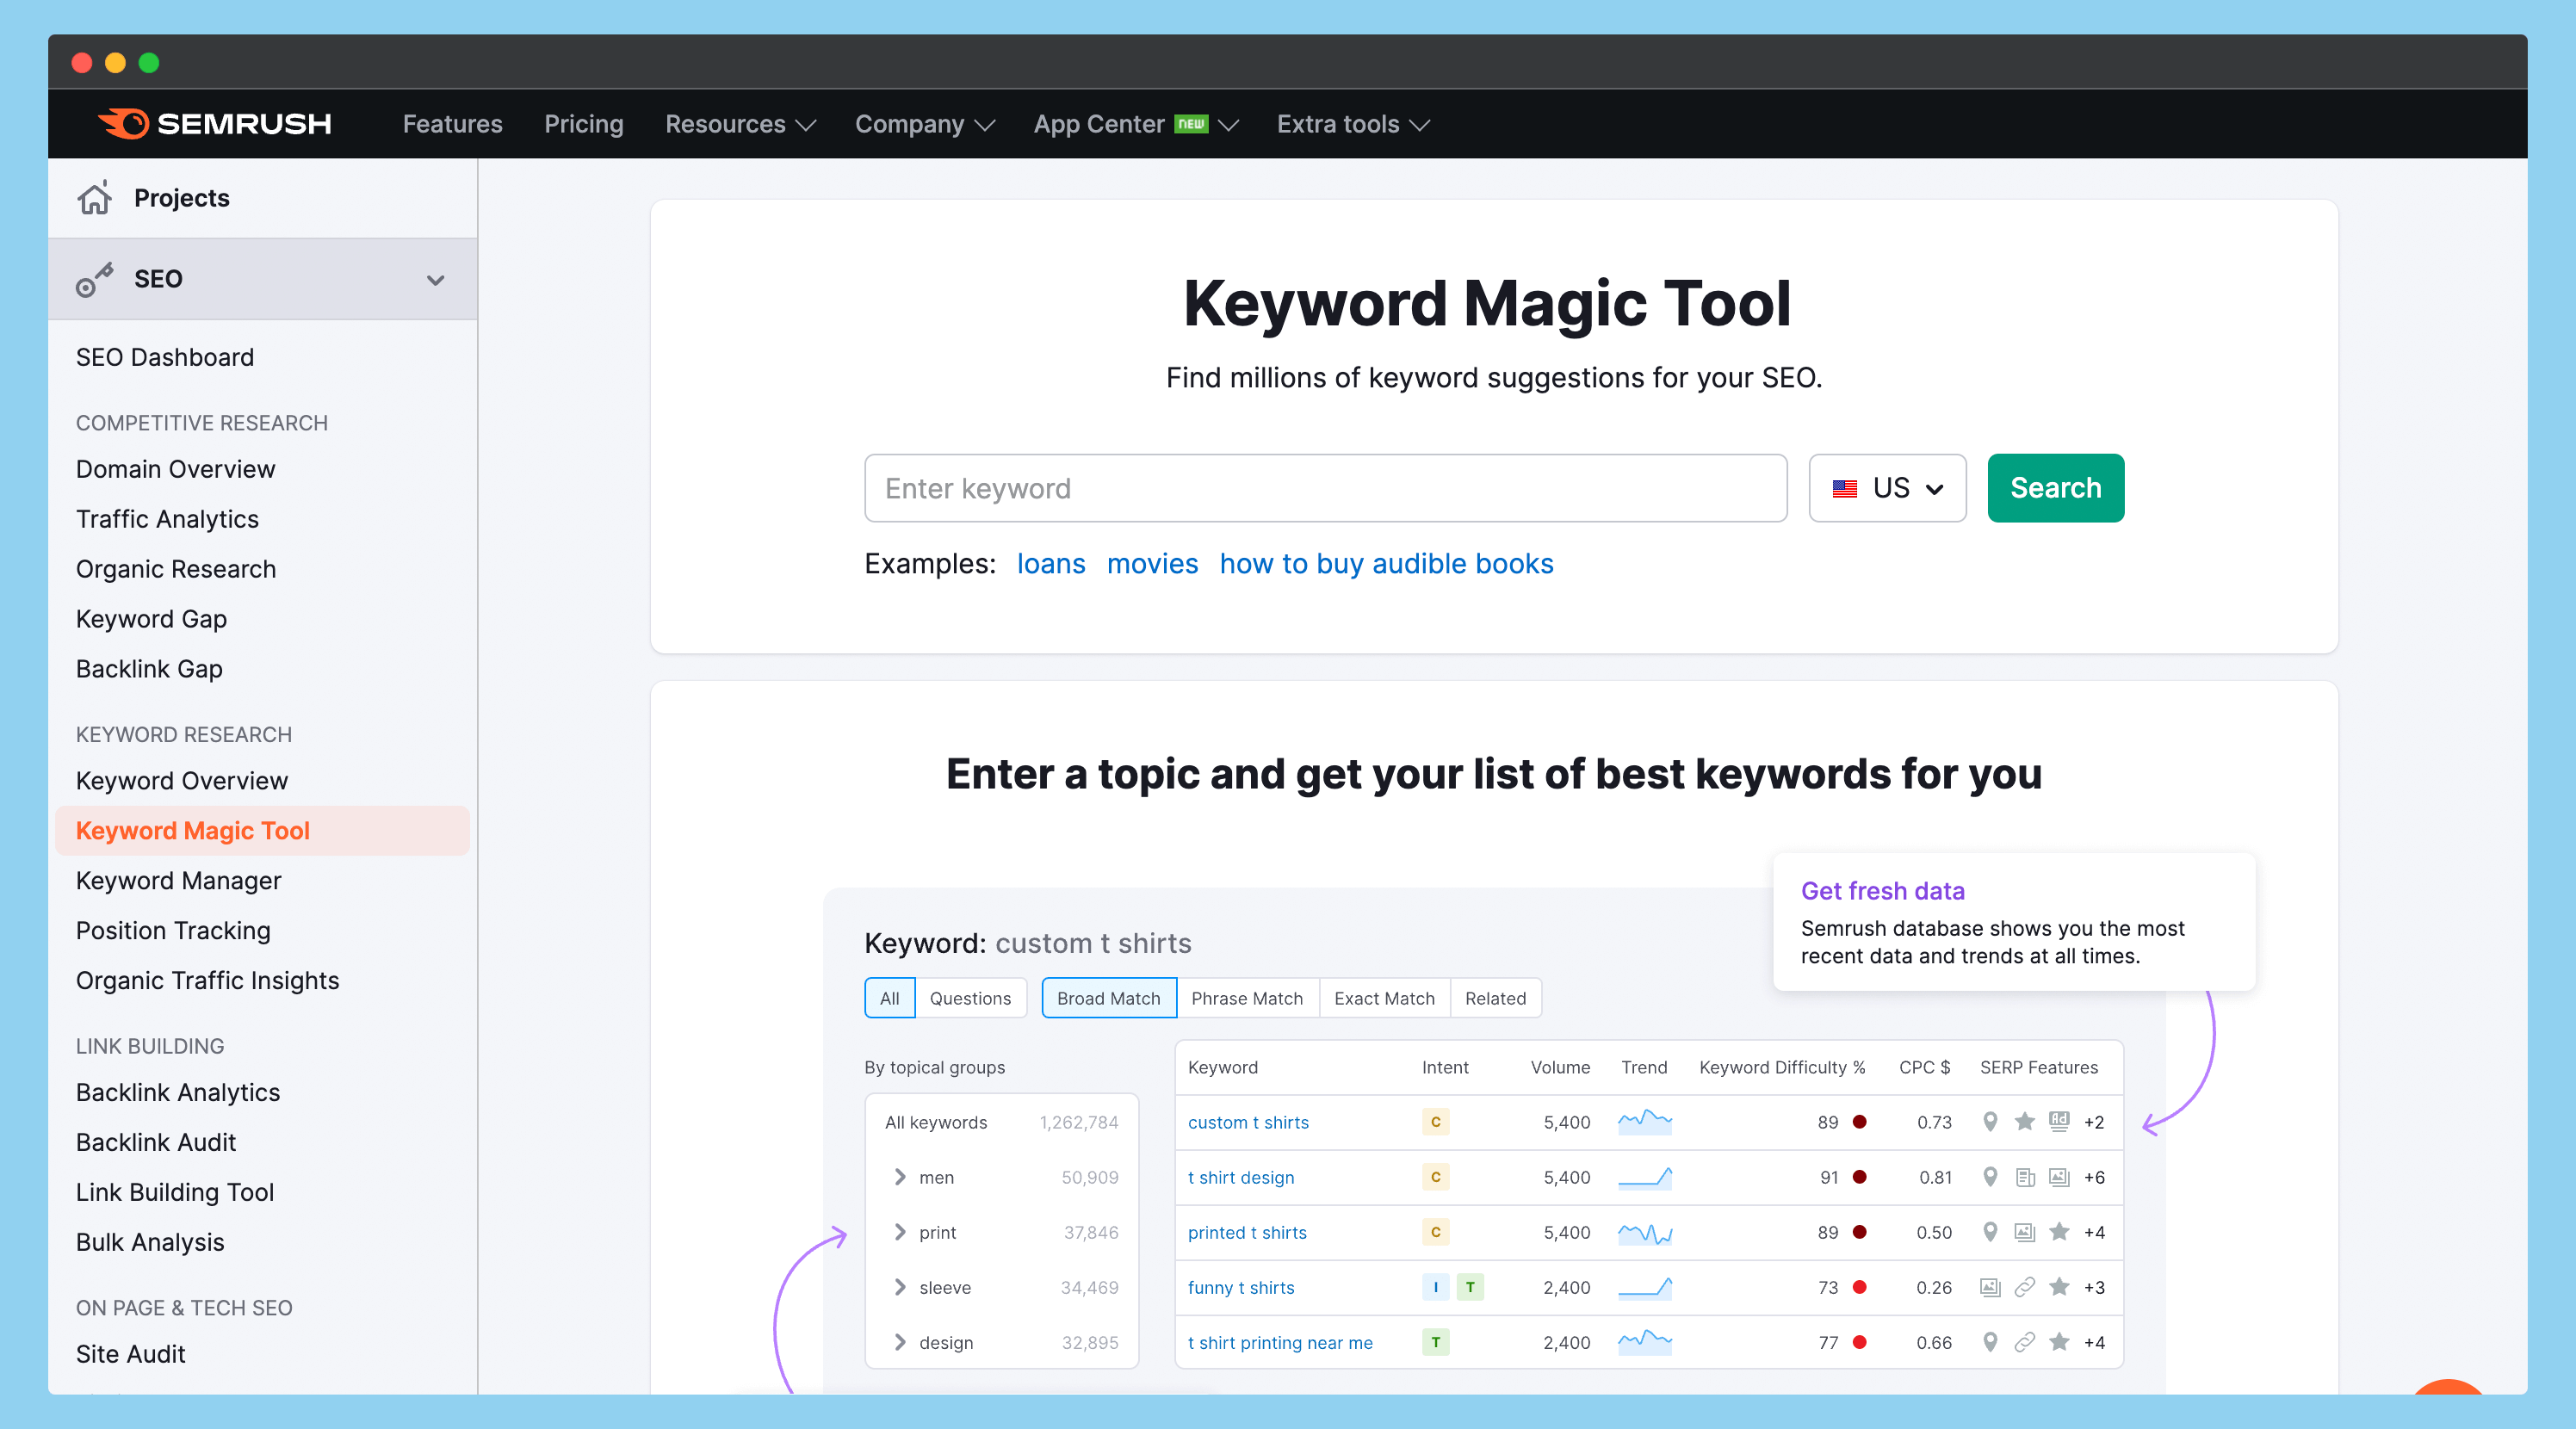
For niche research and checking the estimated traffic of keywords, I always use SEMrush. It’s because they have the largest database with the most accurate and up-to-date keywords.
Here, I’m using their “Keyword Magic Finder” tool, which works similarly to Ahrefs keyword explorer.
You can also use Ahrefs for keyword research – but after the recent price hike, I switched back to SEMrush. And if you’re looking for a SEMrush free trial, then you can grab a 14-day trial of Guru from here and a 30-day Pro trial from here.
Now, back to our niche selection part…
As I told you earlier, follow your passion. So, I’ve decided to start my search for the “Bike” niche here.
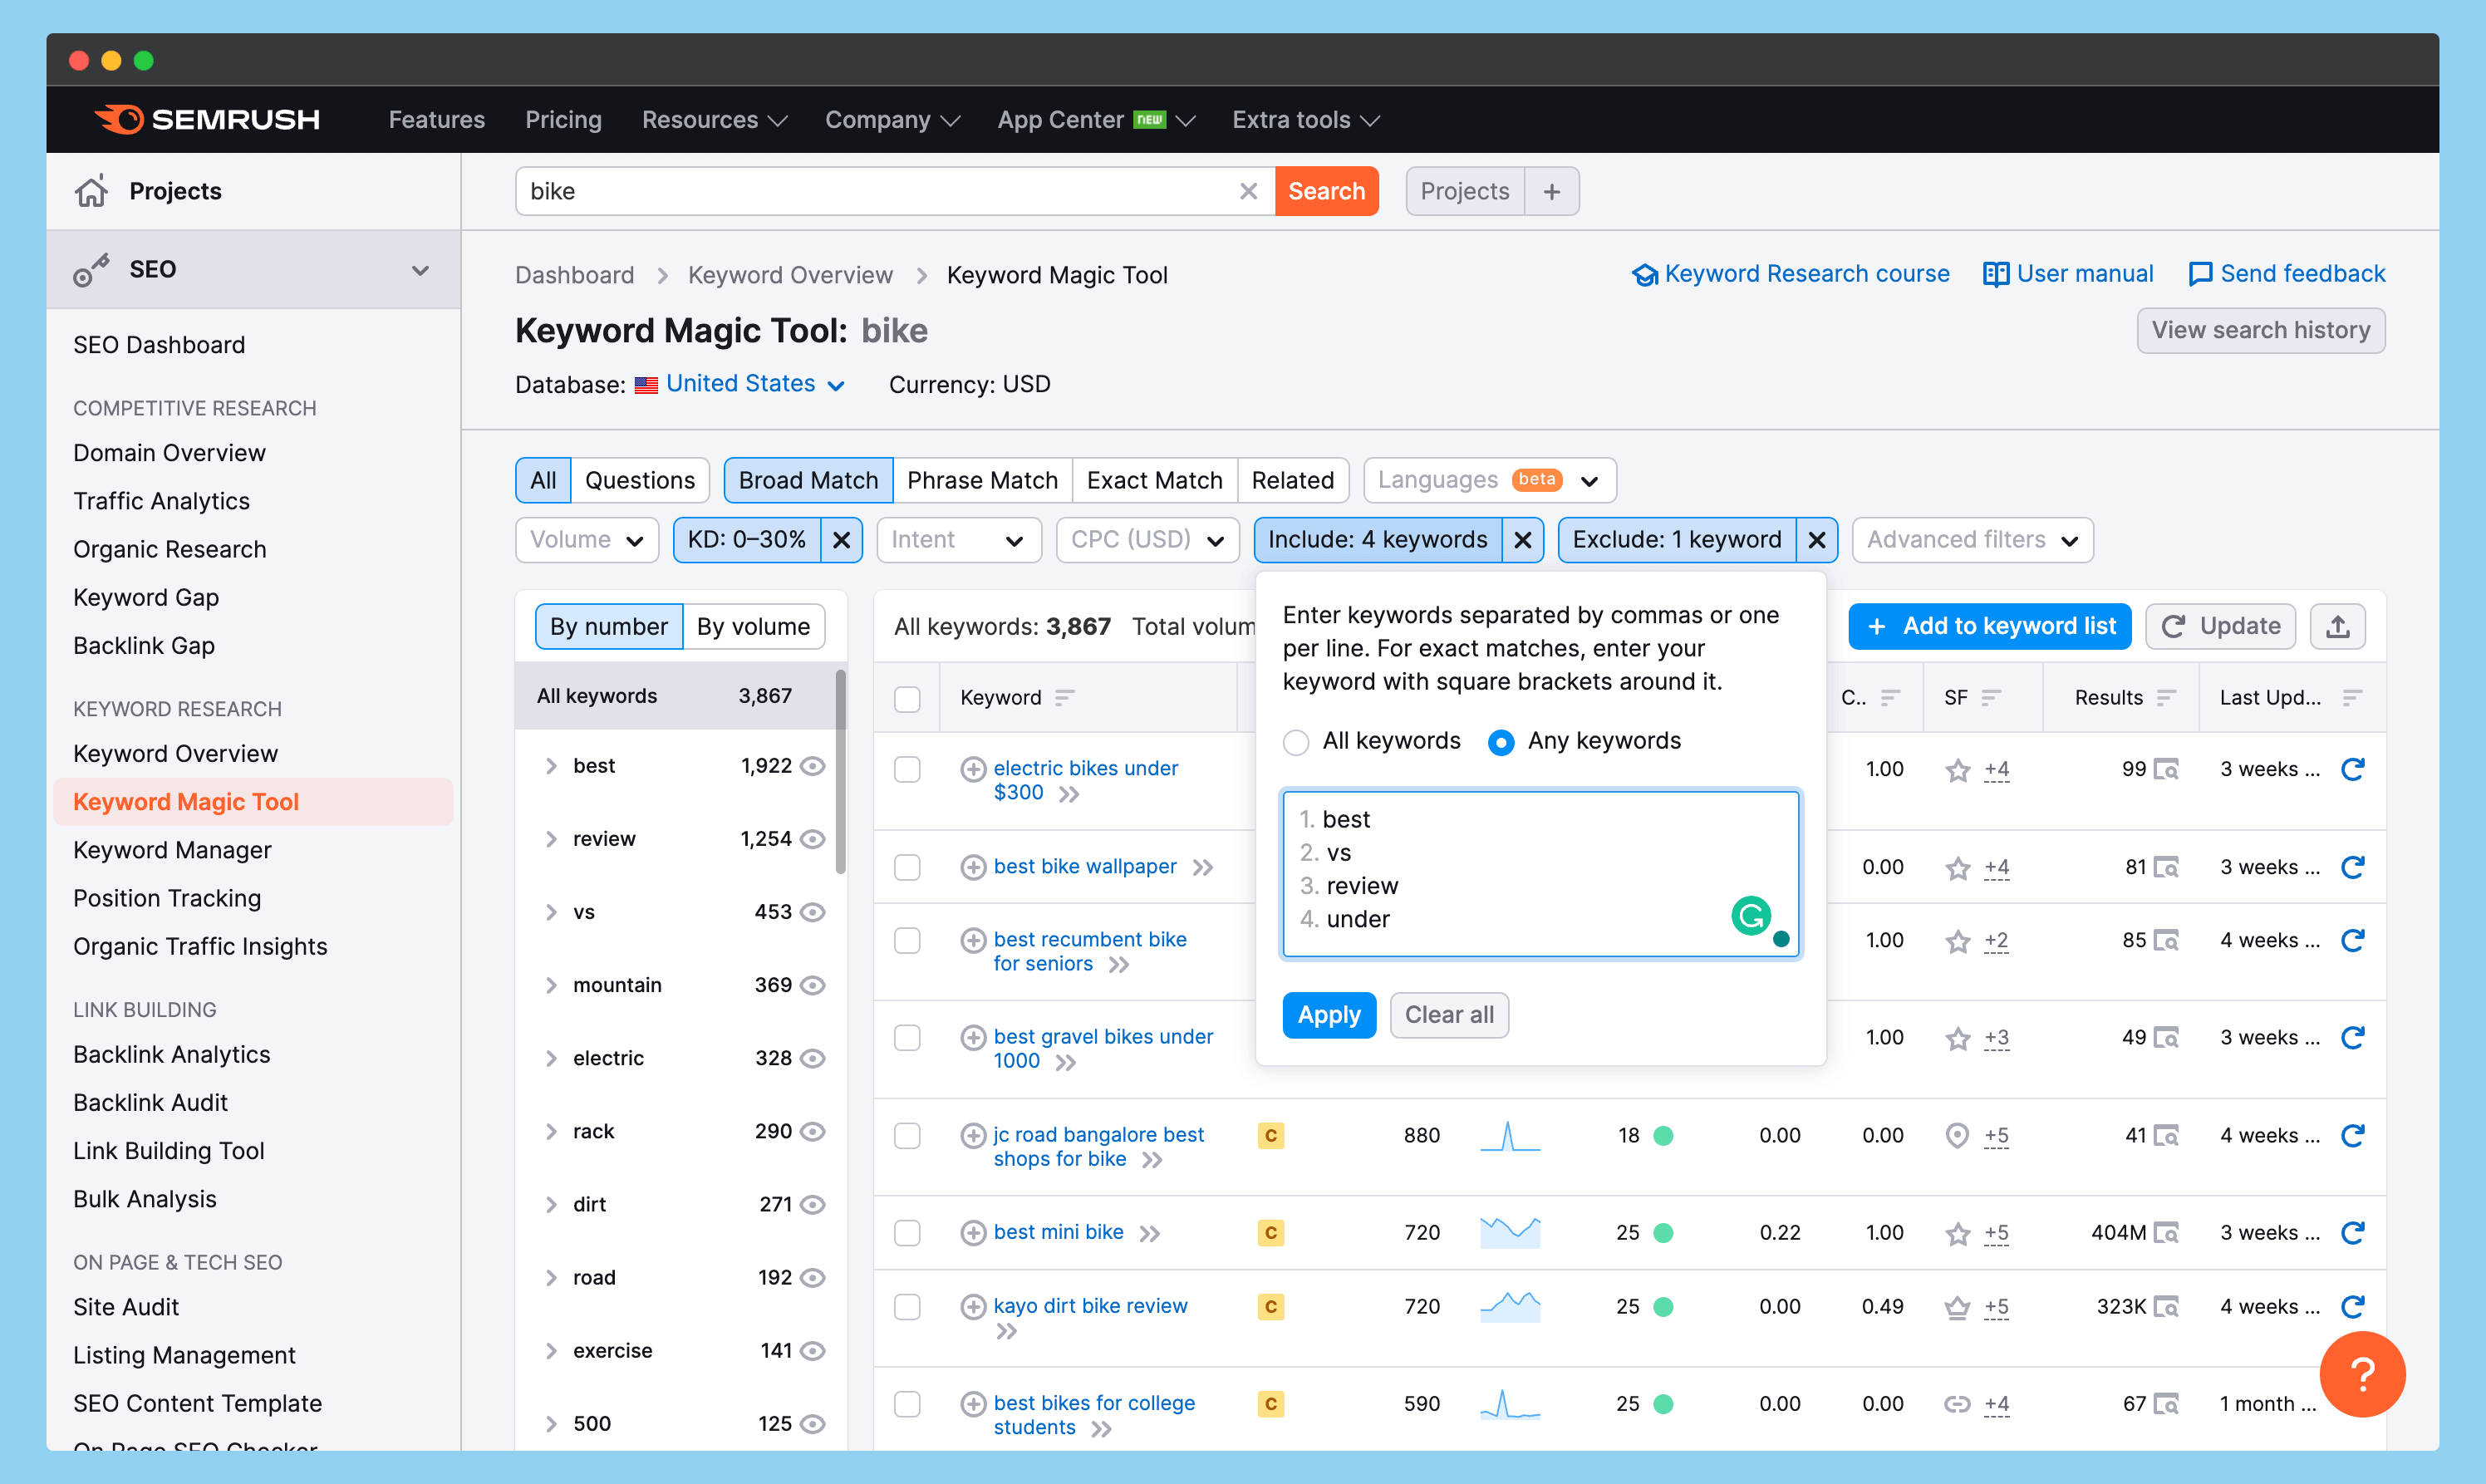
Once you’ve decided on the niche, enter the main keyword (i.e., bike) into the search box and hit enter. On the next page (as shown below), you’ll see different types of filters.
Here, you need to use some main filters to find the perfect keywords, and these filters are;
- Keyword Difficulty (KD): You need to find keywords that are easy to rank, so I recommend you choose 0-30 KD.
- Include: Here, you need to enter some related words. For example, in the “Bike” niche, I’ve added words like “best,” “vs,” and “review.” Adding these words will help you find more related keywords.
- Exclude: You can also add some negative words to this filter; it’ll help you find more relevant keywords. For example, I’ve added words like “near” because I don’t want these types of unrelated keywords.
Depending on your needs, you’ll also find more filters. But these are the core ones that you need to consider. And when you hit enter, you’ll get a list of easy-to-rank keywords for your blog.
Now, manually check the ranking of websites on these keywords and see if there are any low-quality websites ranking for those keywords, and if there are, add the keywords to your list.
The Starting Phase of Your Amazon Affiliate Blogging Journey
You’ve seen how I select the niches and IMPORTANT low-competition keywords for my blogs. Now let’s see how to start your Amazon affiliate journey.
First of all, you need to get a suitable domain name and hosting and then set up your website. While registering your domain name, you also need to focus on a few things, like EMD, PMD, and brandable domains.
But what does it actually mean?
An exact match domain (EMD) is a type of domain name that matches your main keyword. For example, if your niche is “best car”, you can get a domain name with something like “bestcars.com”.
However, after the recent few updates, most importantly after the product review update and the helping content update, Google’s algorithms are constantly giving low preferences to sites with these types of domains.
Here’s what Google’s product review update says about publishing reviews on your website.
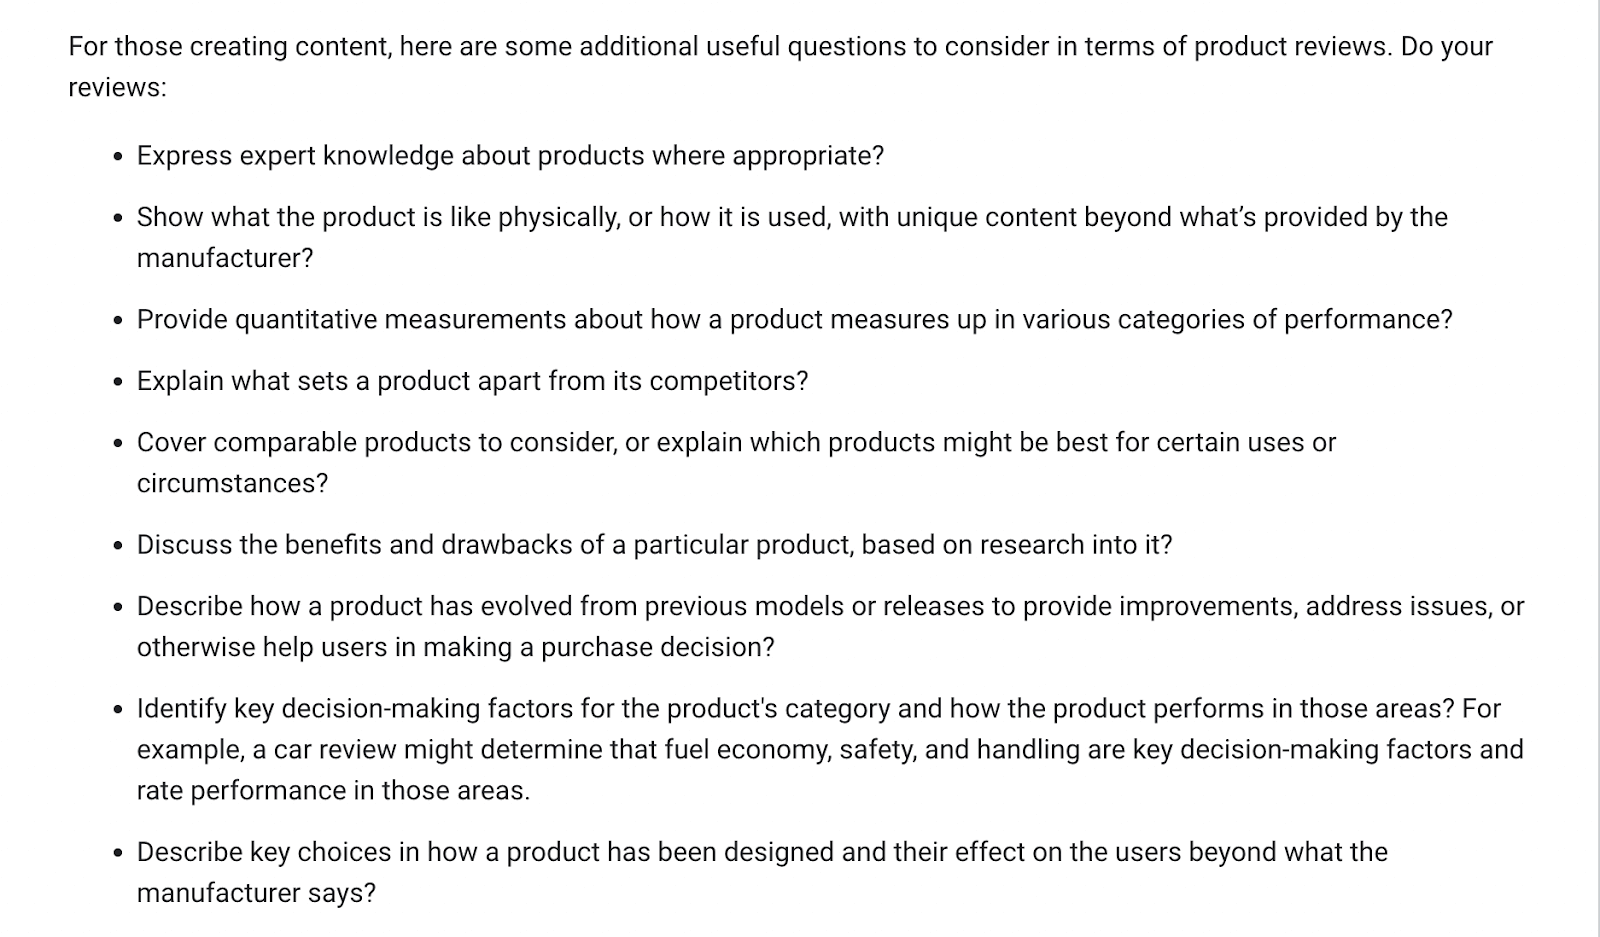
Having an EMD domain isn’t mandatory because it’s not the only ranking factor. If you’re looking to dominate the market in the long run and want to create a brand, then we do recommend getting a brandable domain name.
Lastly, if you’re interested in getting a domain name that includes your main keyword, then you can also consider getting a partial match domain (PMD). For example, if the main keyword of your niche blog is “best car,” then carreviews.com would be the perfect PMD for your blog.
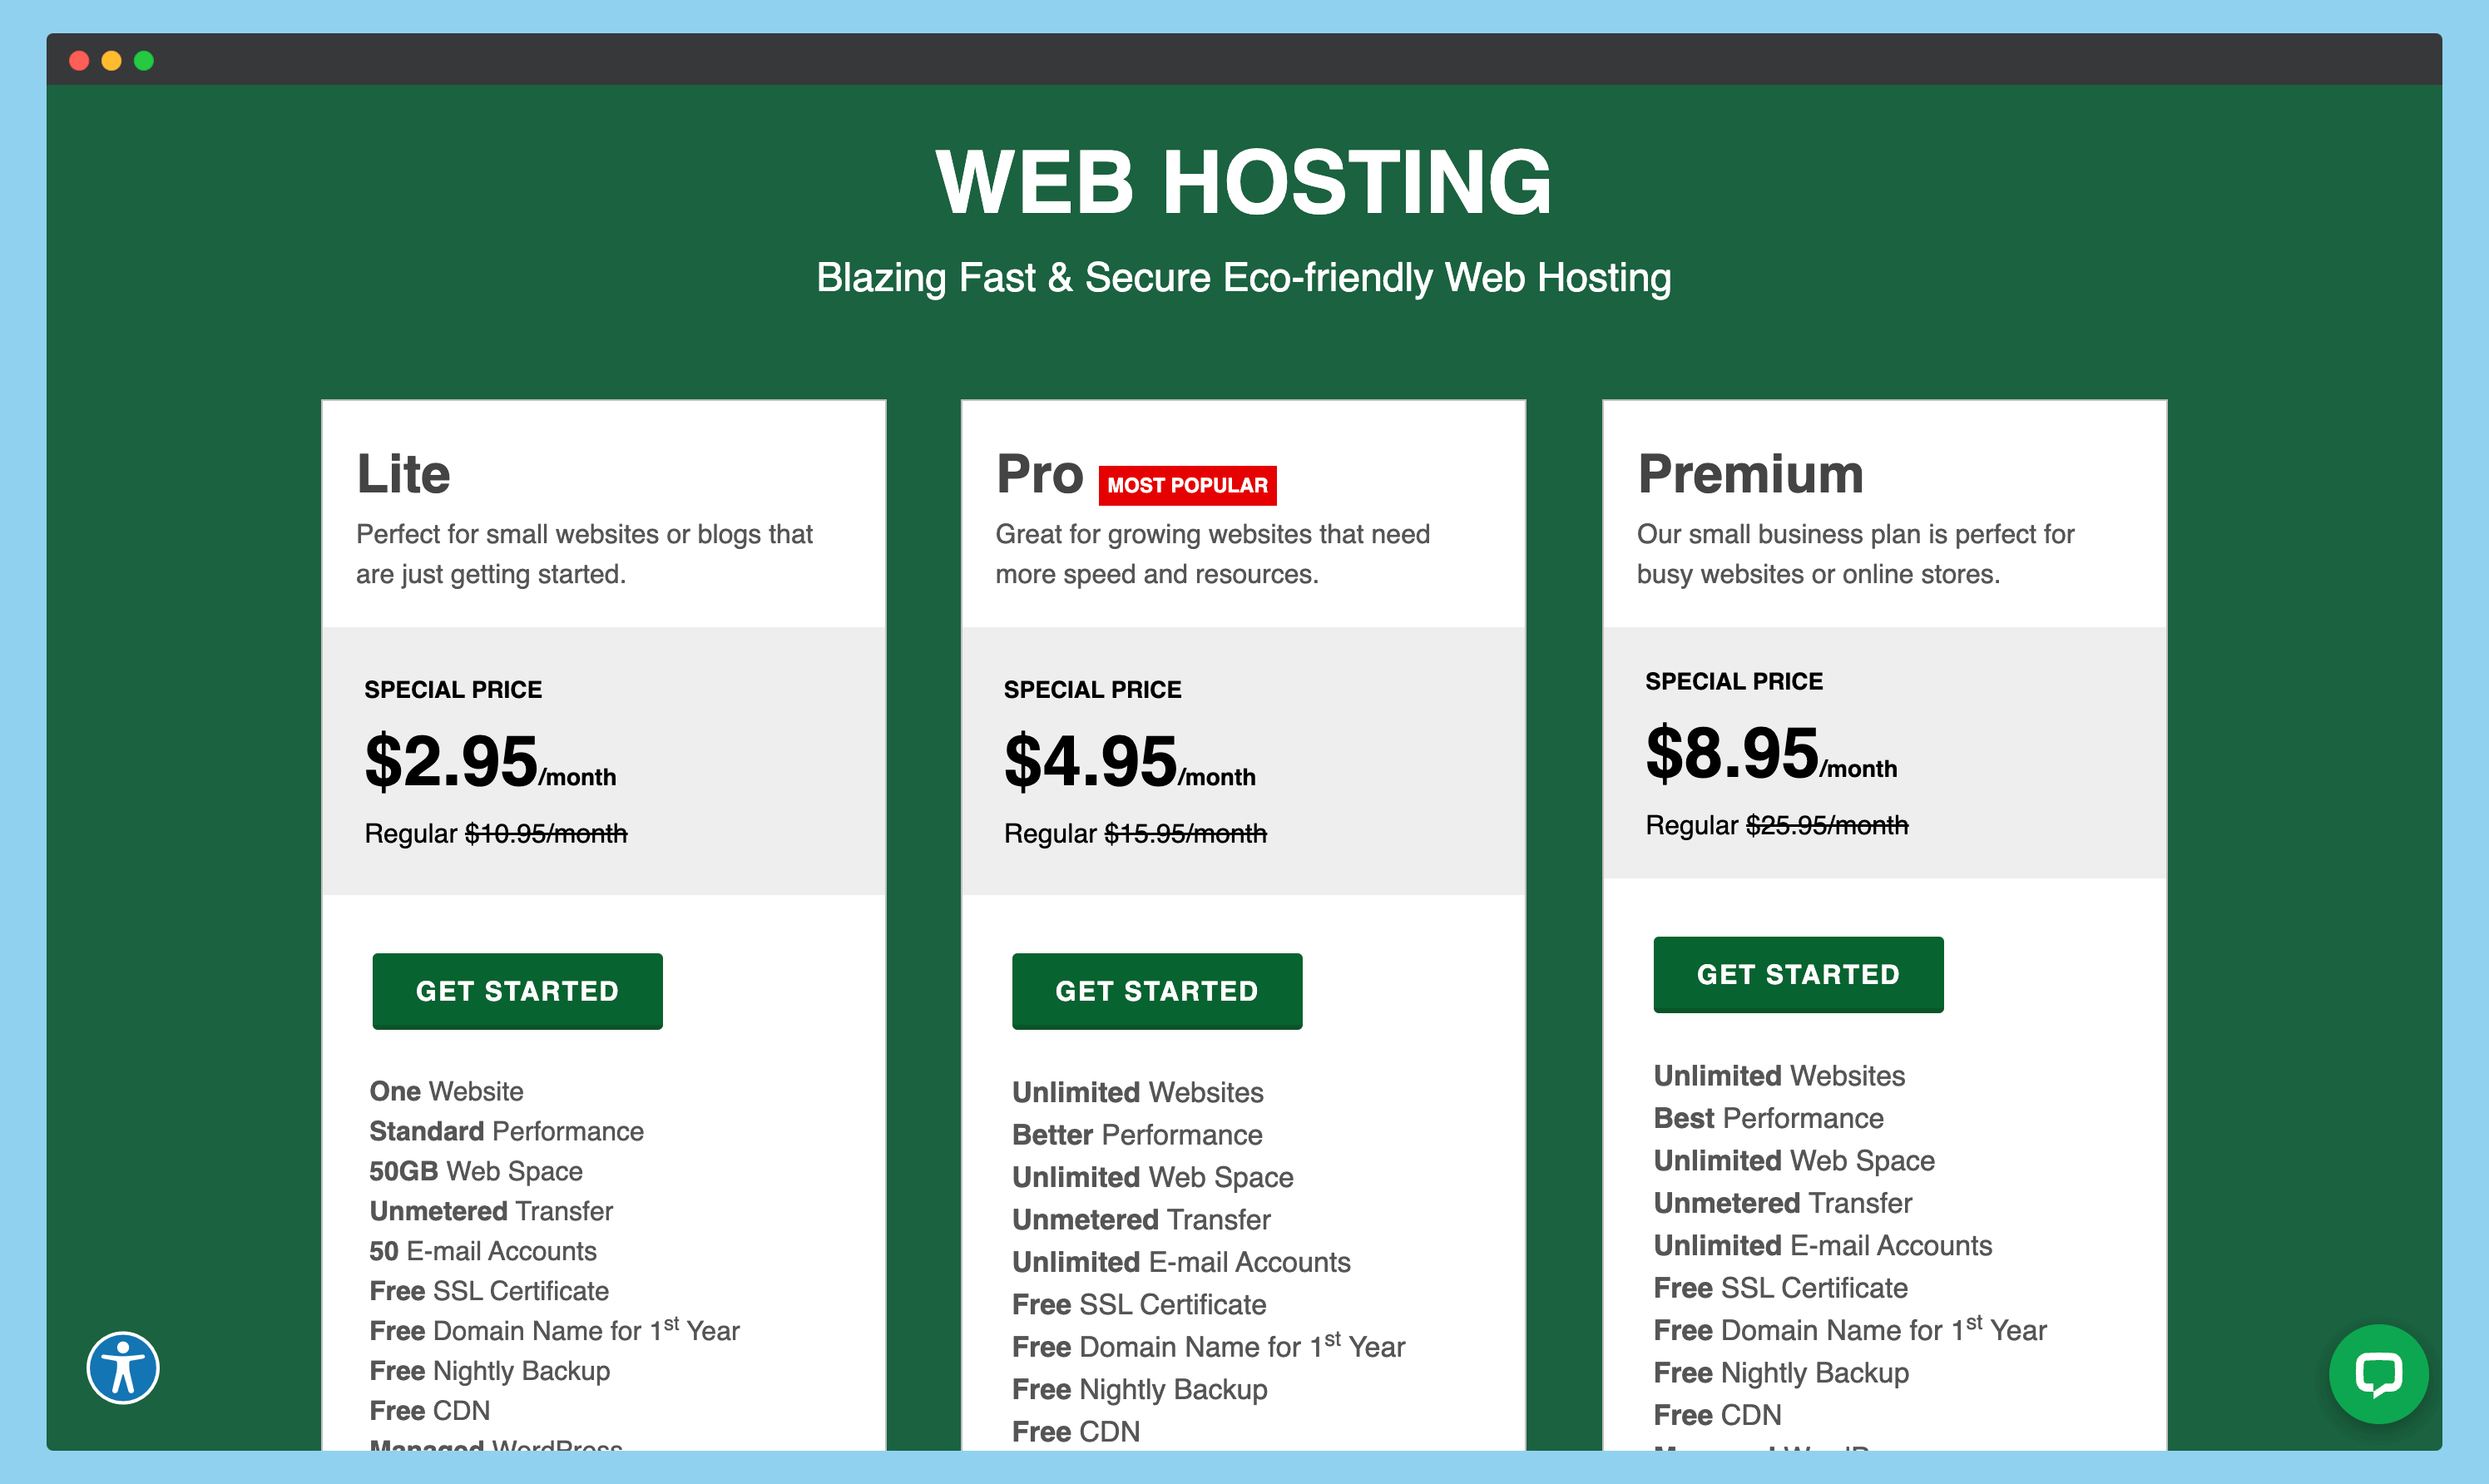
After you decide on the name, the next thing is to register your domain name. For this, I strongly recommend choosing Dynadot or GreenGeeks (as GreenGeeks offers free domain names with their hosting plans – see the deal here).
If you’re registering your domain name from Dynadot, you separately need to purchase a hosting plan and connect your domain to your hosting. In this case, I strongly recommend Cloudways hosting (you can get $30 free credits by using our exclusive Cloudways promo code).
But if you’re thinking of starting with GreenGeeks, then you’ll get a free domain name with your hosting purchase.
✍️ Author’s Note:
Once you have the domain name of your choice, connect your domain to hosting and set up Cloudflare. After the setup, you need to properly configure SSL, caching, firewalls, and page rules for your WordPress website.
And if you’re new to Cloudflare and don’t know how to set it up properly, here’s a guide from Kinsta showing the proper steps for configuration.
Installing useful plugins and themes is another necessary part you need to do once you’ve installed WordPress on your domain name.
Here is a list of plugins I highly recommend for an Amazon affiliate website;
- RankMath – Highly recommended for on-page SEO and technical SEO.
- WP Rocket – The most recommended plugin for WordPress caching.
- Easy Tables of Contents – Create a simple and easy-to-use table of contents for your website.
- GP Premium – Helps enhance the features of the “GeneratePress” theme. Alternatively, you can use themes like Astra or Divi.
- AAWP – Helps you increase your website’s conversions and sales.
- UpdraftPlus – Prevent any unforeseen issues on your website by taking complete backups.
- WP-Optimize – Helps in cleaning WordPress database for enhanced performance and speed.
- TinyPNG – Recommended plugin for image optimization.
These are all the recommended plugins I use on my website.
After you’ve installed and configured these plugins on your website, you need to move towards other important features, such as setting up a webmaster, analytics, etc.
In-depth Keyword Research & Writing Content for Your Amazon Affiliate Website
Once you have finished building your website, you need to focus on creating content for it.
But before writing content, you first need to do in-depth keyword research and find LSI keywords and top competitors having low DR and DA. It’s because if you’re not targeting the right keywords, then all your efforts will go in vain, and you won’t be able to generate any traffic or sales from your website.
✍️ Author’s Note:
Before starting keyword research, you should have an understanding of your buyer’s persona, their intent behind searching for a particular keyword, and also the type of product they’re looking to buy.
You can use various free and paid tools for in-depth keyword research; some of the most popular ones are Ahrefs, SEMrush, KWFinder, and Ubersuggest.
I personally prefer using Ahrefs and SEMrush because they provide a complete overview of the keywords I want to target. However, you can use any of the tools mentioned above at your convenience.
After you find sites with low DR and DA, start copying their content and making it better.
Plus, always try to use proper keyword placements in your title, meta descriptions, H2 & H3 tags, etc., as it will help you improve your website’s SEO and also help Google index your pages faster.
For this, you can use tools like SurferSEO and MarketMuse for content optimization and tools like Jasper.ai for fast and efficient writing.
This is one of the easiest ways to rank several keywords on your website.
You also need to make sure the content you’re publishing follows proper guidelines, uses high-quality images, and has internal and external links, etc.
AND MOST IMPORTANTLY, try to publish an article every day or every two days to maintain good momentum.
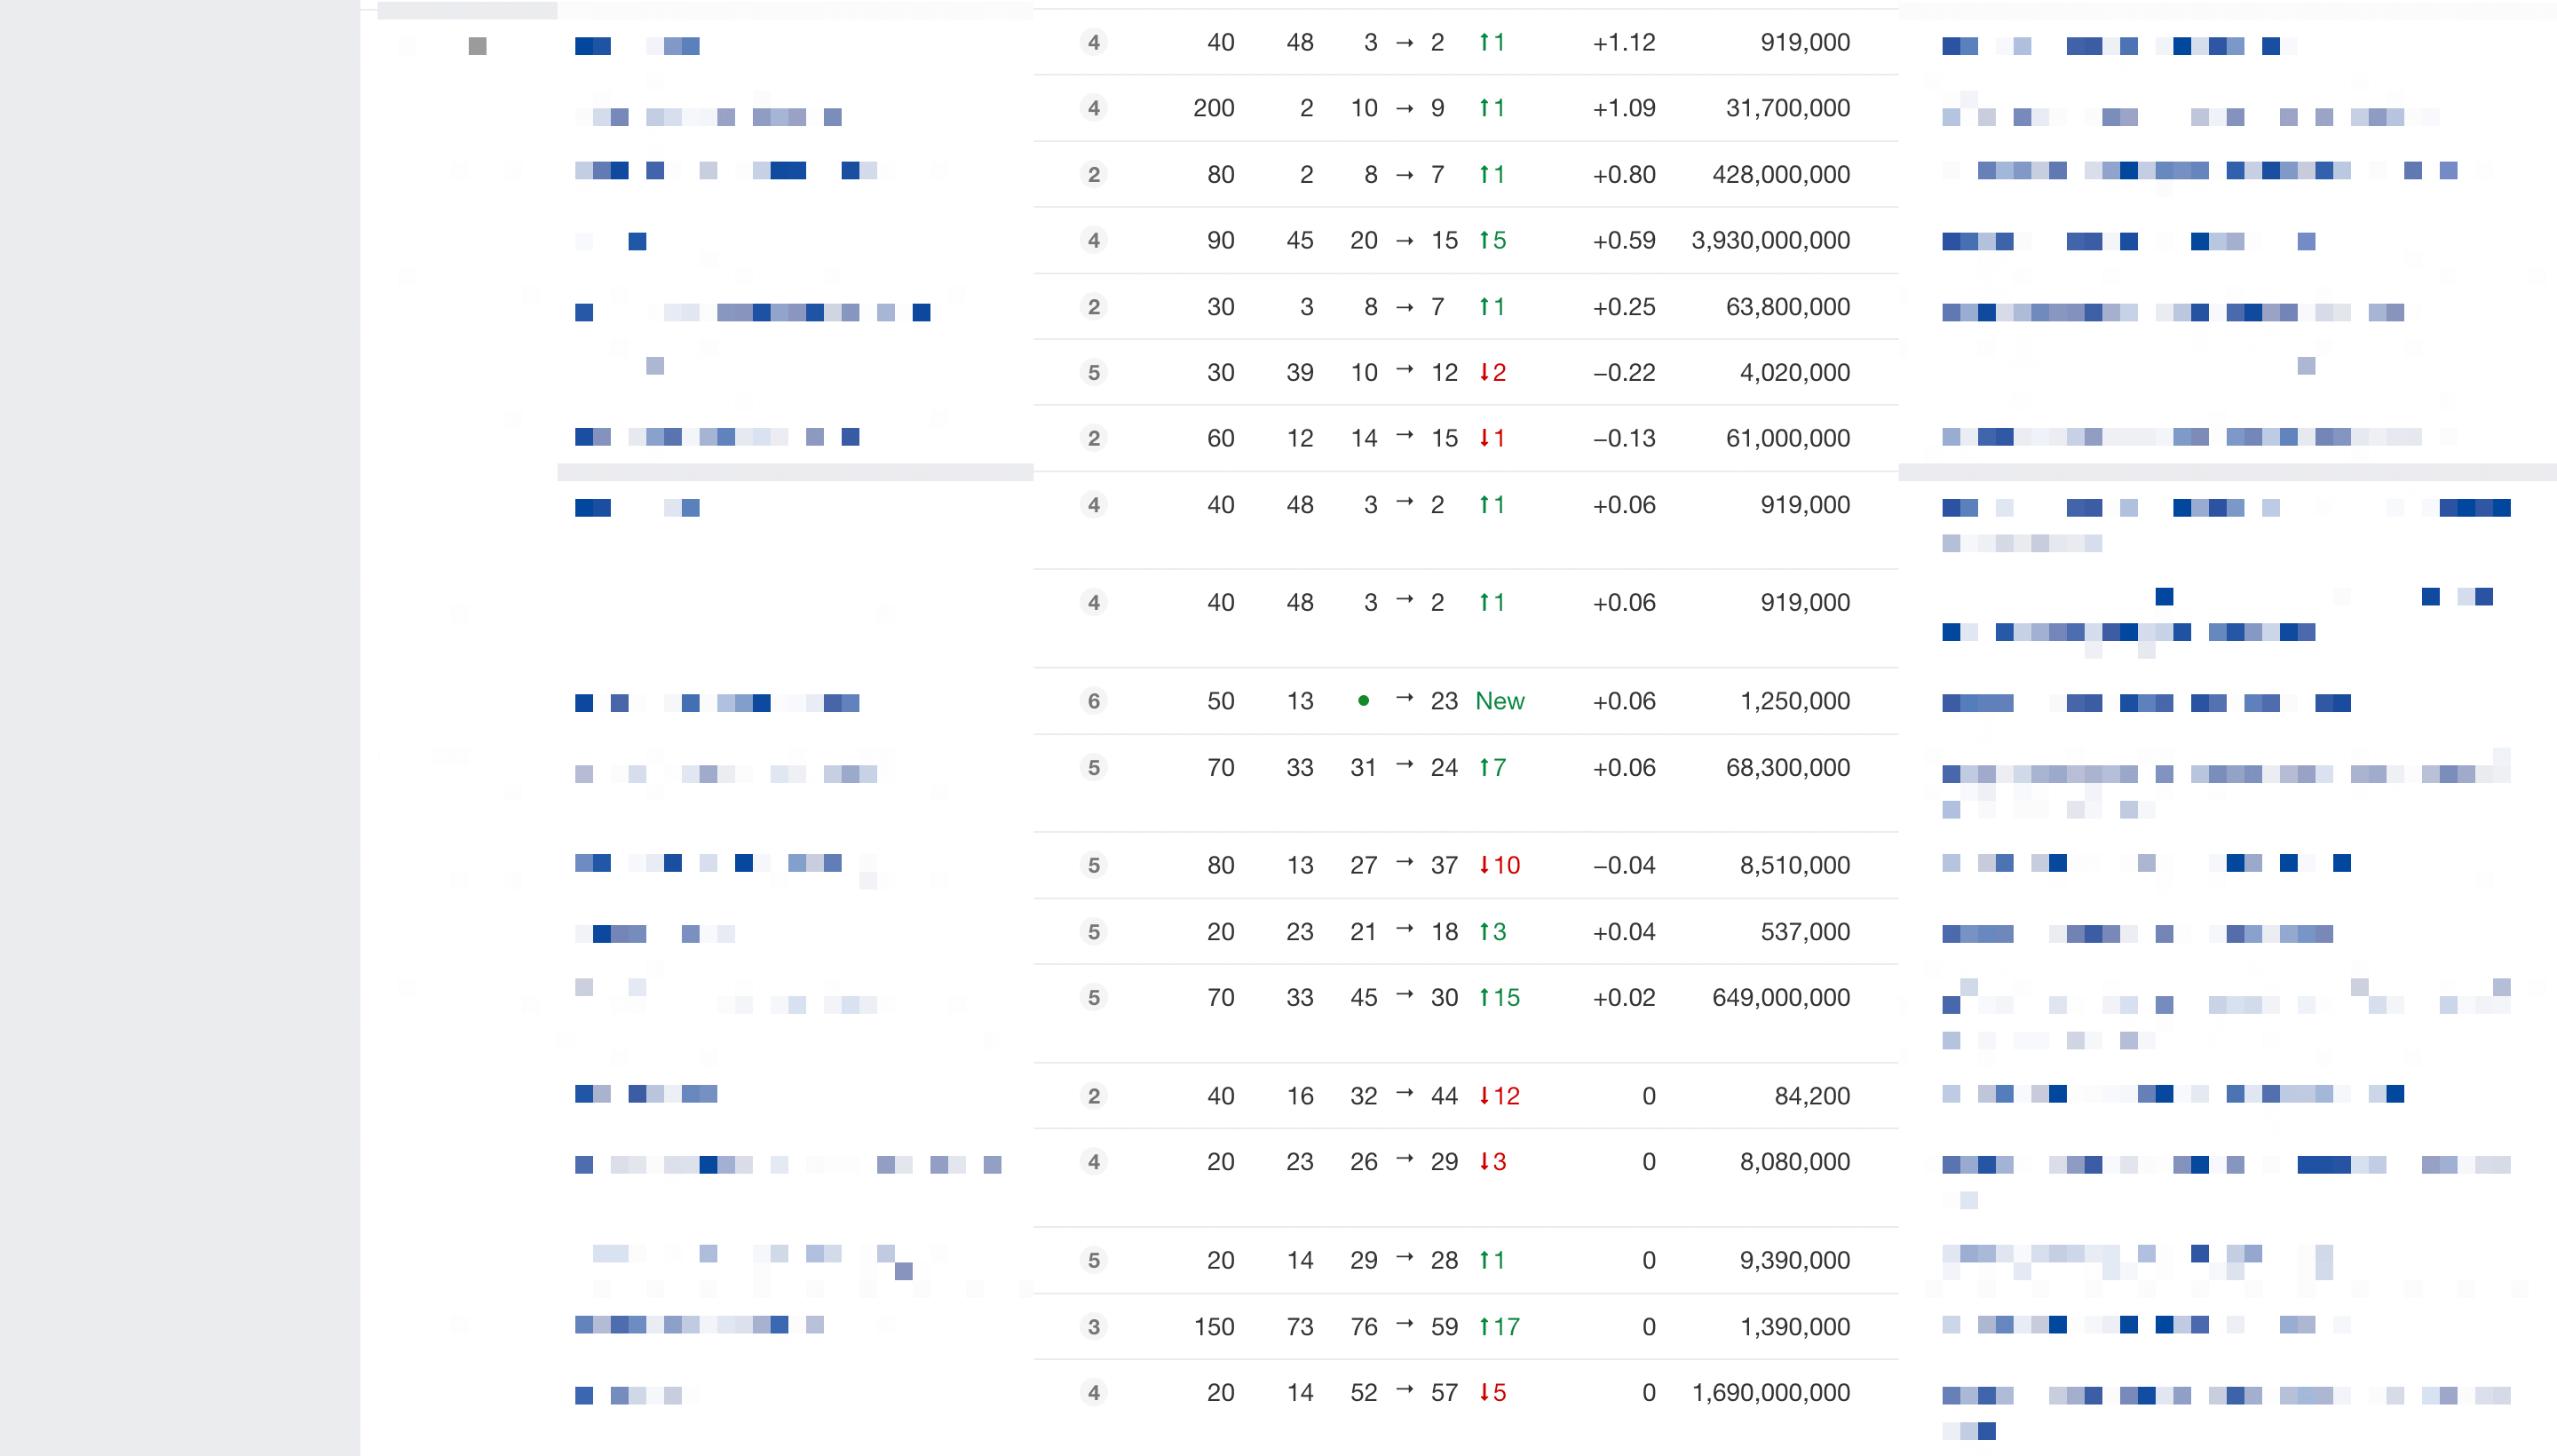
On this blog, I have maintained a frequency of publishing an article every two days, which helps drastically increase the keyword positions in Google. Whenever I check Ahrefs’ keyword movement on my website, I see my keywords going UP and UP, and every day, there are MANY NEW KEYWORDS that my website has started RANKING for.
If you’re not good at writing or don’t have enough time to write, you can always hire a writer from a freelance content writing website. Just make sure you give them proper instructions about the type of content you want and also provide them with the target keywords you want to rank for.
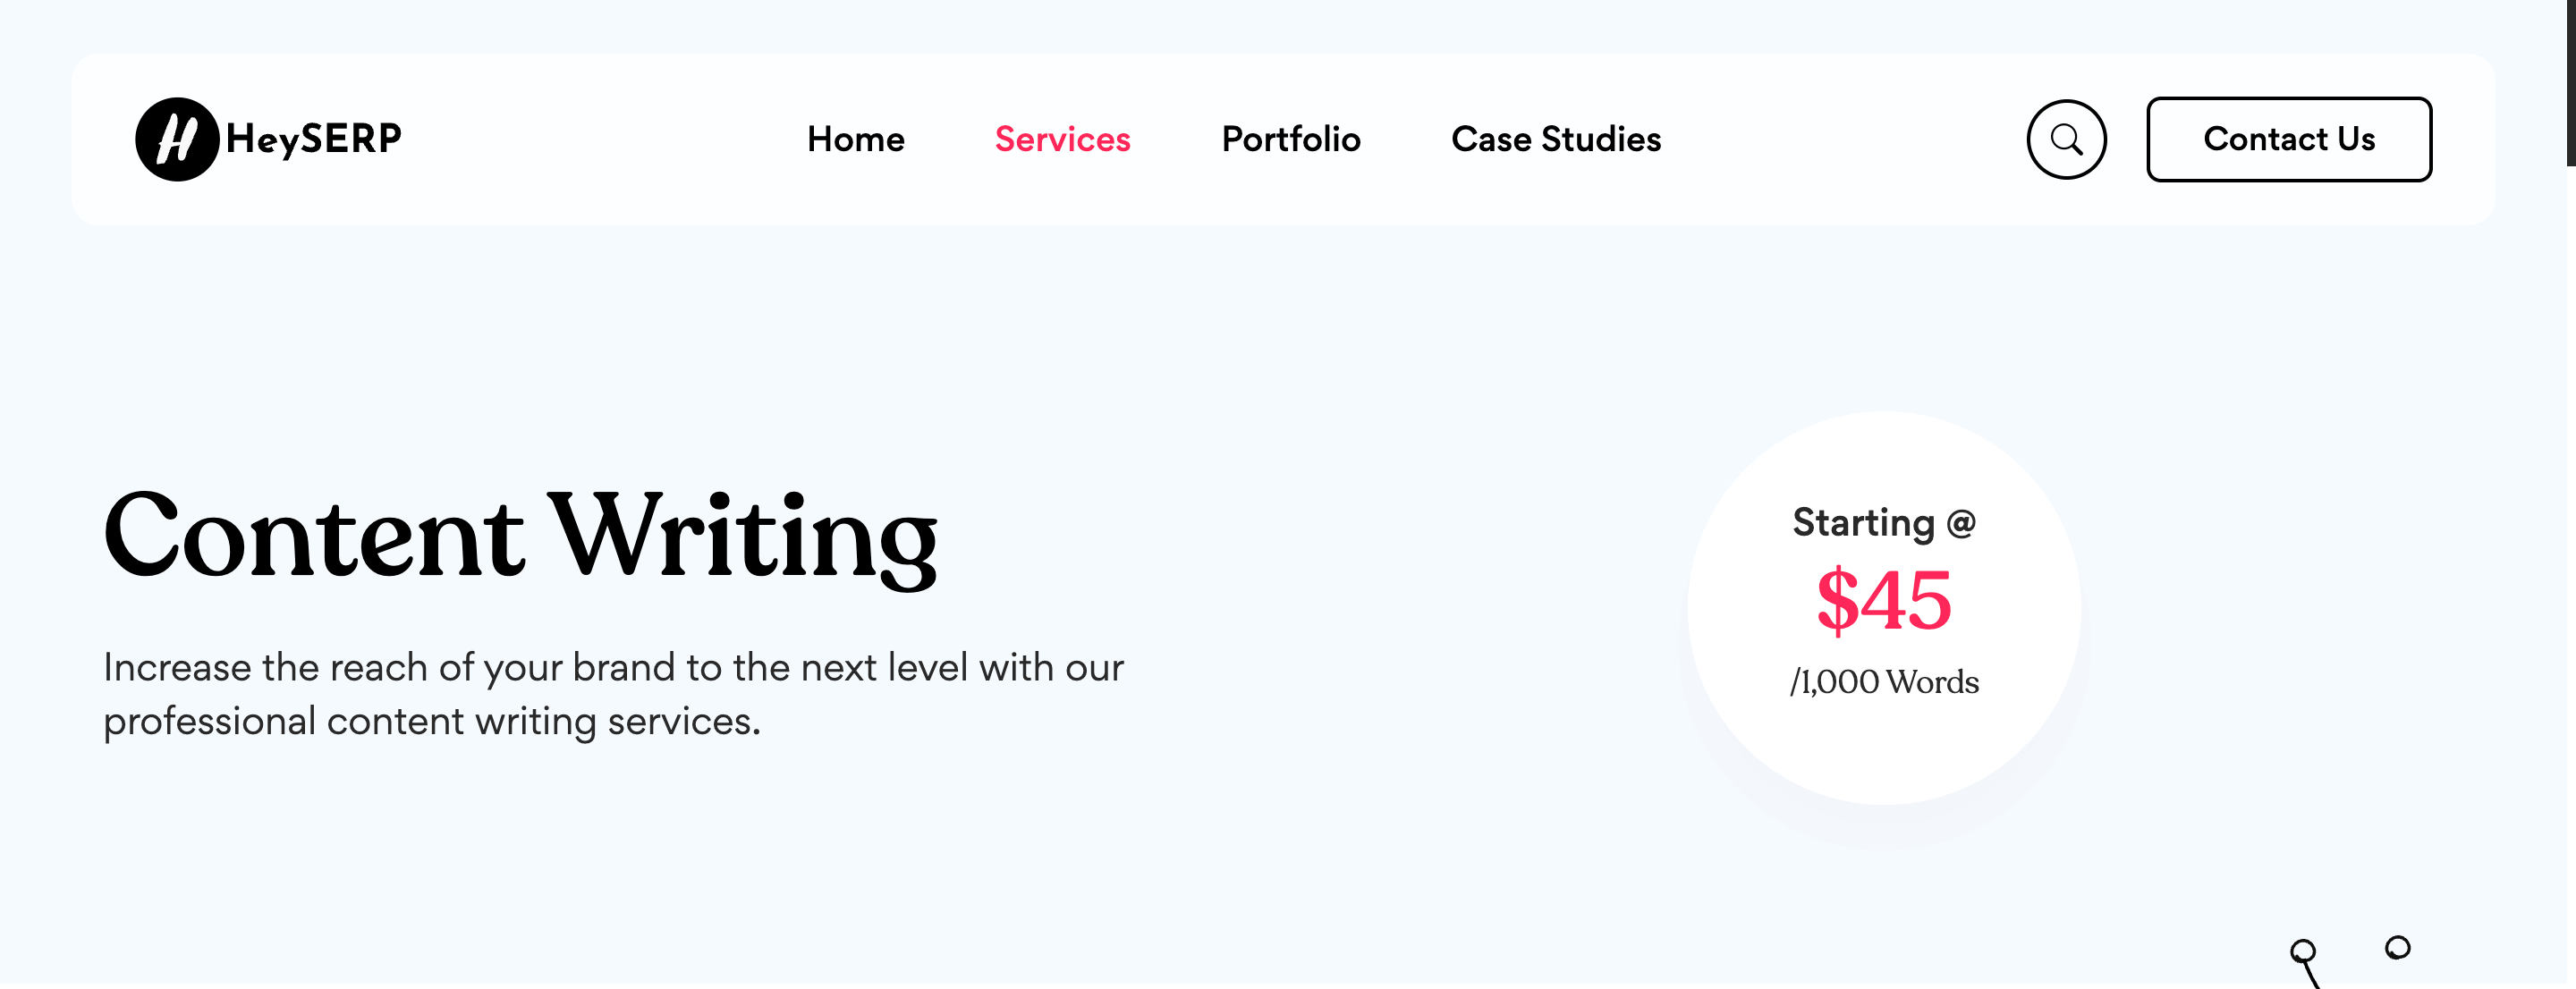
You can also let our writers at HeySERP handle your content writing and blog management needs, starting from $0.045 per word for an optimized article.
AND ALWAYS MAKE SURE THE QUALITY OF CONTENT IS GOOD BEFORE HITTING THE PUBLISH BUTTON.
Now, you might be thinking, what’s next after content writing?
The answer is simple…
Start promoting your content on social media and start building backlinks…
SEO Phase
After 30-50 days of starting our “Project One” website, we started working on the SEO part!
In the starting few days, we worked on building the foundation links for our blog. Building a solid foundation link is IMPORTANT for our website’s SEO and helps in increasing the visibility of our website on Google.
These foundation links can include the following:
- Building comment links
- Social bookmarking sites (high-quality sites only)
- Niche Relevant Forum & Q&A Websites
- Profile creating sites, and lastly
- Web 2.0 sites.
✍️ Author’s Note:
Don’t build too many links in the starting days, as it will result in a Google penalty. Try to build one or two links per day and gradually increase the number of links per day as your website’s authority increases.
It is also important to be aware of natural anchor text distribution before building links to your website. For this, you can use tools like SEMrush, Anchor Text Generator by Linkio, and Wiki Grabber.
And to build these links, we’ve used a combination of both manual and automated methods.
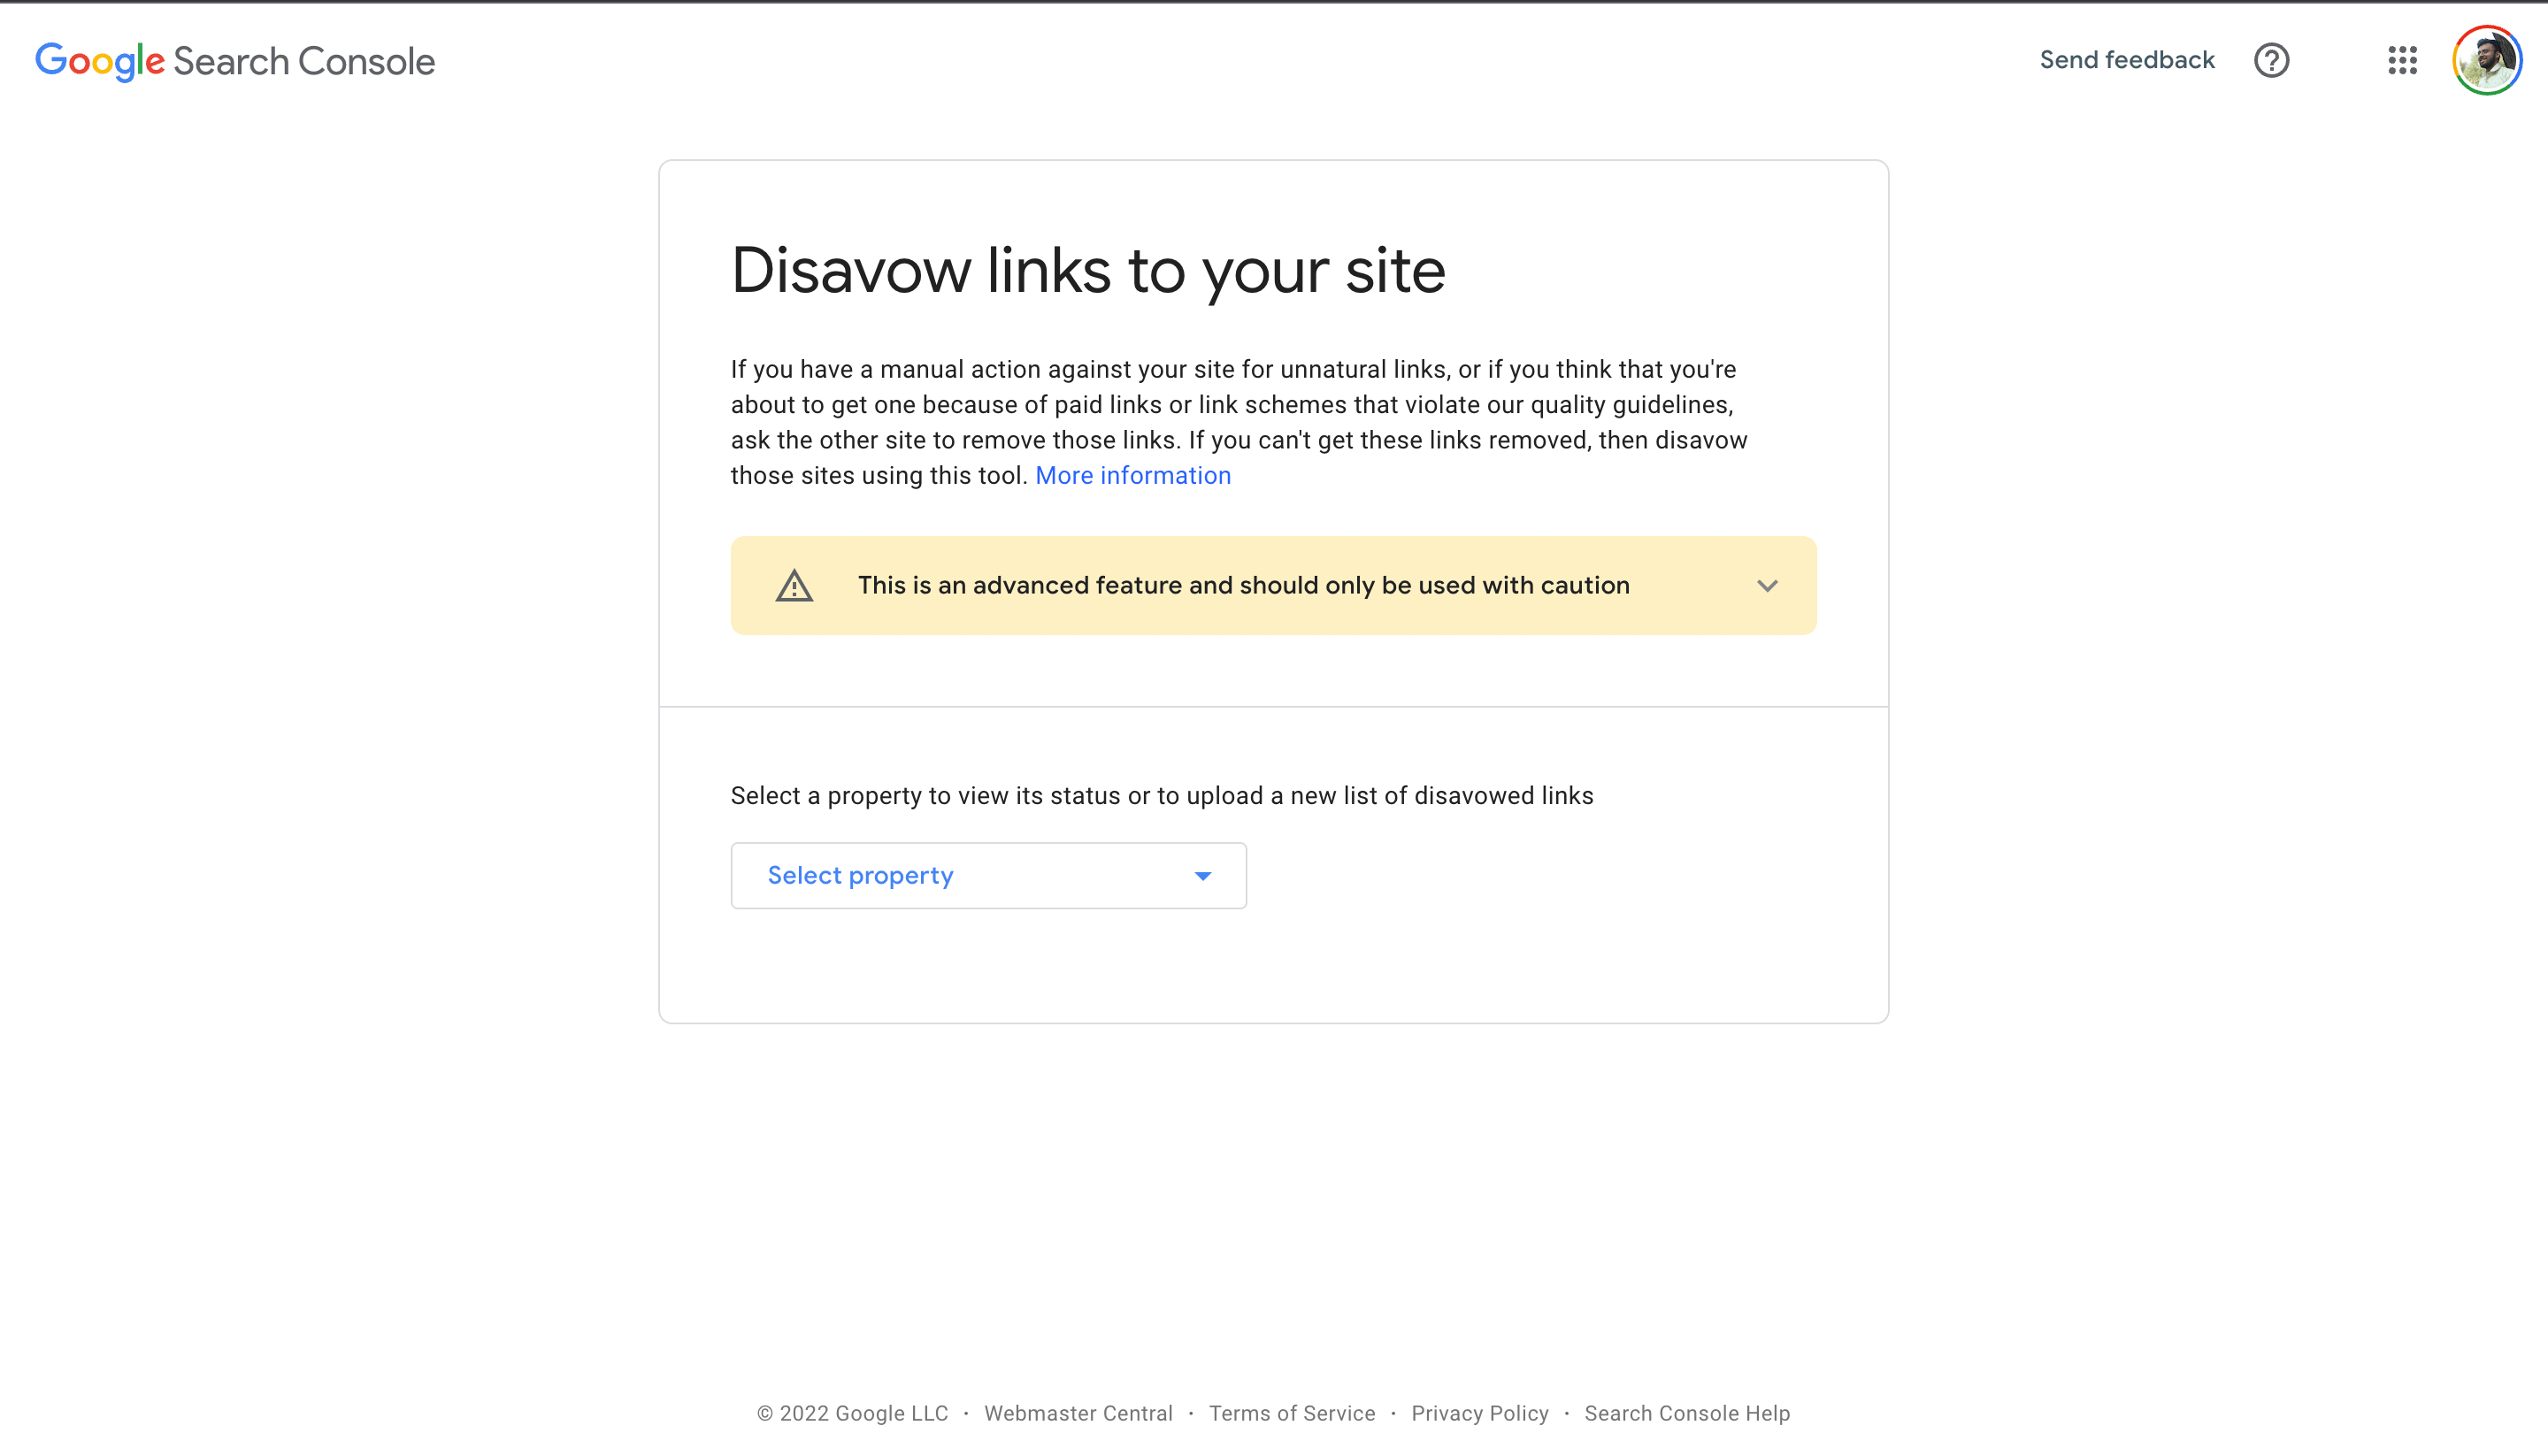
But if you’re a newbie, I wouldn’t recommend trying automated methods. Despite that, if you’re doing so, make sure you know how to Disavow your spammy links.
Disavowing your links is important, especially when you’re creating links in bulk or not following the anchor text ratio properly.
And after building foundation links for around 20-30 days, we started building backlinks through guest posts and link roundups.
But, before starting with guest posts and contextual link building, it is important to do a competitor analysis to find out which websites are linking to your competitor’s website.
For this, you can use tools like Ahrefs, SEMrush, and Majestic.

After analyzing our competitor’s backlinks, we made a list of websites that we need to target for link-building. You can use SEMrush’s free prospecting tool to find and reach high-quality websites for link-building (Get a 14-day free SEMrush Guru trial).
You can also use websites like HARO and Terkel to naturally get links from high-authority websites. I use Terkel because of its higher approval rates than HARO.
In case you have some custom requirements and want to get high-quality links for your website, you can try our link-building services from HeySERP.
We’ll help you get high-quality links from websites with a DA of 30+.
And that’s it…
This is how we did SEO for our experimental website on an Amazon affiliate and got significant results in a very short period.
Tools & Resources I’ve Used:
- Domain & Hosting
- Domain Name: Dynadot
- Hosting: DigitalOcean
- Server Panel: ServerPilot
- Keyword Research
- Content Writing
- SEO & Backlinks
- Email Outreaching: Lemlist
- Email Finding: Hunter.io
- Backlink Monitoring: Google Sheet Template
- Finding Opportunities: SEMrush
- Link Building Agency: HeySERP
- WordPress Themes & Plugins
- Theme: GeneratePress
- SEO Plugin: RankMath
- Performance Plugin: WP Rocket
- Image Compression: TinyPNG
- Security: Wordfence
- DB Optimization: WP-Optimize
Final Thoughts!
Building an amazon affiliate website and making it successful is not an easy task. It requires a lot of hard work, dedication, and patience.
But if you follow the steps that I’ve mentioned in this guide and put in the required effort, I’m sure you’ll be able to build a successful amazon affiliate website.
If you want to share your experience or have any questions regarding Amazon affiliate websites, feel free to leave a comment below, and I’ll be happy to help you out. 🙂
Now it’s time to hear from you…
